Ir para o conteúdo principal
Participe da comunidade de reparos - Criar conta

Nikon COOLPIX S610c Lens Assembly Replacement

O que você precisa

    1. Nikon COOLPIX S610c Lens Assembly Replacement, Battery: passo 1, imagem 1 %32
      • On the bottom right of the camera, locate the battery flap switch.

      Pergunte ao FixBot

      Comentar

    2. Nikon COOLPIX S610c Lens Assembly Replacement: passo 2, imagem 1 %32
      • Move this switch to the right so the battery flap can flip open.

      Pergunte ao FixBot

      Comentar

    3. Nikon COOLPIX S610c Lens Assembly Replacement: passo 3, imagem 1 %32
      • Slide the orange switch to the right as shown. Now the battery can be pulled out. Reverse these steps to re-install.

      Pergunte ao FixBot

      Comentar

    1. Nikon COOLPIX S610c Lens Assembly Replacement, Rear Casing: passo 4, imagem 1 %32
      • Remove the three 3x3mm screws attached to the rear casing.

      Pergunte ao FixBot

      Comentar

    2. Nikon COOLPIX S610c Lens Assembly Replacement: passo 5, imagem 1 %32
      • The panel can be identified by the wifi logo on its upper half on the camera's side.

      • Remove the 5x3mm screw holding down the panel on the side closest to the lens.

      Pergunte ao FixBot

      Comentar

    3. Nikon COOLPIX S610c Lens Assembly Replacement: passo 6, imagem 1 %32
      • Pry the panel off from the bottom using your fingernail.

      Pergunte ao FixBot

      Comentar

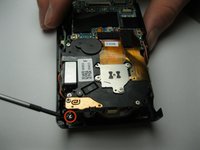
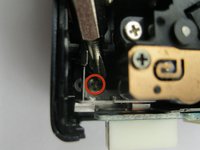
    4. Nikon COOLPIX S610c Lens Assembly Replacement: passo 7, imagem 1 %32
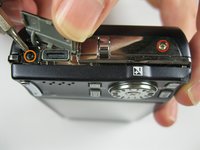
      • Remove the 3x2mm screw underneath the panel near the top of the camera.

      Pergunte ao FixBot

      Comentar

    5. Nikon COOLPIX S610c Lens Assembly Replacement: passo 8, imagem 1 %32 Nikon COOLPIX S610c Lens Assembly Replacement: passo 8, imagem 2 %32
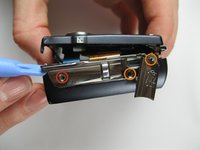
      • Remove the 4x3mm on the opposite side near the selector wheel.

      • Remove the 2x2mm and 3x2mm screws underneath the a/v flap.

      Pergunte ao FixBot

      Comentar

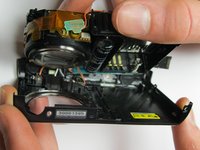
    6. Nikon COOLPIX S610c Lens Assembly Replacement: passo 9, imagem 1 %32 Nikon COOLPIX S610c Lens Assembly Replacement: passo 9, imagem 2 %32
      • Pry the back panel away from the body of the camera, using the space you just opened up.

      • Be careful not to damage the ribbon cable on the opposite end of the camera.

      • A small piece of the frame of the camera may fall off, but it can be easily put back into place during reassembly.

      Pergunte ao FixBot

      Comentar

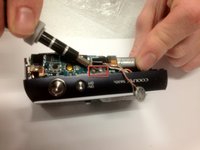
    7. Nikon COOLPIX S610c Lens Assembly Replacement: passo 10, imagem 1 %32 Nikon COOLPIX S610c Lens Assembly Replacement: passo 10, imagem 2 %32
      • Pry up the plastic ribbon connectors on the body of the camera to release the ribbon cables.

      • The center connector is detached by flipping the black latch up and away from the center of the camera.

      • The smaller connector is detached by flipping the tan latch up and away from the edge of the camera.

      Pergunte ao FixBot

      Comentar

    1. Nikon COOLPIX S610c Lens Assembly Replacement, Front Casing: passo 11, imagem 1 %32
      • Remove the three 3x3mm screws that attach the front casing to the bottom.

      Pergunte ao FixBot

      Comentar

    2. Nikon COOLPIX S610c Lens Assembly Replacement: passo 12, imagem 1 %32
      • Remove the two 3x2 screws and two 3.5x2.5 screws attaching the rear panel to the motherboard.

      Pergunte ao FixBot

      Comentar

    3. Nikon COOLPIX S610c Lens Assembly Replacement: passo 13, imagem 1 %32 Nikon COOLPIX S610c Lens Assembly Replacement: passo 13, imagem 2 %32
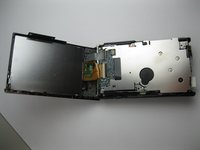
      • Lift the back panel off the motherboard.

      • Be careful not to damage the ribbon cable that attaches the mother board to the rear panel.

      Pergunte ao FixBot

      Comentar

    4. Nikon COOLPIX S610c Lens Assembly Replacement: passo 14, imagem 1 %32 Nikon COOLPIX S610c Lens Assembly Replacement: passo 14, imagem 2 %32
      • Detach the ribbon cable from the motherboard by flipping up the latch on the ribbon connector.

      • Note that the white ribbon connector latch flips away from the ribbon cable.

      Pergunte ao FixBot

      Comentar

    5. Nikon COOLPIX S610c Lens Assembly Replacement: passo 15, imagem 1 %32 Nikon COOLPIX S610c Lens Assembly Replacement: passo 15, imagem 2 %32
      • Remove the final 4x3mm screw at the top of the camera near the lens.

      Pergunte ao FixBot

      Comentar

    6. Nikon COOLPIX S610c Lens Assembly Replacement: passo 16, imagem 1 %32 Nikon COOLPIX S610c Lens Assembly Replacement: passo 16, imagem 2 %32
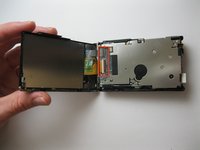
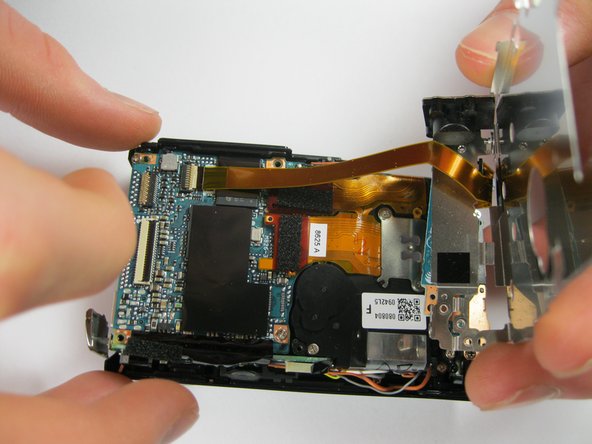
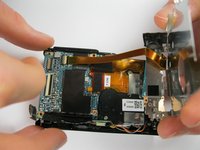
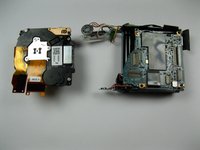
      • Pry the front casing away from the body of the camera.

      • Be careful not to damage the wires that attach the front panel to the motherboard.

      • Short the leads on the capacitor near the flash to avoid a nasty shock when separating the casing from the body.

      Pergunte ao FixBot

      Comentar

    7. Nikon COOLPIX S610c Lens Assembly Replacement: passo 17, imagem 1 %32
      • Unscrew the three 3x2mm screws that attach the cables to the front casing.

      Pergunte ao FixBot

      Comentar

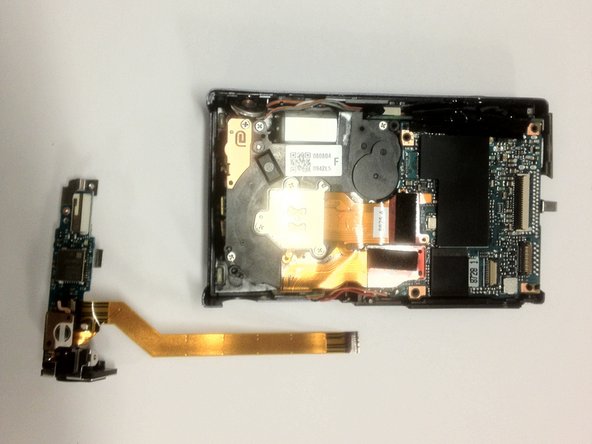
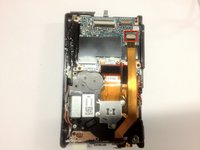
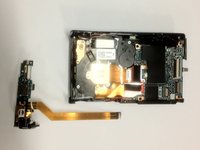
    1. Nikon COOLPIX S610c Lens Assembly Replacement, Lens Assembly: passo 18, imagem 1 %32 Nikon COOLPIX S610c Lens Assembly Replacement, Lens Assembly: passo 18, imagem 2 %32
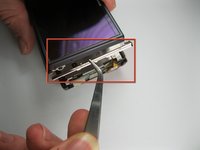
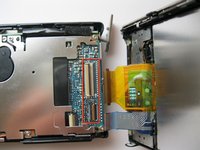
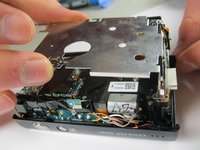
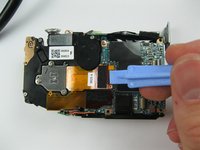
      • Pry up the ribbon connector that connects the ribbon cable to the lens assembly.

      • Take note that the ribbon connector pulls away from the ribbon.

      Pergunte ao FixBot

      Comentar

Conclusão

To reassemble your device, follow these instructions in reverse order.

Cancelar: não concluí este guia.

Kevin Backers

Membro desde: 01/26/12

304 Reputação

Autoria de 4 guias

Equipe

Cal Poly, Team 9-5, Regan Winter 2012 Membro de Cal Poly, Team 9-5, Regan Winter 2012

CPSU-REGAN-W12S9G5

5 Membros

Autoria de 12 guias

0Comentários do guia

Comentar

Visualizações:

Últimas 24 horas: 1

Últimos 7 dias: 8

Últimos 30 dias: 26

Ao todo: 1,266