Ir para o conteúdo principal
Participe da comunidade de reparos - Criar conta

Nikon 1 J5 LCD Module Replacement

O que você precisa

    1. Nikon 1 J5 LCD Module Replacement, Remove Micro SD card and Battery: passo 1, imagem 1 %32
      • Remove Micro SD card and Battery

      Pergunte ao FixBot

      Comentar

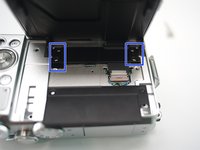
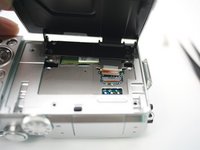
    2. Nikon 1 J5 LCD Module Replacement: passo 2, imagem 1 %32 Nikon 1 J5 LCD Module Replacement: passo 2, imagem 2 %32 Nikon 1 J5 LCD Module Replacement: passo 2, imagem 3 %32
      • Remove 2 screws

      • Open plastic LCD connector cover

      • Lift FPC connector latch

      • Detach LCD FPC

      Pergunte ao FixBot

      Comentar

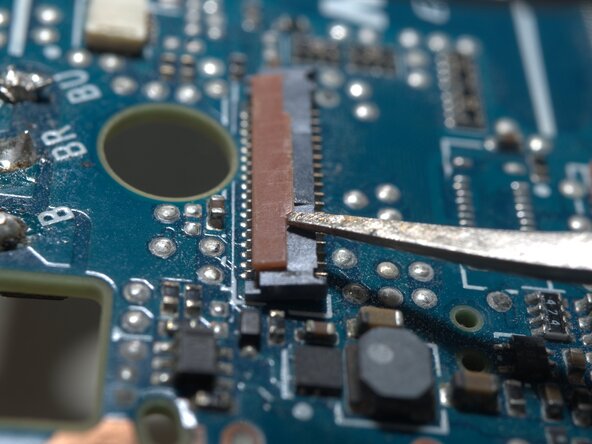
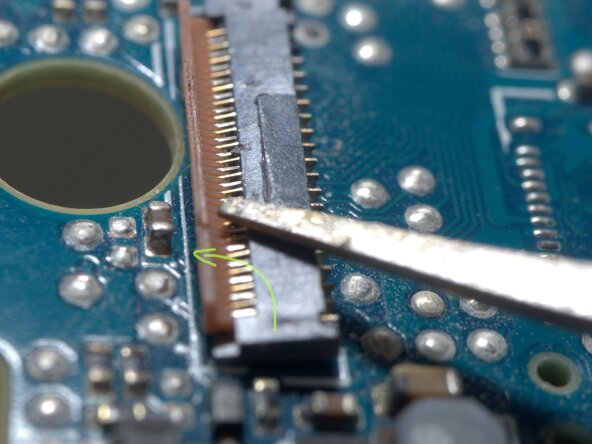
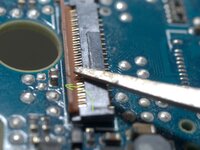
    3. Nikon 1 J5 LCD Module Replacement, Detail of the FPC connector: passo 3, imagem 1 %32 Nikon 1 J5 LCD Module Replacement, Detail of the FPC connector: passo 3, imagem 2 %32 Nikon 1 J5 LCD Module Replacement, Detail of the FPC connector: passo 3, imagem 3 %32
      • The FPC cable is inserted from right side of this photo.

      • Insert a fine tip tweezer or any thin flat tip tool under the latch, and gentally lift it.

      • The latch rotates CCW for about 90 degrees

      Pergunte ao FixBot

      Comentar

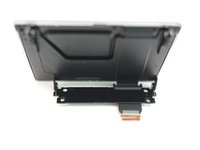
    4. Nikon 1 J5 LCD Module Replacement: passo 4, imagem 1 %32 Nikon 1 J5 LCD Module Replacement: passo 4, imagem 2 %32 Nikon 1 J5 LCD Module Replacement: passo 4, imagem 3 %32
      • Remove 4 screws

      • Remove LCD module

      Pergunte ao FixBot

      Comentar

Conclusão

To reassemble your device, follow these instructions in reverse order.

Cancelar: não concluí este guia.

Uma outra pessoa concluiu este guia.

Terrance

Membro desde: 11/17/09

7.063 Reputação

Autoria de 19 guias

0Comentários do guia

Comentar

Visualizações:

Últimas 24 horas: 3

Últimos 7 dias: 21

Últimos 30 dias: 72

Ao todo: 1,286