Ir para o conteúdo principal
Participe da comunidade de reparos - Criar conta

NexiGo NS32 Trigger Assembly Replacement

O que você precisa

  1. NexiGo NS32 Trigger Assembly Replacement, Rear Case: passo 1, imagem 1 %32
    • Orient the controller so that it is face down.

    Pergunte ao FixBot

    Comentar

  2. NexiGo NS32 Trigger Assembly Replacement: passo 2, imagem 1 %32 NexiGo NS32 Trigger Assembly Replacement: passo 2, imagem 2 %32
    • Remove the eight 9 mm Phillips screws that secure the rear case.

    Pergunte ao FixBot

    Comentar

  3. NexiGo NS32 Trigger Assembly Replacement: passo 3, imagem 1 %32
    • Lift the rear case up and off.

    • You may need to use an opening tool to help release the rear case, but avoid using excessive force so you don't damage the controller.

    Pergunte ao FixBot

    Comentar

  4. NexiGo NS32 Trigger Assembly Replacement, Battery: passo 4, imagem 1 %32 NexiGo NS32 Trigger Assembly Replacement, Battery: passo 4, imagem 2 %32
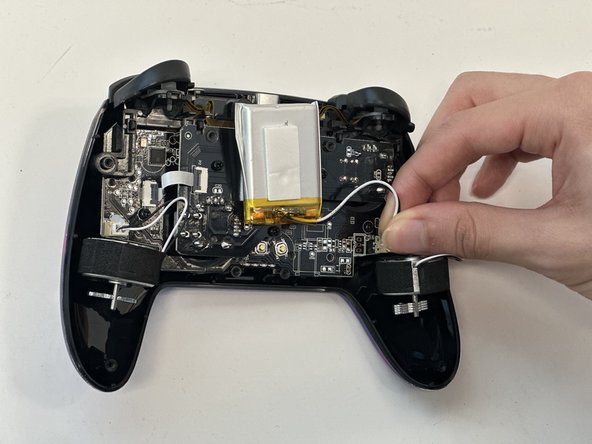
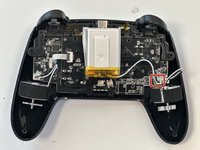
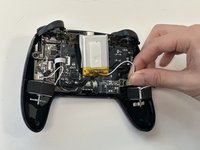
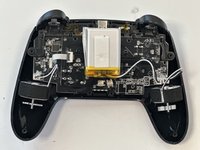
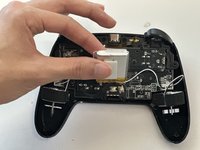
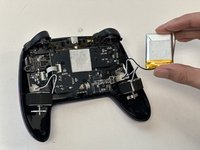
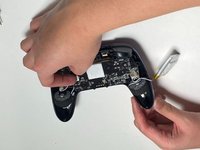
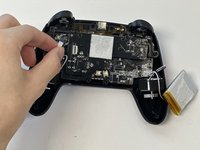
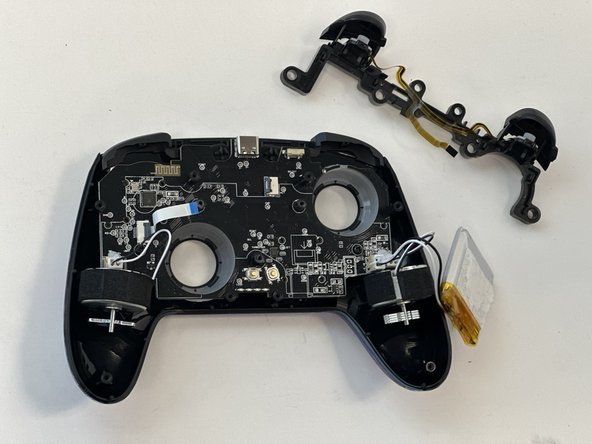
    • Grip the white battery connector and pull it directly out of its motherboard socket.

    • This may require some force, as the connectors are secured with a bit of adhesive. If you're having trouble with disconnection, apply some high-concentration isopropyl alcohol to the adhesive to loosen it.

    • Do not pull on the wires.

    Pergunte ao FixBot

    Comentar

  5. NexiGo NS32 Trigger Assembly Replacement: passo 5, imagem 1 %32 NexiGo NS32 Trigger Assembly Replacement: passo 5, imagem 2 %32 NexiGo NS32 Trigger Assembly Replacement: passo 5, imagem 3 %32
    • Lift the battery up and out.

    • Take care not to bend or puncture the battery as you remove it.

    Pergunte ao FixBot

    Comentar

  6. NexiGo NS32 Trigger Assembly Replacement, Joystick PCB: passo 6, imagem 1 %32 NexiGo NS32 Trigger Assembly Replacement, Joystick PCB: passo 6, imagem 2 %32
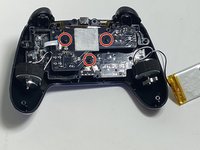
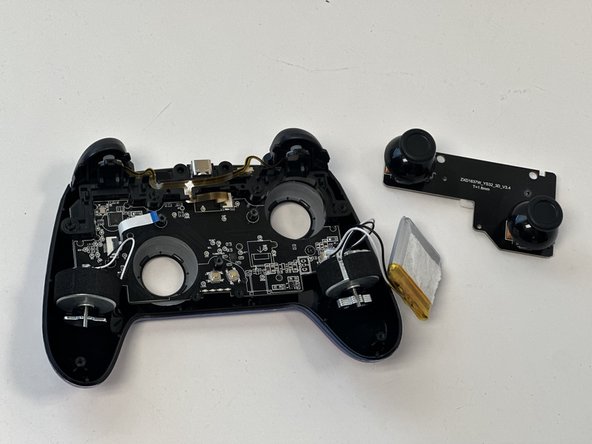
    • Remove the three 9 mm Phillips screws that secure the joystick PCB.

    Pergunte ao FixBot

    Comentar

  7. NexiGo NS32 Trigger Assembly Replacement: passo 7, imagem 1 %32 NexiGo NS32 Trigger Assembly Replacement: passo 7, imagem 2 %32
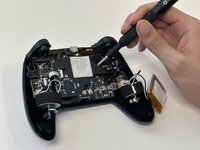
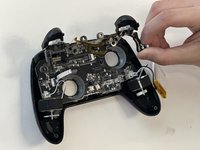
    • Flip up the black ZIF connector locking flap on the left side of the joystick PCB.

    • Pull the ribbon cable directly out of its socket.

    Pergunte ao FixBot

    Comentar

  8. NexiGo NS32 Trigger Assembly Replacement: passo 8, imagem 1 %32 NexiGo NS32 Trigger Assembly Replacement: passo 8, imagem 2 %32 NexiGo NS32 Trigger Assembly Replacement: passo 8, imagem 3 %32
    • Lift out the joystick PCB.

    Pergunte ao FixBot

    Comentar

  9. NexiGo NS32 Trigger Assembly Replacement, Trigger Assembly: passo 9, imagem 1 %32
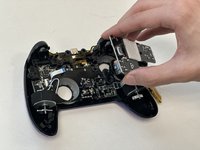
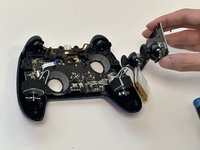
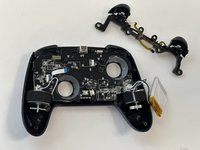
    • Flip up the black ZIF locking flap that secures the trigger assembly ribbon cable.

    • Disconnect the ribbon cable.

    Pergunte ao FixBot

    Comentar

  10. NexiGo NS32 Trigger Assembly Replacement: passo 10, imagem 1 %32 NexiGo NS32 Trigger Assembly Replacement: passo 10, imagem 2 %32
    • Gently lift out the trigger assembly.

    Pergunte ao FixBot

    Comentar

Conclusão

To reassemble your device, follow these instructions in reverse order.

Cancelar: não concluí este guia.

Gage_Atx

Membro desde: 01/29/24

85 Reputação

Autoria de 1 guia

0Comentários do guia

Comentar

Visualizações:

Últimas 24 horas: 2

Últimos 7 dias: 9

Últimos 30 dias: 24

Ao todo: 303