Ir para o conteúdo principal
Participe da comunidade de reparos - Criar conta

Nest Dropcam Pro Camera Lens Replacement

O que você precisa

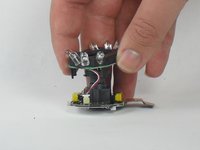
  1. Nest Dropcam Pro Camera Lens Replacement, Outer Case: passo 1, imagem 1 %32
    • Press in the mounting clips on each side of the case to remove the camera from the mount.

    Pergunte ao FixBot

    Comentar

  2. Nest Dropcam Pro Camera Lens Replacement: passo 2, imagem 1 %32 Nest Dropcam Pro Camera Lens Replacement: passo 2, imagem 2 %32
    • Using a Philips #0 screwdriver, remove the four 3 mm screws.

    Pergunte ao FixBot

    Comentar

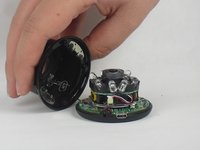
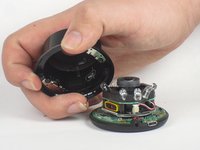
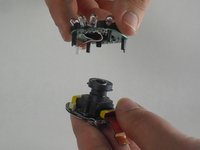
  3. Nest Dropcam Pro Camera Lens Replacement: passo 3, imagem 1 %32 Nest Dropcam Pro Camera Lens Replacement: passo 3, imagem 2 %32
    • Lift the front of the case slowly, as there is an antenna cable attached to the motherboard.

    • Carefully disconnect the antenna cable from the motherboard. You will feel this cable "pop" out of place when disconnected.

    Pergunte ao FixBot

    Comentar

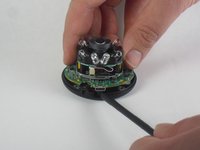
  4. Nest Dropcam Pro Camera Lens Replacement, Motherboard: passo 4, imagem 1 %32 Nest Dropcam Pro Camera Lens Replacement, Motherboard: passo 4, imagem 2 %32
    • Insert a spudger tool under the micro-USB port and lift to separate the motherboard from the back case.

    Pergunte ao FixBot

    Comentar

  5. Nest Dropcam Pro Camera Lens Replacement: passo 5, imagem 1 %32 Nest Dropcam Pro Camera Lens Replacement: passo 5, imagem 2 %32
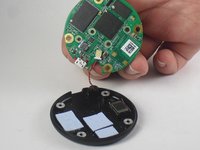
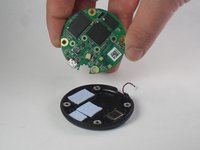
    • Pull the motherboard away from the back case.

    • Unplug the red and black cable connecting the motherboard to the back case.

    Pergunte ao FixBot

    Comentar

  6. Nest Dropcam Pro Camera Lens Replacement: passo 6, imagem 1 %32 Nest Dropcam Pro Camera Lens Replacement: passo 6, imagem 2 %32
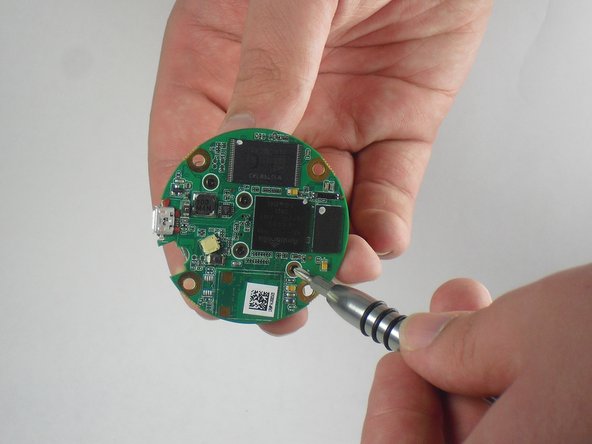
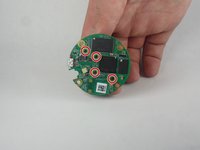
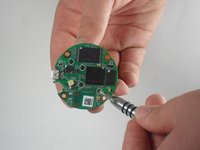
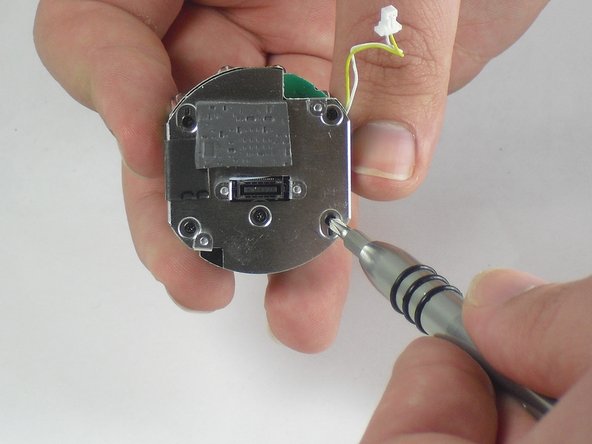
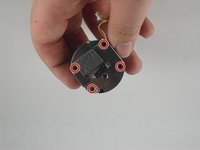
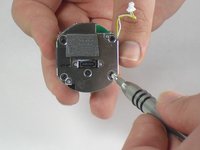
    • Using a Philips #0 screwdriver, remove the four 2 mm screws.

    Pergunte ao FixBot

    Comentar

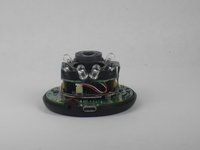
  7. Nest Dropcam Pro Camera Lens Replacement: passo 7, imagem 1 %32 Nest Dropcam Pro Camera Lens Replacement: passo 7, imagem 2 %32
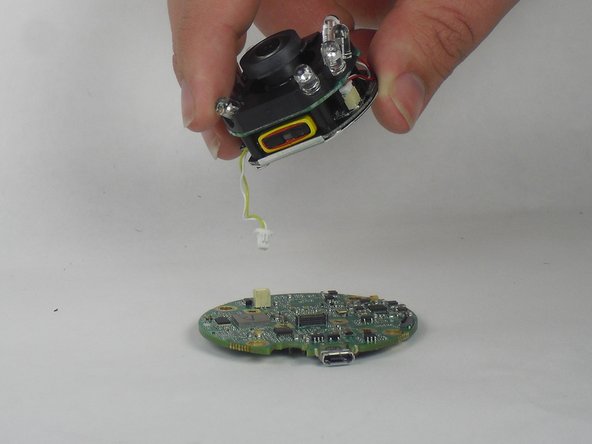
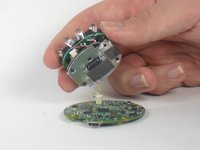
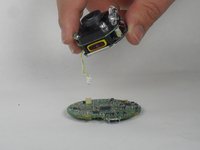
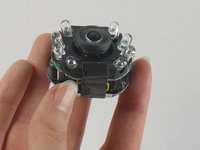
    • Lift the lens and LED assembly away from the motherboard.

    • Unplug the yellow and white cable from the motherboard.

    Pergunte ao FixBot

    Comentar

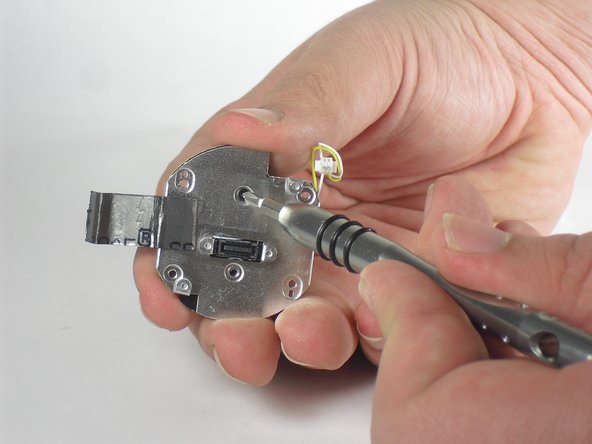
  8. Nest Dropcam Pro Camera Lens Replacement, Camera Lens: passo 8, imagem 1 %32 Nest Dropcam Pro Camera Lens Replacement, Camera Lens: passo 8, imagem 2 %32
    • Using a Philips #0 screwdriver, remove the four 2 mm screws.

    Pergunte ao FixBot

    Comentar

  9. Nest Dropcam Pro Camera Lens Replacement: passo 9, imagem 1 %32 Nest Dropcam Pro Camera Lens Replacement: passo 9, imagem 2 %32 Nest Dropcam Pro Camera Lens Replacement: passo 9, imagem 3 %32
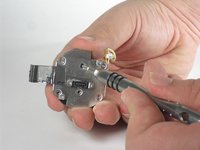
    • Peel off the paper seal holding the Lens and LEDs together.

    • Disconnect the red and white wire from the bottom board.

    Pergunte ao FixBot

    Comentar

  10. Nest Dropcam Pro Camera Lens Replacement: passo 10, imagem 1 %32 Nest Dropcam Pro Camera Lens Replacement: passo 10, imagem 2 %32
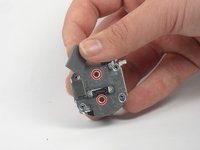
    • Lift up the foam cover to reveal a second screw underneath.

    • Using a Philips #0 screwdriver, remove the two 3 mm screws.

    Pergunte ao FixBot

    Comentar

  11. Nest Dropcam Pro Camera Lens Replacement: passo 11, imagem 1 %32
    • With the screws gone, lift the camera lens away from the remaining components.

    Pergunte ao FixBot

    Comentar

Conclusão

To reassemble your device, follow these instructions in reverse order.

Cancelar: não concluí este guia.

2 outras pessoas executaram este guia.

David Foens

Membro desde: 09/03/15

896 Reputação

Autoria de 6 guias

Equipe

USF Tampa, Team 15-4, Blackwell Fall 2015 Membro de USF Tampa, Team 15-4, Blackwell Fall 2015

USFT-BLACKWELL-F15S15G4

3 Membros

Autoria de 12 guias

2Comentários do guia

Where do you get replacement lens?

Jim Fischer - Responder Compartilhar
good morning , is there any store on the USA where i can send my drop camera ti get fix? it fell and doesn't want to broadcast any image.

andres - Responder Compartilhar
Comentar

Visualizações:

Últimas 24 horas: 0

Últimos 7 dias: 5

Últimos 30 dias: 36

Ao todo: 4,295