Introdução
This guide will walk you through opening your Nerf N-Strike Firestrike and removing the laser trigger. Many screws must be removed before opening the casing so be careful not to misplace any.
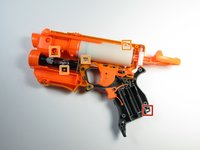
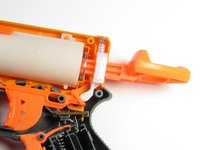
After the casing is removed and the Nerf gun is opened, you will see two triggers near the lower portion of the gun. The smaller of the two triggers is the laser trigger and this is what you will be removing. Just grab it from the side with two fingers and pull straight up to remove the laser trigger.
O que você precisa
-
-
-
Use a #1 Phillips screwdriver to remove the 10 -mm screw that secures the battery plate, then remove the battery cover using your hands.
 Pergunte ao FixBot
-
-
-
-
-
-
Remove the seven 10-mm black Phillips screws from the blaster casing with a #1 Phillips Screwdriver.
-
-
-
Slowly pull apart the blaster casing, starting at the battery location.
-
Keep pulling apart slowly until it separates completely. Be cautious as to not send the internal components flying.
-
-
-
-
-
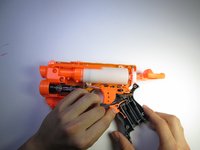
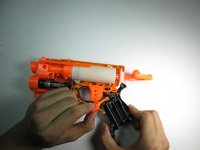
Remove the laser trigger by grabbing the trigger with your fingers and pulling it up and out.
-
-




To reassemble your device, follow these instructions in reverse order.

Equipe

Cal Poly, Team 15-6, Amido Spring 2015 Membro de Cal Poly, Team 15-6, Amido Spring 2015
CPSU-AMIDO-S15S15G6
3 Membros
Autoria de 16 guias
