Ir para o conteúdo principal
Participe da comunidade de reparos - Criar conta

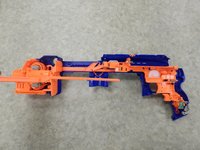
Nerf N-Strike Elite Hail-Fire Right Shell Replacement

O que você precisa

    1. Nerf N-Strike Elite Hail-Fire Right Shell Replacement, Left Shell: passo 1, imagem 1 %32 Nerf N-Strike Elite Hail-Fire Right Shell Replacement, Left Shell: passo 1, imagem 2 %32 Nerf N-Strike Elite Hail-Fire Right Shell Replacement, Left Shell: passo 1, imagem 3 %32
      • Before disassembling your Nerf Hail-Fire, be sure to remove the batteries.

      • Remove the two 9.0 mm Phillips screws securing the battery compartment.

      • Slide the battery compartment out.

      Pergunte ao FixBot

      Comentar

    2. Nerf N-Strike Elite Hail-Fire Right Shell Replacement: passo 2, imagem 1 %32
      • Remove the five 9.0 mm Phillips screws securing the trigger.

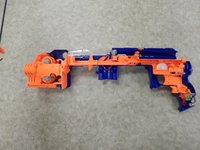
      Pergunte ao FixBot

      Comentar

    3. Nerf N-Strike Elite Hail-Fire Right Shell Replacement: passo 3, imagem 1 %32 Nerf N-Strike Elite Hail-Fire Right Shell Replacement: passo 3, imagem 2 %32
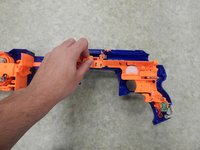
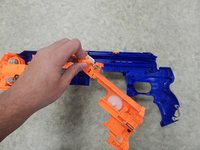
      • Remove the single 11.0 mm Phillips screw securing the magazine cartridge chambers.

      • Pull the entire chamber upwards to separate it from the rest of the Nerf Gun.

      Pergunte ao FixBot

      Comentar

    4. Nerf N-Strike Elite Hail-Fire Right Shell Replacement: passo 4, imagem 1 %32 Nerf N-Strike Elite Hail-Fire Right Shell Replacement: passo 4, imagem 2 %32 Nerf N-Strike Elite Hail-Fire Right Shell Replacement: passo 4, imagem 3 %32
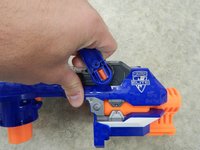
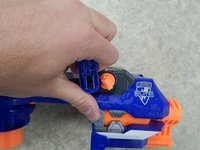
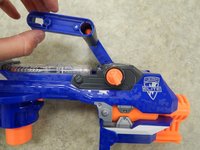
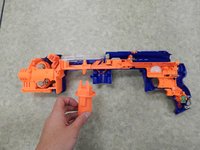
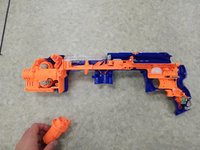
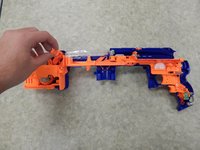
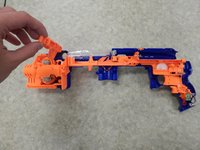
      • Remove both halves of the ring by tugging on it upwards until the lock gets freed.

      • This requires quite a bit of force and if you are not careful, you may break the plastic lock.

      Pergunte ao FixBot

      Comentar

    5. Nerf N-Strike Elite Hail-Fire Right Shell Replacement: passo 5, imagem 1 %32
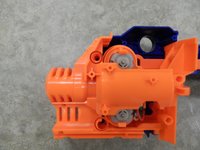
      • Remove the four 9.0 mm Phillips screws from the newly revealed cylinder.

      Pergunte ao FixBot

      Comentar

    6. Nerf N-Strike Elite Hail-Fire Right Shell Replacement: passo 6, imagem 1 %32
      • Remove the three 9.0 mm Phillips screws holding the top latch of the Nerf Gun together.

      Pergunte ao FixBot

      Comentar

    7. Nerf N-Strike Elite Hail-Fire Right Shell Replacement: passo 7, imagem 1 %32
      • Remove the three 9.0 mm Phillips screws holding together the firing chamber.

      • Remove the single 7.0 mm Phillips screw below the barrel.

      • Remove the two 14.0 mm Philips screws using a screwdriver with a length of approximately 4.0 inches and a diameter of approximately 0.2 cm.

      Pergunte ao FixBot

      Comentar

    8. Nerf N-Strike Elite Hail-Fire Right Shell Replacement: passo 8, imagem 1 %32
      • Remove the single 14.0 mm Phillips screw holding together the handle and the Nerf Gun.

      Pergunte ao FixBot

      Comentar

    9. Nerf N-Strike Elite Hail-Fire Right Shell Replacement: passo 9, imagem 1 %32 Nerf N-Strike Elite Hail-Fire Right Shell Replacement: passo 9, imagem 2 %32
      • Remove the two 9.0 mm Phillips screws holding together the handle.

      • Remove the plastic cover of the handle.

      Pergunte ao FixBot

      Comentar

    10. Nerf N-Strike Elite Hail-Fire Right Shell Replacement: passo 10, imagem 1 %32 Nerf N-Strike Elite Hail-Fire Right Shell Replacement: passo 10, imagem 2 %32
      • Insert one plastic opening tool inside one side of the orange part depicted in the picture.

      • Insert a second plastic opening tool to the other side of the orange part and gradually pull the piece out, freeing it from the handle.

      Pergunte ao FixBot

      Comentar

    11. Nerf N-Strike Elite Hail-Fire Right Shell Replacement: passo 11, imagem 1 %32 Nerf N-Strike Elite Hail-Fire Right Shell Replacement: passo 11, imagem 2 %32 Nerf N-Strike Elite Hail-Fire Right Shell Replacement: passo 11, imagem 3 %32
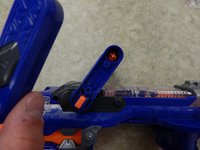
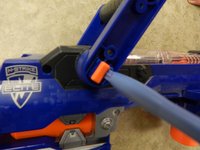
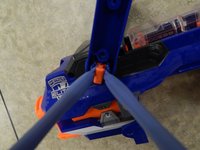
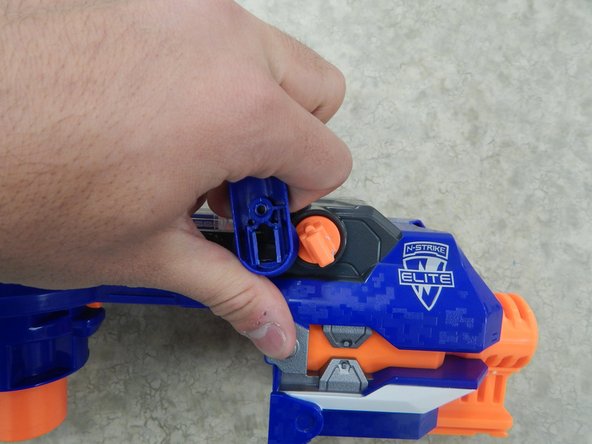
      • Pull one end of the handle away from the orange latch.

      • Repeat the procedure on the other side to completely remove the handle from the rest of the Nerf Gun.

      Pergunte ao FixBot

      Comentar

    12. Nerf N-Strike Elite Hail-Fire Right Shell Replacement: passo 12, imagem 1 %32 Nerf N-Strike Elite Hail-Fire Right Shell Replacement: passo 12, imagem 2 %32 Nerf N-Strike Elite Hail-Fire Right Shell Replacement: passo 12, imagem 3 %32
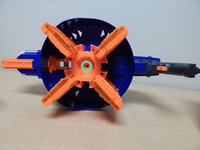
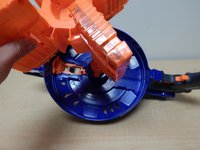
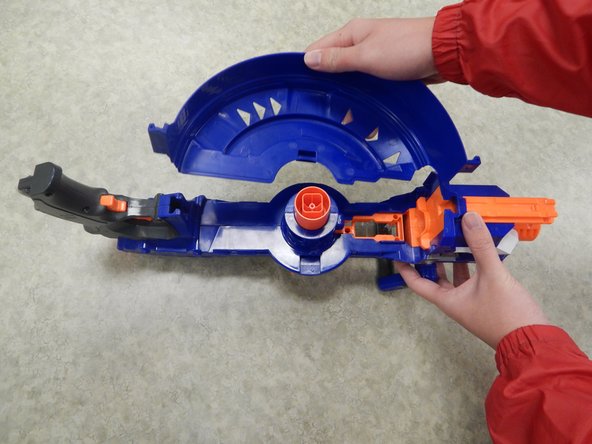
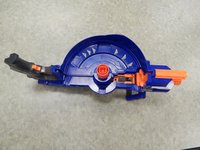
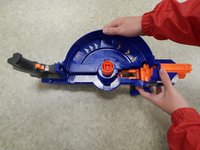
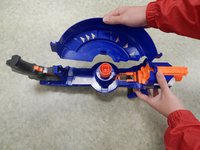
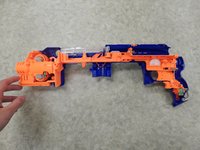
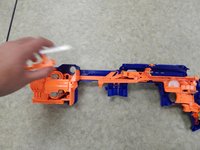
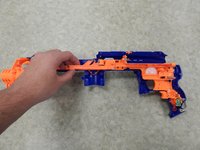
      • Lift the entire left shell slowly. The process should be easy and if there is any resistance, there is something wrong. You may have forgotten a screw.

      • Completely remove the left shell from the rest of the Nerf Gun.

      Pergunte ao FixBot

      Comentar

    1. Nerf N-Strike Elite Hail-Fire Right Shell Replacement, Inner Plastic Components: passo 13, imagem 1 %32 Nerf N-Strike Elite Hail-Fire Right Shell Replacement, Inner Plastic Components: passo 13, imagem 2 %32 Nerf N-Strike Elite Hail-Fire Right Shell Replacement, Inner Plastic Components: passo 13, imagem 3 %32
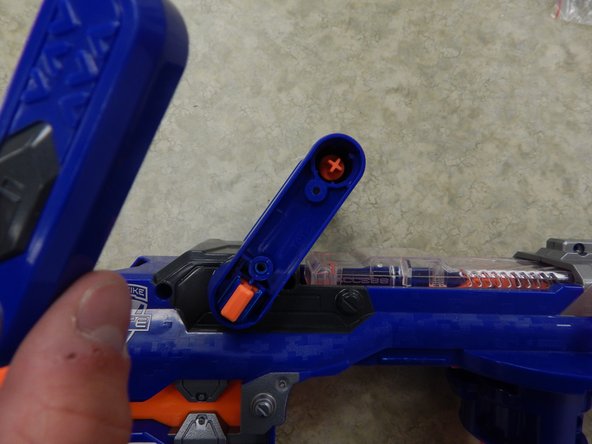
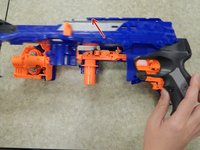
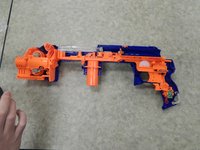
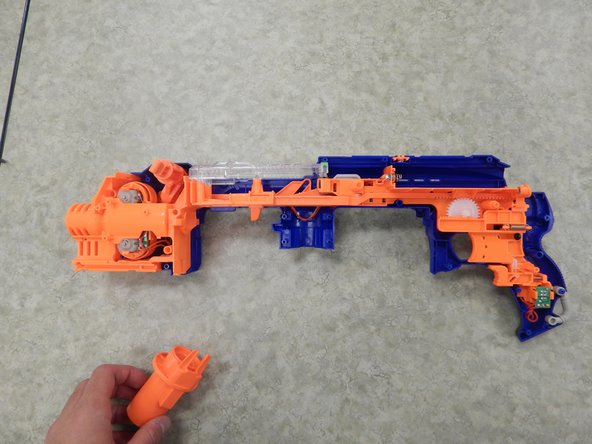
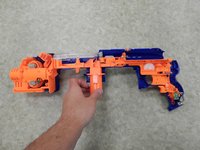
      • Remove the cartridge support.

      Pergunte ao FixBot

      Comentar

    2. Nerf N-Strike Elite Hail-Fire Right Shell Replacement: passo 14, imagem 1 %32 Nerf N-Strike Elite Hail-Fire Right Shell Replacement: passo 14, imagem 2 %32 Nerf N-Strike Elite Hail-Fire Right Shell Replacement: passo 14, imagem 3 %32
      • Remove the handle crank.

      Pergunte ao FixBot

      Comentar

    3. Nerf N-Strike Elite Hail-Fire Right Shell Replacement: passo 15, imagem 1 %32 Nerf N-Strike Elite Hail-Fire Right Shell Replacement: passo 15, imagem 2 %32
      • Remove the clear plastic barrel cover.

      Pergunte ao FixBot

      Comentar

    4. Nerf N-Strike Elite Hail-Fire Right Shell Replacement: passo 16, imagem 1 %32 Nerf N-Strike Elite Hail-Fire Right Shell Replacement: passo 16, imagem 2 %32
      • Remove the firing pin.

      Pergunte ao FixBot

      Comentar

    1. Nerf N-Strike Elite Hail-Fire Right Shell Replacement, Right Shell: passo 17, imagem 1 %32 Nerf N-Strike Elite Hail-Fire Right Shell Replacement, Right Shell: passo 17, imagem 2 %32
      • Lift the trigger mechanism out of the shell.

      • You cannot fully remove the trigger mechanism just yet. However taking it out of the shell helps in later steps.

      Pergunte ao FixBot

      Comentar

    2. Nerf N-Strike Elite Hail-Fire Right Shell Replacement: passo 18, imagem 1 %32 Nerf N-Strike Elite Hail-Fire Right Shell Replacement: passo 18, imagem 2 %32 Nerf N-Strike Elite Hail-Fire Right Shell Replacement: passo 18, imagem 3 %32
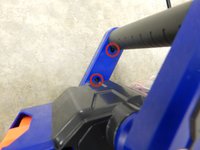
      • Remove the two 9.0 mm Phillips screws.

      Pergunte ao FixBot

      Comentar

    3. Nerf N-Strike Elite Hail-Fire Right Shell Replacement: passo 19, imagem 1 %32 Nerf N-Strike Elite Hail-Fire Right Shell Replacement: passo 19, imagem 2 %32 Nerf N-Strike Elite Hail-Fire Right Shell Replacement: passo 19, imagem 3 %32
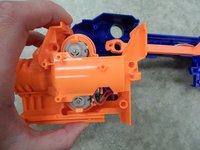
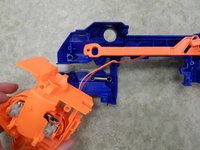
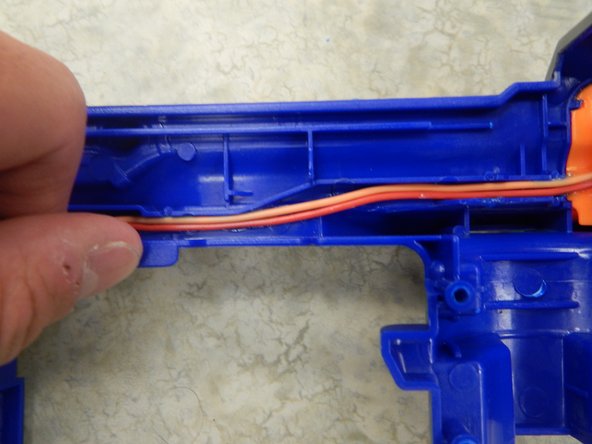
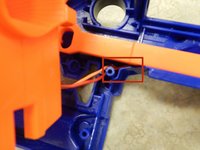
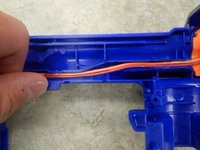
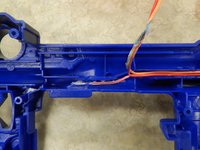
      • To remove the motor and trigger mechanism you have to detach these two wires which are glued to the shell.

      • Hold close to the wire and pull upward slowly.

      • If you pull too quickly you can potentially damage the wire.

      Pergunte ao FixBot

      Comentar

    4. Nerf N-Strike Elite Hail-Fire Right Shell Replacement: passo 20, imagem 1 %32 Nerf N-Strike Elite Hail-Fire Right Shell Replacement: passo 20, imagem 2 %32
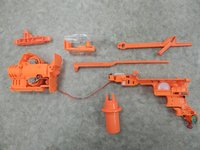
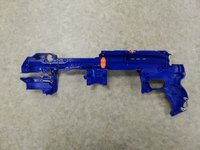
      • Once all the pieces are removed the right shell should be fully accessible.

      Pergunte ao FixBot

      Comentar

Conclusão

To reassemble your device, follow these instructions in reverse order.

Cancelar: não concluí este guia.

2 outras pessoas executaram este guia.

sage

Membro desde: 01/24/14

301 Reputação

Autoria de 3 guias

Equipe

Cal Poly, Team 13-13, Regan Winter 2014 Membro de Cal Poly, Team 13-13, Regan Winter 2014

CPSU-REGAN-W14S13G13

4 Membros

Autoria de 21 guias

0Comentários do guia

Comentar

Visualizações:

Últimas 24 horas: 0

Últimos 7 dias: 11

Últimos 30 dias: 48

Ao todo: 5,105