Ir para o conteúdo principal

NETGEAR WGT624 v3 Capacitor Replacement

O que você precisa

  1. NETGEAR WGT624 v3 Capacitor Replacement, Lower Case: passo 1, imagem 1 %32
    • Turn the device so that the bottom is facing up.

  2. NETGEAR WGT624 v3 Capacitor Replacement: passo 2, imagem 1 %32 NETGEAR WGT624 v3 Capacitor Replacement: passo 2, imagem 2 %32 NETGEAR WGT624 v3 Capacitor Replacement: passo 2, imagem 3 %32
    • Use the plastic opening tool to carefully lift the rubber stops in each corner.

    • Do not completely remove the rubber stops, because they are difficult to replace.

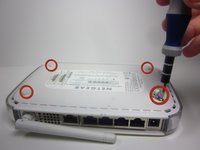
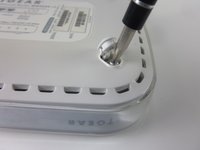
  3. NETGEAR WGT624 v3 Capacitor Replacement: passo 3, imagem 1 %32 NETGEAR WGT624 v3 Capacitor Replacement: passo 3, imagem 2 %32
    • Unscrew the 4 11.8 mm T-8 Torx screws from each corner of the device.

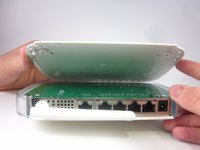
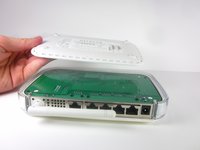
  4. NETGEAR WGT624 v3 Capacitor Replacement: passo 4, imagem 1 %32 NETGEAR WGT624 v3 Capacitor Replacement: passo 4, imagem 2 %32
    • Lift the lower case straight up from the rest of the router.

  5. NETGEAR WGT624 v3 Capacitor Replacement, Motherboard: passo 5, imagem 1 %32 NETGEAR WGT624 v3 Capacitor Replacement, Motherboard: passo 5, imagem 2 %32
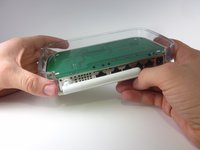
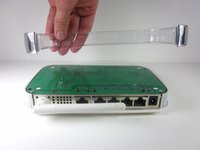
    • Remove the clear plastic casing by lifting it straight up from the router.

  6. NETGEAR WGT624 v3 Capacitor Replacement: passo 6, imagem 1 %32 NETGEAR WGT624 v3 Capacitor Replacement: passo 6, imagem 2 %32
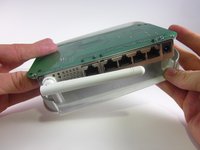
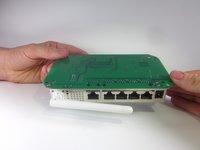
    • Separate the motherboard from the top shell by lifting it straight up from the router.

  7. NETGEAR WGT624 v3 Capacitor Replacement, Capacitor: passo 7, imagem 1 %32
    • Turn the motherboard so that the top is facing upwards.

    • Place the motherboard on a clean flat surface.

  8. NETGEAR WGT624 v3 Capacitor Replacement: passo 8, imagem 1 %32
    • Locate the four capacitors.

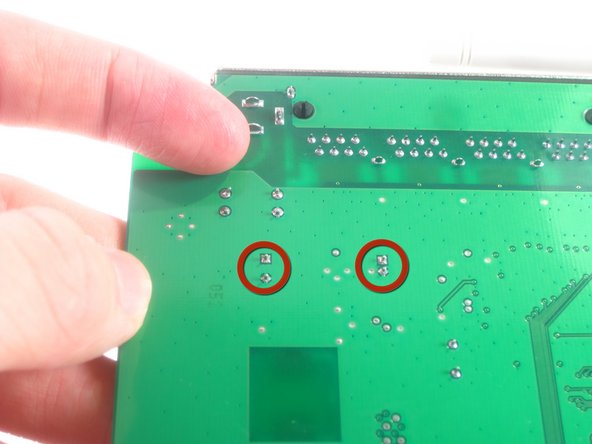
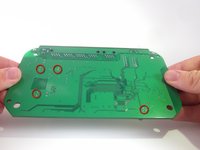
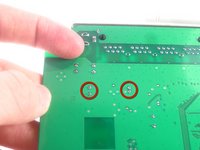
  9. NETGEAR WGT624 v3 Capacitor Replacement: passo 9, imagem 1 %32 NETGEAR WGT624 v3 Capacitor Replacement: passo 9, imagem 2 %32
    • Turn the motherboard so that the bottom is facing upwards.

    • Locate the two soldered contacts for each capacitor.

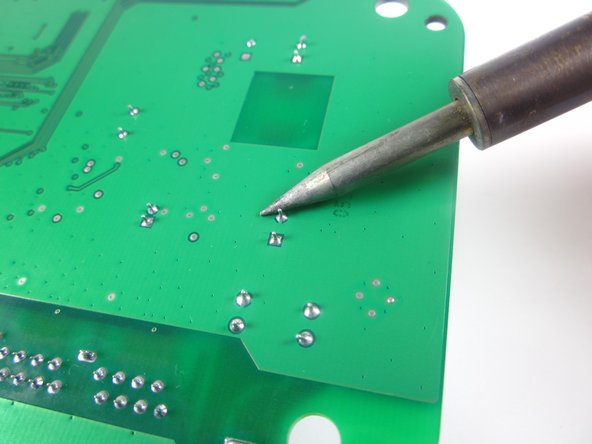
  10. NETGEAR WGT624 v3 Capacitor Replacement: passo 10, imagem 1 %32 NETGEAR WGT624 v3 Capacitor Replacement: passo 10, imagem 2 %32
    • Do not refer to the pictures in this step for correct soldering and de-soldering techniques. They are solely for illustration purposes.

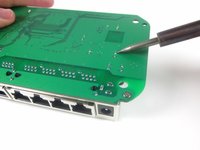
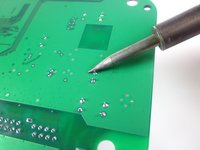
    • Desolder the soldered connections between the capacitors and the motherboard, and pull the capacitor from the motherboard.

    • For proper soldering and de-soldering techniques, refer here.

    • When reinstalling the capacitor, make sure the negative side of the capacitor is aligned with the shaded white region of the circle.

Conclusão

To reassemble your device, follow these instructions in reverse order.

Uma outra pessoa concluiu este guia.

Jonathon Sather

Membro desde: 01/23/13

45 Reputação

Autoria de 3 guias

Equipe

Cal Poly, Team 3-31, Amido Winter 2013 Membro de Cal Poly, Team 3-31, Amido Winter 2013

CPSU-AMIDO-W13S3G31

Membros da 3

Autoria de 12 guias

Um comentário

my router NETGEAR WNR 612 WIFI LED NOT GLOWING PLEASE HLP ME IN REPAIRING

Vinod Kumar Polakonda - Responder

Adicione um comentário

Exibir estatísticas:

Últimas 24 horas: 0

Últimos 7 dias: 0

Últimos 30 dias: 4

Duração total: 1,508