Introdução
In order to replace your Motorola Moto Z2 Force you will need to follow several prerequisite guides, in fact, you really need to take the phone apart. Use this guide if the front facing camera has stopped working.
Before you begin, download the Rescue and Smart Assistant app to backup your device and diagnose whether your problem is software or hardware related.
For your safety, discharge your battery below 25% before disassembling your phone. This reduces the risk of a dangerous thermal event if the battery is accidentally damaged during the repair. If your battery is swollen, take appropriate precautions.
Warning: The screen assembly of this device is comprised of a rigid midframe and a flexible plastic display that can split apart during disassembly. Excessive heat on the display can also cause it to bubble up or warp, and this is very difficult to remedy. If you plan on reusing the screen assembly, heed all warnings carefully and do not use any heat on the display.
O que você precisa
-
-
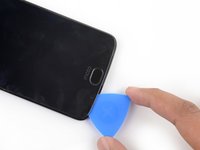
Insert the point of the SIM card eject tool into the sim card lock at the top of the phone.
-
Press down on the SIM card eject tool until the SIM card tray is slightly ejected from the device.
-
-
-
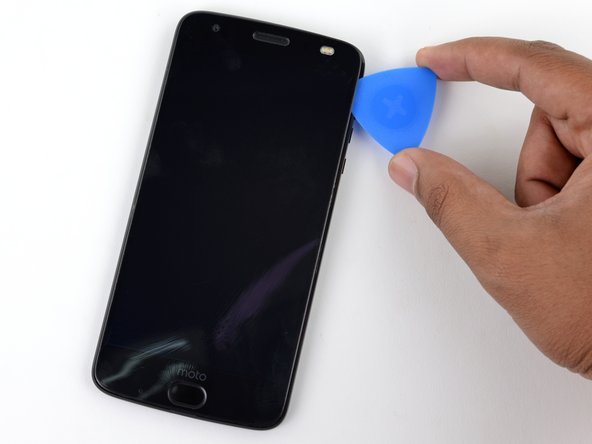
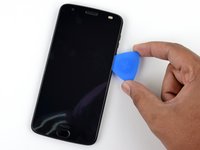
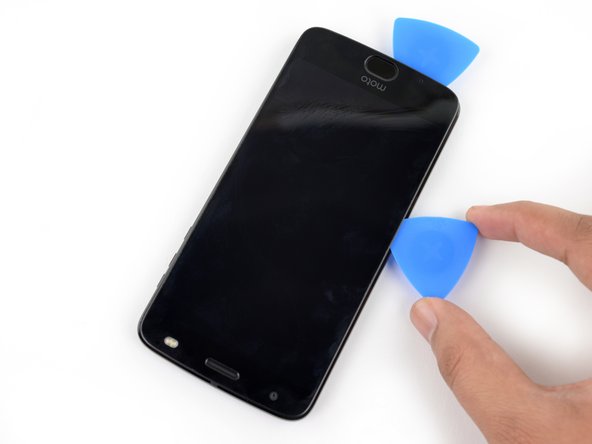
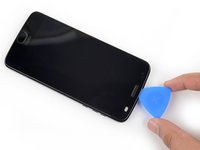
When separating the sides of the screen assembly from the device's frame, you will need to release five metal clips securing it in place.
-
Three of these clips are located on the left side of the device, and two are located on the right side.
-
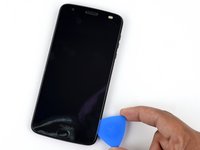
You will need to work around these clips with your opening pick in order to fully release them.
-
You can either carefully slide an opening pick around these clips, or leave a pick on one side of the clip while prying the other side with another pick.
-
-
-
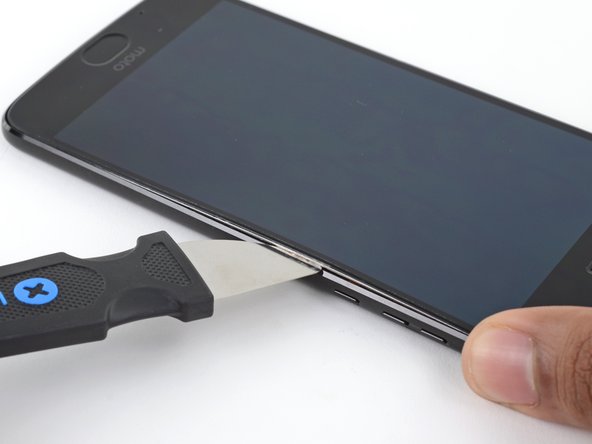
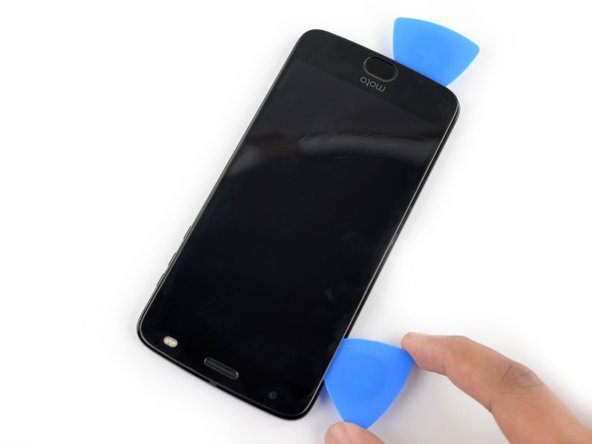
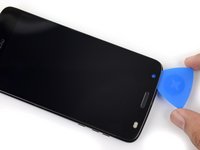
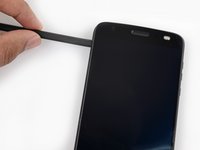
Insert a Jimmy or other metal tool between the right side of the plastic display and the metal frame, near the phone's side buttons.
-
Tilt the Jimmy downward while continuing to push it deeper into the gap to pry up the right side of the screen assembly.
-
-
-
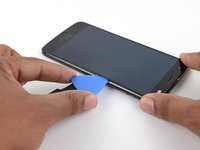
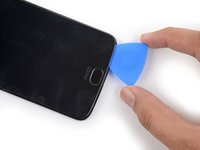
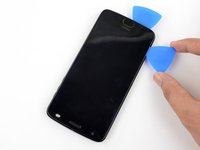
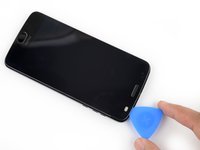
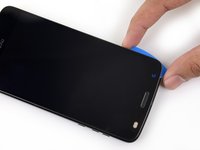
Once the screen assembly's right edge is separated, slide your pick around the bottom right corner of the device so it is underneath the bottom edge of the assembly.
-
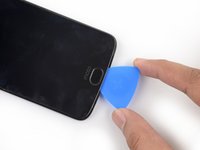
Slide the tool all along the bottom edge of the phone to slice through the adhesive securing the screen assembly and release the plastic clips.
-
Leave your tool underneath the bottom edge of the screen assembly to prevent it from re-adhering to the frame. Continue to the next step with a new tool.
-
-
-
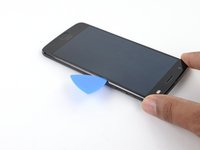
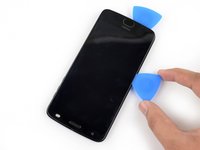
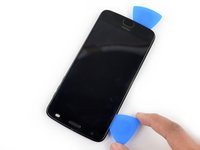
Insert another opening pick underneath the bottom edge of the screen assembly and slide it around the bottom left corner of the device so it is underneath the assembly's left edge.
-
Slide your tool all along the left edge of the phone to separate the metal clips and adhesive securing the screen assembly.
-
-
-
-
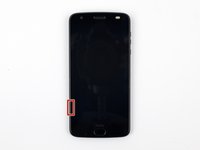
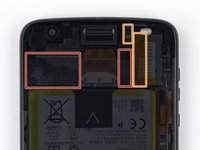
There are two large pads of adhesive securing the screen assembly near the top edge but further past the 4 mm that have already been sliced through.
-
The front facing sensor array and cable surround the right patch of adhesive from the top and right, so prying or slicing from the top or right edge may damage the cable. The following steps will describe how to separate the adhesive from the left edge.
-
-
-
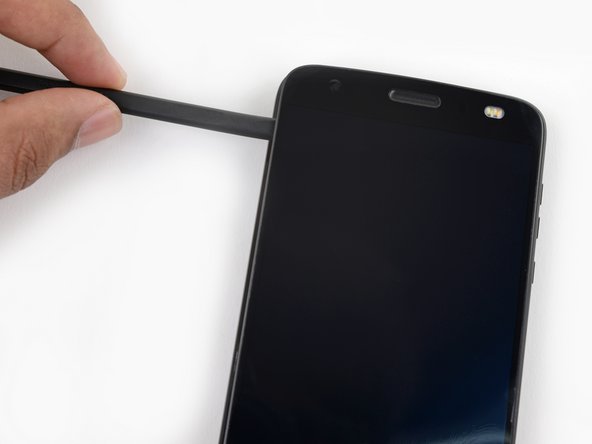
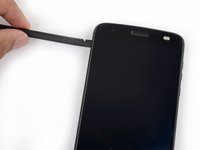
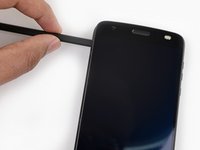
Slowly and carefully slide the flat end of a spudger under the left edge of the screen assembly. Gradually insert it deeper to pry up the top edge of the assembly and release the right patch of adhesive.
-
-
-
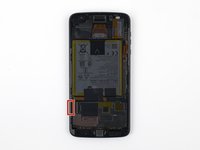
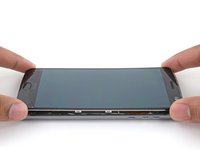
Lift the screen assembly from the right edge and swing it open. It is still attached to the phone chassis at the lower left edge, so do not fully remove it yet.
-
If the screen assembly remains stuck, slice the adhesive repeatedly as needed.
-
-
Ferramenta utilizada neste passo:Tweezers$4.99
-
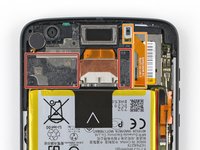
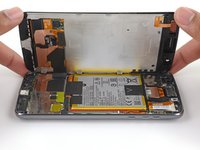
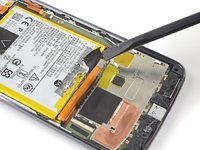
Use a pair of tweezers to remove the black piece of tape covering the battery connector.
-
-
-
Use a spudger to pry up the locking tab on the display cable's ZIF connector.
-
Use a pair of tweezers to slide the display ribbon cable out of the connector.
-
-
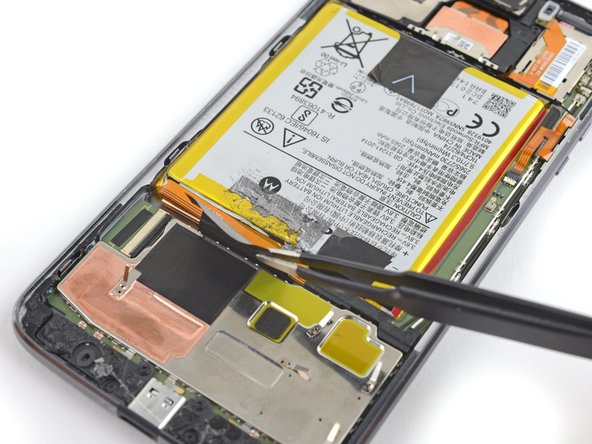
Ferramenta utilizada neste passo:Tesa 61395 Tape$6.99
-
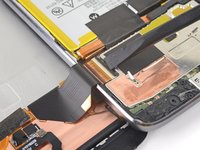
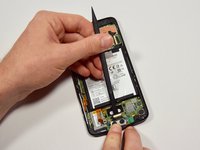
Use a pair of tweezers to remove the two black pieces of tape securing the battery.
-
-
-
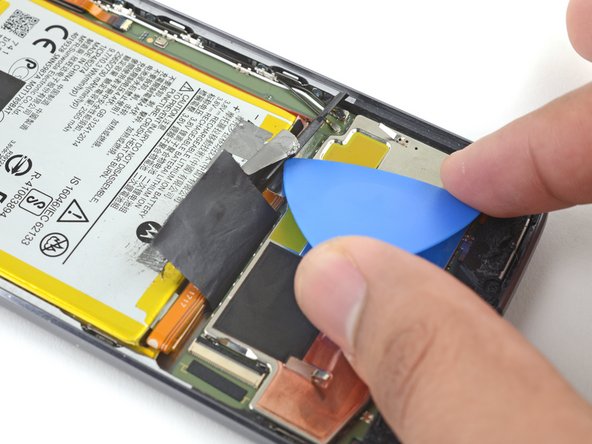
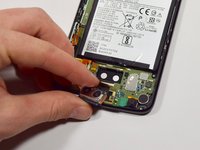
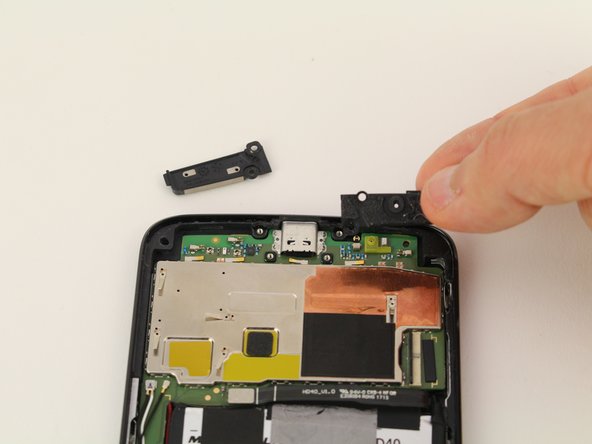
Use an opening pick to pry up the small black bracket covering the battery connector. It is secured with a small bit of adhesive.
-
Use a pair of tweezers or your fingers to remove the bracket.
-
-
-
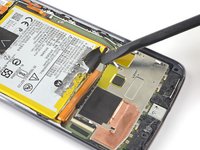
Use a spudger to pry up and disconnect the battery connector.
-
-
-
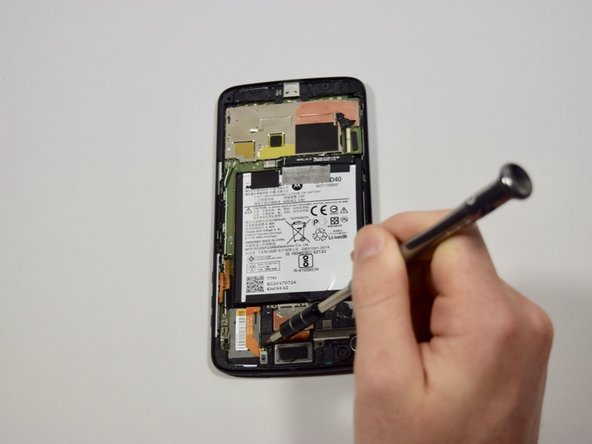
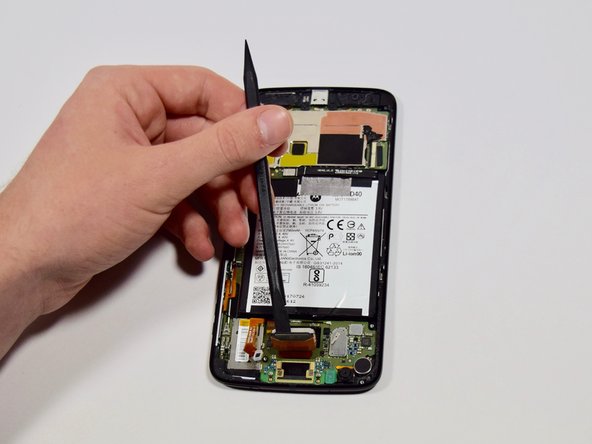
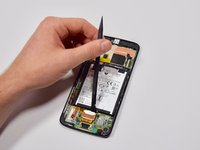
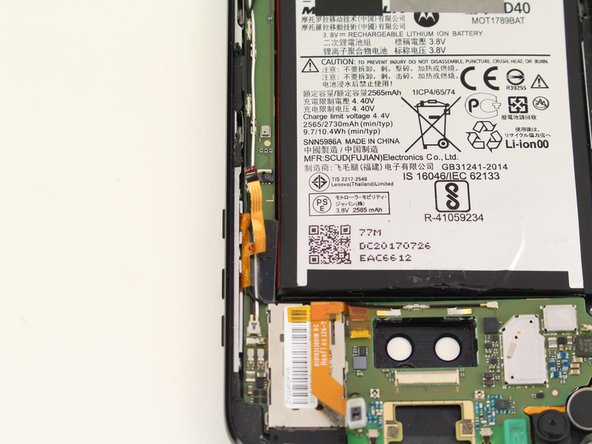
Insert the flat end of the nylon spudger on the side of the rear facing camera closest to the battery.
-
Pry up the camera by pushing down on the spudger until the camera pops up.
-
-
-
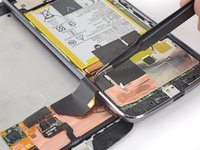
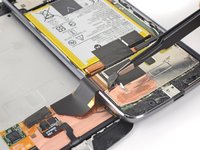
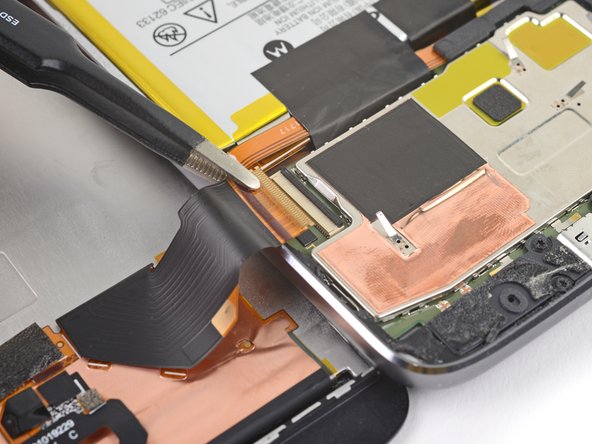
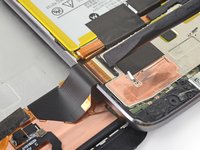
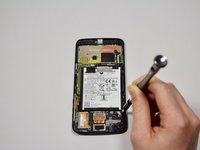
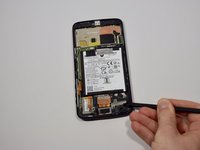
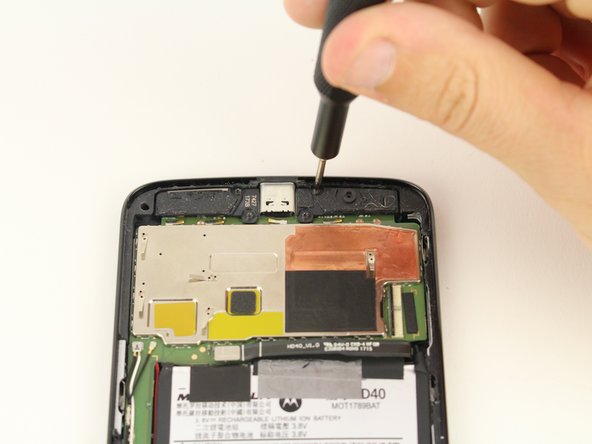
Using the spudger, lift up the bar on the ZIF connector that joins the ribbon cable to the control buttons.
-
-
-
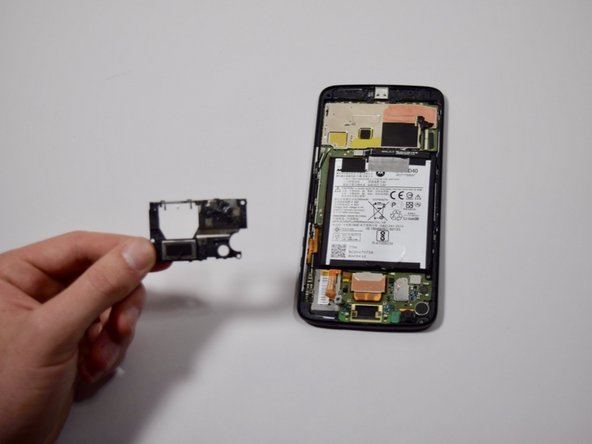
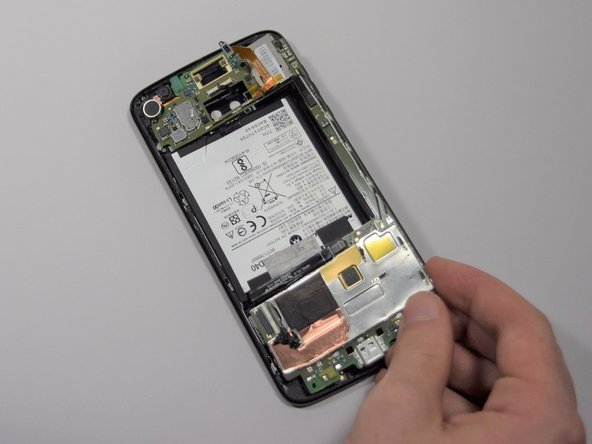
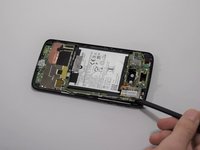
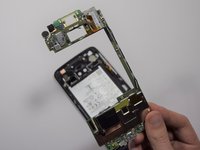
Flip the motherboard over.
-
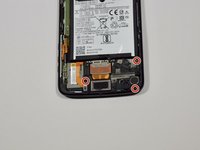
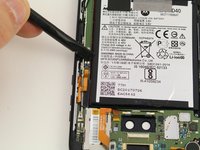
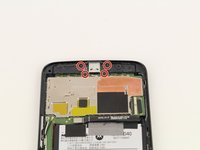
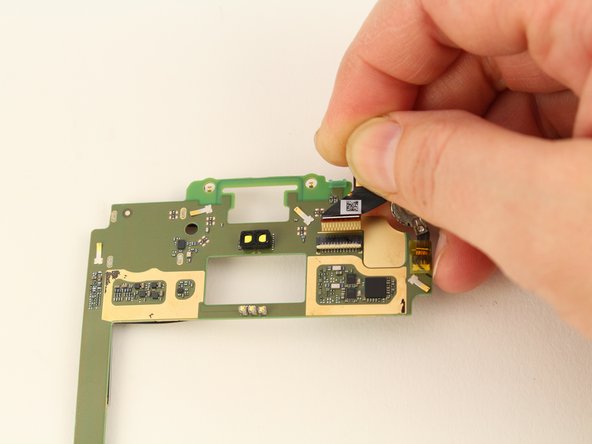
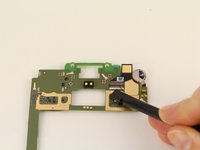
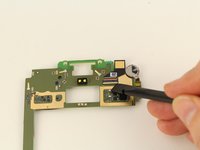
Use the black nylon spudger to lift the white bar of the ZIF connector in the upper right corner.
-
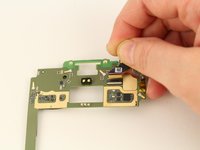
Pull the front facing camera out from the ZIF connector and away from the motherboard.
-


To reassemble your device, follow these instructions in reverse order.
To reassemble your device, follow these instructions in reverse order.

