Introdução
Follow this guide to replace a cracked or damaged screen on the Motorola Moto E5.
Before you begin, download the Rescue and Smart Assistant app to backup your device and diagnose whether your problem is software or hardware related.
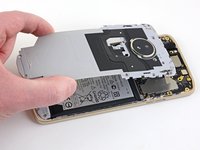
This guide requires the removal of the battery. We recommend not re-using the old battery, as removing it can deform it slightly and potentially cause safety issues if you re-use it. Replace the battery along with the screen.
For your safety, discharge the battery below 25% before disassembling your phone. This reduces the risk of a dangerous thermal event if the battery is accidentally damaged during the repair.
O que você precisa
-
-
Use a SIM eject bit, SIM eject tool, or paper clip to remove the SIM card from the phone.
-
-
-
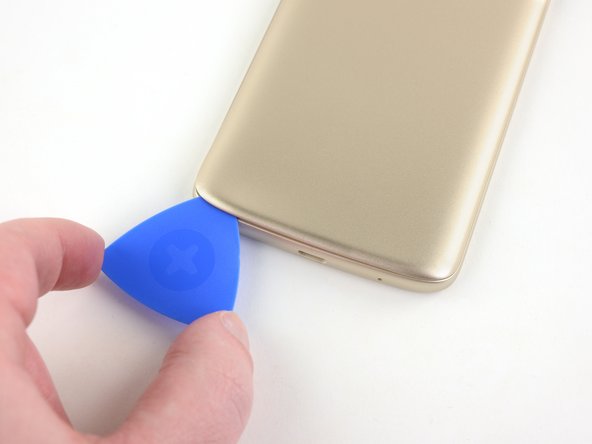
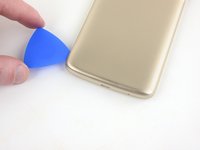
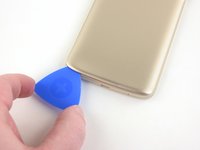
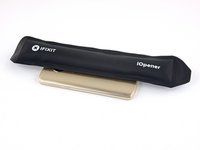
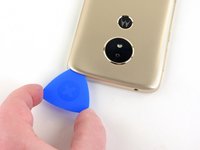
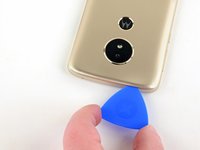
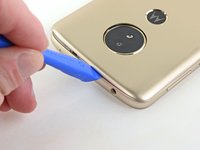
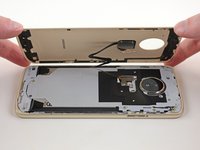
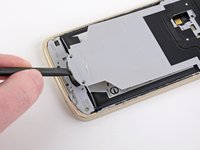
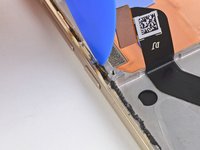
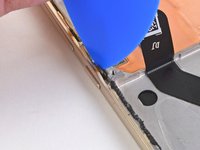
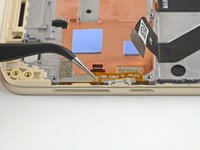
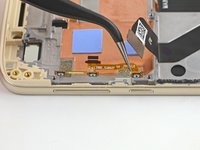
Prepare an iOpener and heat the back of the phone along one edge for about two minutes, or until it's slightly too hot to touch. This will help soften the adhesive securing the back cover to the phone.
-
-
-
Ferramenta utilizada neste passo:Plastic Cards$2.99
-
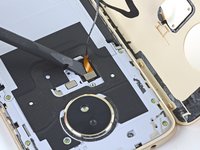
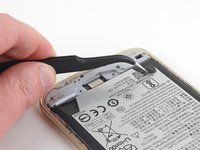
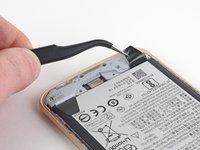
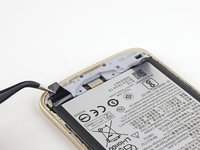
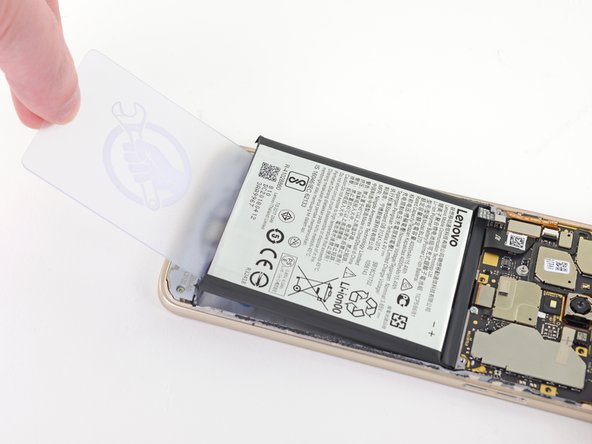
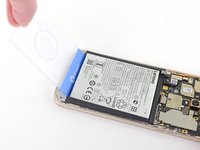
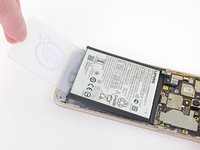
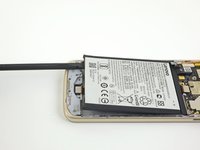
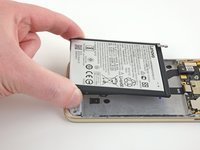
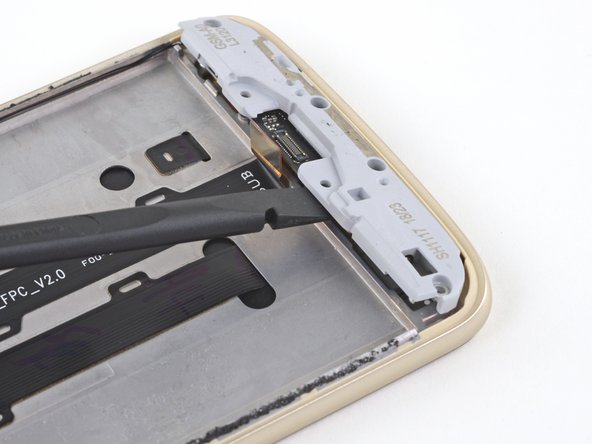
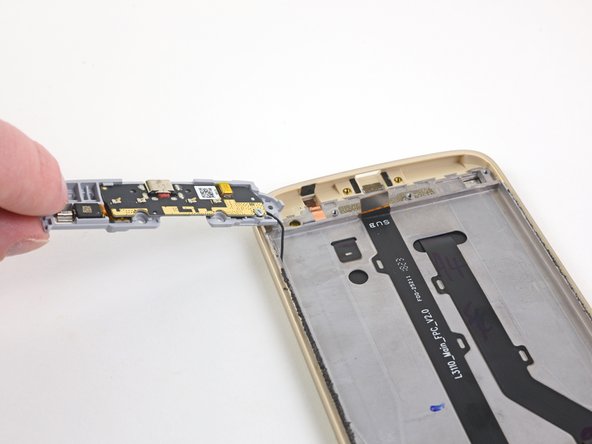
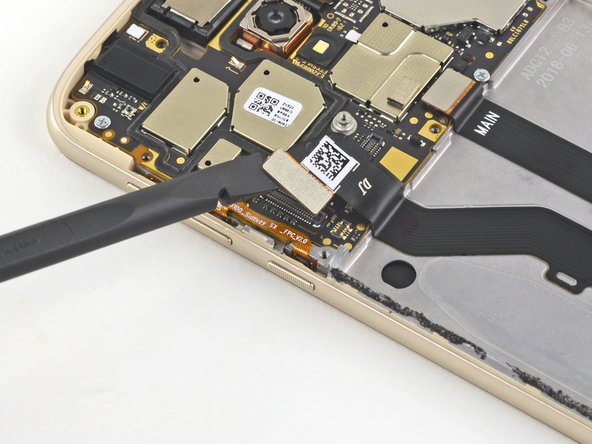
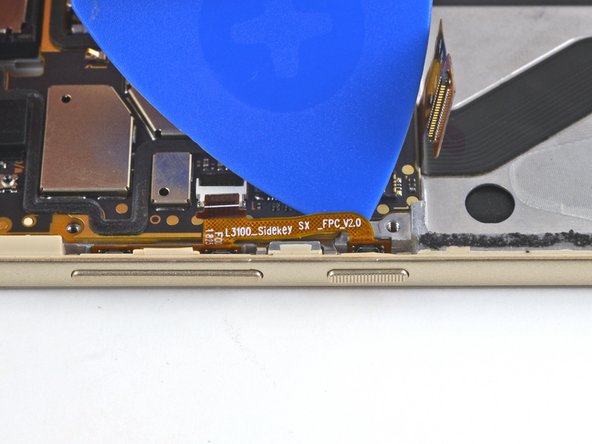
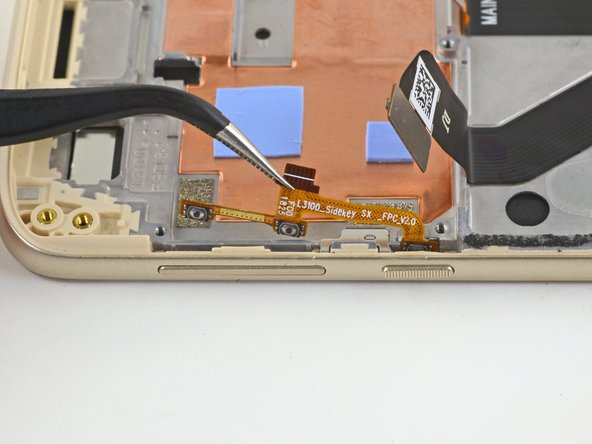
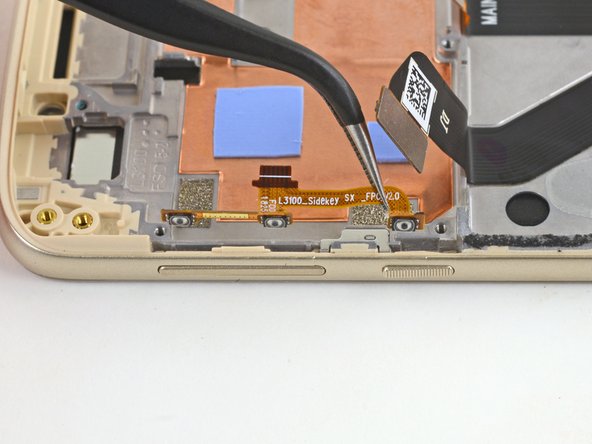
If the adhesive strips broke and you can no longer access them, insert a plastic card in between the bottom of the battery and the phone's frame.
-
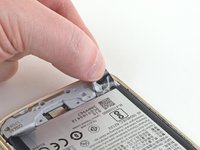
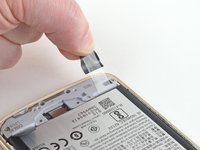
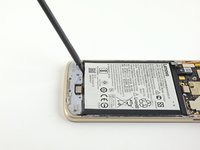
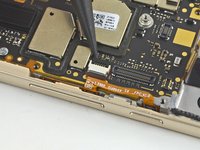
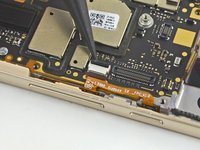
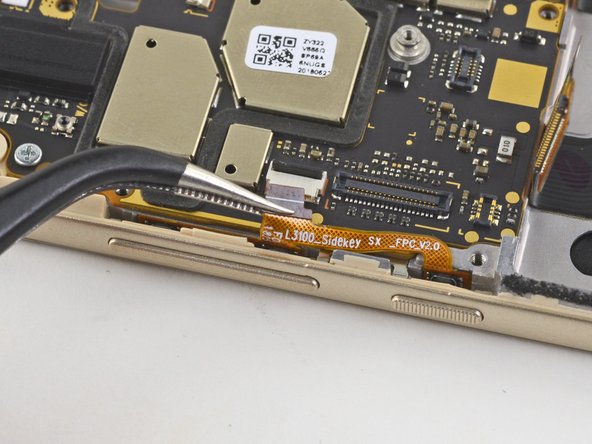
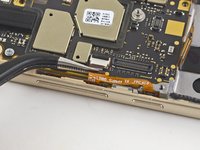
Carefully push the card down and inward to wedge it underneath the battery and pry it up.
-


To reassemble your device, follow the above steps in reverse order.
Take your e-waste to an R2 or e-Stewards certified recycler.
Repair didn’t go as planned? Check out our Motorola Moto E5 Answers community for troubleshooting help.
To reassemble your device, follow the above steps in reverse order.
Take your e-waste to an R2 or e-Stewards certified recycler.
Repair didn’t go as planned? Check out our Motorola Moto E5 Answers community for troubleshooting help.
Cancelar: não concluí este guia.
5 outras pessoas executaram este guia.
