Essa tradução foi gerada por um programa e ainda não foi revisada por uma pessoa. Falas essa língua? Dá uma olhada.

Substituição do motor de passo do Microtek ScanMaker 5900

Steven Shaginyan e 3 outros colaboradores
Última atualização em 14 de ago de 2026
Visualizações: 2,2 mil
Visualizar Estatísticas:
- Últimas 24 horas:
- 0
- Últimos 7 dias:
- 9
- Últimos 30 dias:
- 47
- Ao todo:
- 2.223
Comentários: 0
Ninguém deixou comentários sobre este guia. Você será o primeiro?
Go to guide commentsConcluído: 1 2
1 pessoa marcou este guia como "concluído". Será você o próximo?
2· pessoas marcaram este guia como "concluído". Incluindo você — ótimo trabalho!
Favorites: 2 3
2 pessoas favoritaram (e se inscreveram) neste guia. Você será o próximo?
3 pessoas marcaram como favorito (e assinaram) este guia - incluindo você!
Precisa de melhores imagens
Melhores fotos vão melhorar este guia. Ajude tirando, editando ou enviando novas delas!
Introdução
Ir para o passo 1 ↓Este guia mostrará como substituir o motor de passo do scanner.
O que você precisa
Ferramentas


-
-
-
Afrouxe os parafusos da porta serial girando-os manualmente no sentido anti-horário.
-
Após afrouxar os parafusos, puxe a porta serial para fora.
 Pergunte ao FixBot
-
-
-
Levante a tampa até a posição vertical.
-
Puxe a tampa para cima para removê-la do scanner.
-
-
-
-
-
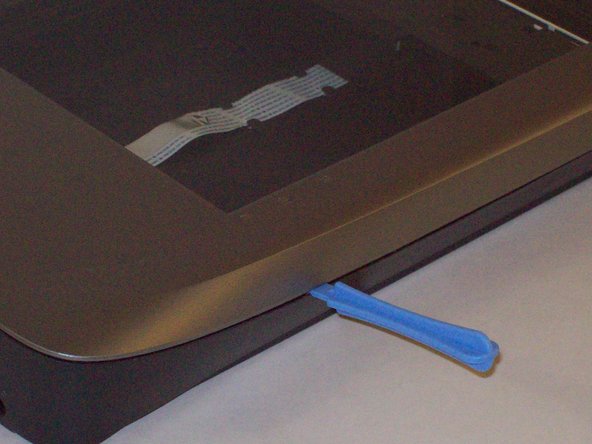
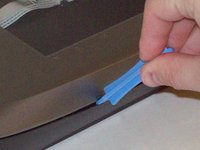
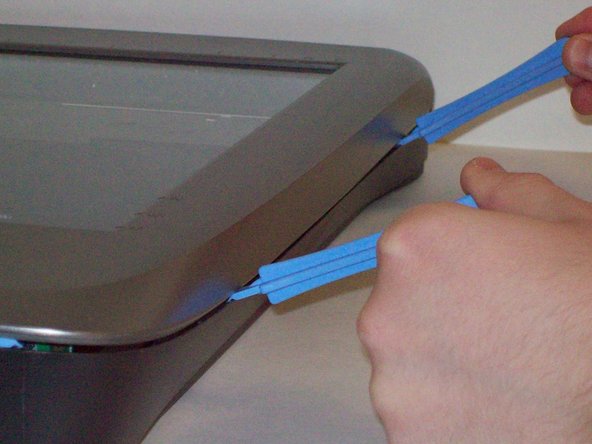
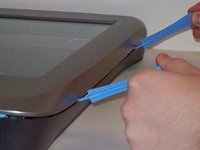
Insira as ferramentas de abertura na fenda entre a parte superior e a inferior da carcaça.
-
-
-
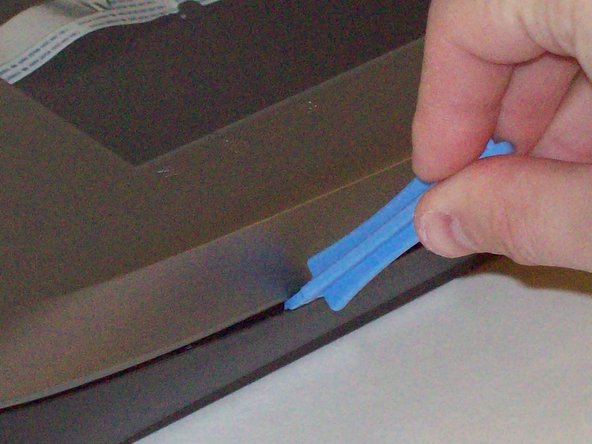
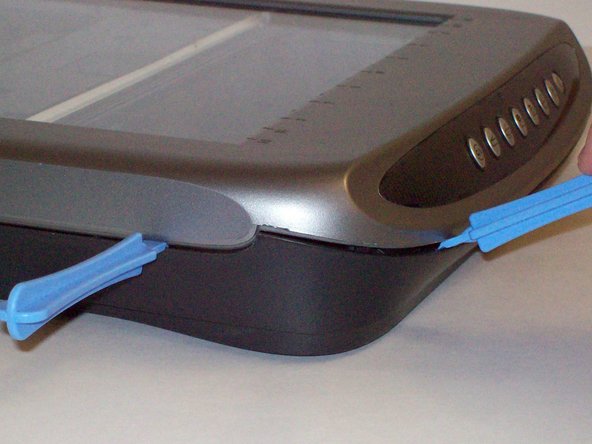
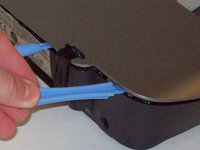
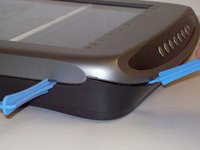
Após inserir uma ferramenta de abertura de plástico na fenda, deslize outras ferramentas de abertura de plástico ao longo da fenda para desencaixar a parte superior da parte inferior do chassi.
-
Siga ao longo de todo o chassi até conseguir levantar a tampa superior.
-
-
-
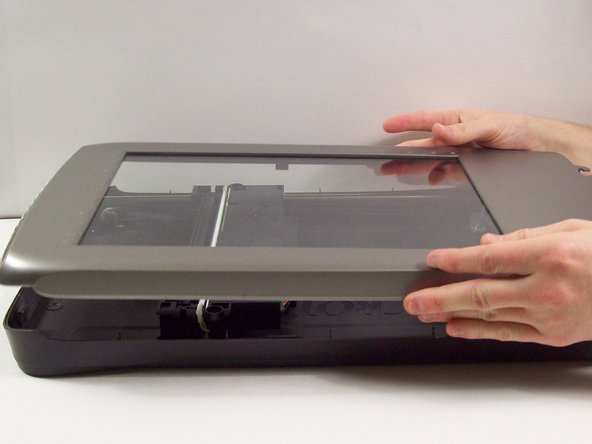
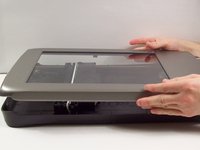
Para isso, segure a tampa superior pelas laterais e gire-a em noventa graus, de modo que fique perpendicular à tampa inferior.
-
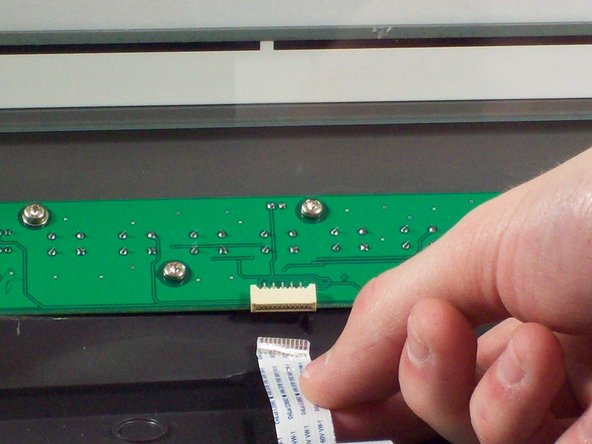
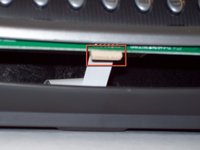
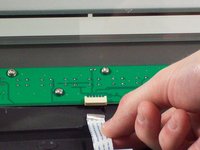
Segure o cabo plano e puxe-o suavemente para fora do seu conector com os dedos.
-
A tampa superior pode agora ser removida com segurança da tampa inferior.
-
-
-
-
-
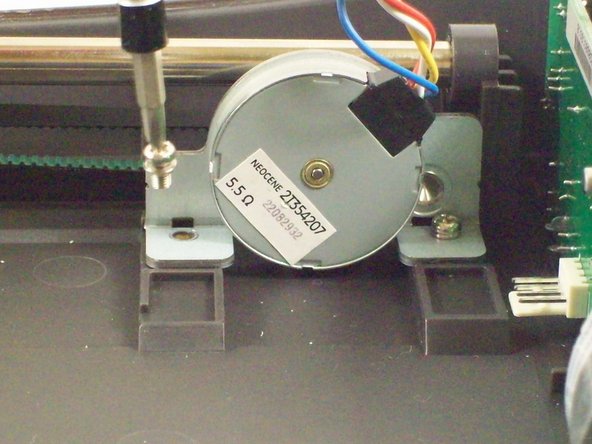
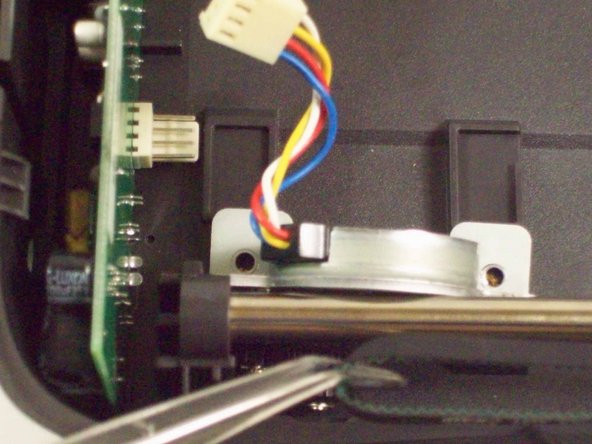
Localize o motor de passo. Com a parte frontal do scanner virada para você, o motor está localizado no canto superior esquerdo.
-
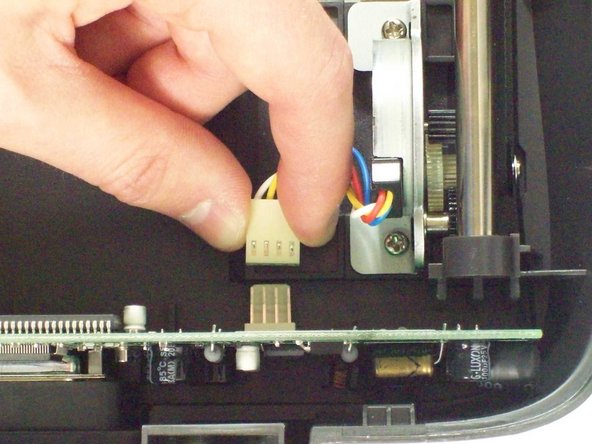
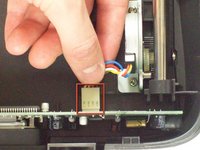
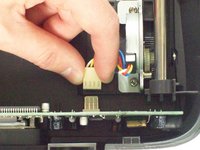
Desconecte o conector branco da placa de circuito vertical.
-
-
-
-
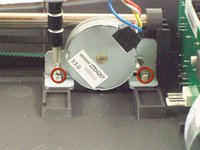
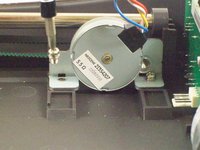
Usando uma chave Philips #2, desparafuse os dois parafusos de 7,7 mm que prendem o motor de passo no lugar.
-
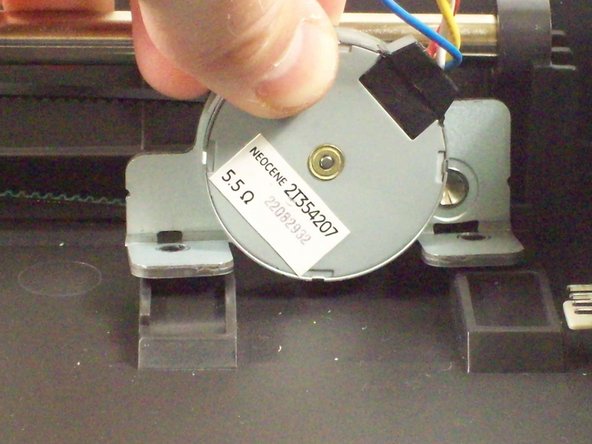
O motor de passo ficará solto, mas não completamente livre.
-
-
Ferramenta utilizada neste passo:Tweezers$4.99
-
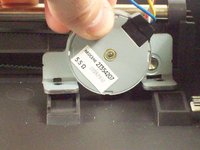
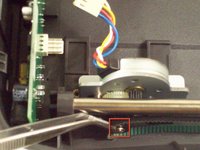
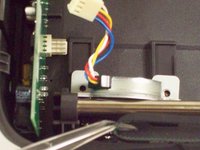
Usando a pinça, remova cuidadosamente a correia da engrenagem preta no motor de passo.
-
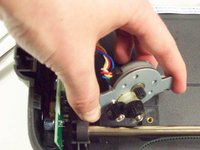
O motor de passo ficará completamente solto.
-
-







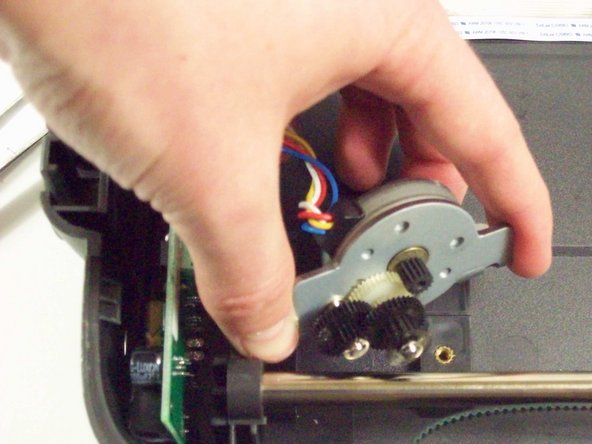

Para a remontagem de seu dispositivo, siga estas instruções na ordem inversa.
Cancelar: não concluí este guia.
Uma outra pessoa concluiu este guia.

Equipe

Cal Poly, Team 6-9, Regan Fall 2011 Membro de Cal Poly, Team 6-9, Regan Fall 2011
CPSU-REGAN-F11S6G9
2 Membros
Autoria de 132 guias
