Ir para o conteúdo principal
Participe da comunidade de reparos - Criar conta

Microsoft Surface Pro 2 Motherboard Replacement

O que você precisa

    1. Microsoft Surface Pro 2 Motherboard Replacement, LCD Display: passo 1, imagem 1 %32 Microsoft Surface Pro 2 Motherboard Replacement, LCD Display: passo 1, imagem 2 %32
      • To avoid electrical shocks, unplug and turn off your Surface Pro 2 before proceeding.

      Pergunte ao FixBot

      Comentar

    2. Microsoft Surface Pro 2 Motherboard Replacement: passo 2, imagem 1 %32
      • Avoid any skin or eye contact with the heating pad or heating gun because they may cause bodily harm.

      • Using a heating pad or heating gun, heat the edges of the screen to soften the glue. This area extends roughly one inch from the edge of the device.

      • The glue is under the darker border of the device display.

      Pergunte ao FixBot

      Comentar

    3. Microsoft Surface Pro 2 Motherboard Replacement: passo 3, imagem 1 %32
      • Using a plastic opening tool and a suction cup as needed for leverage, gently insert one edge of the opening tool under the corner of the screen.

      • If the tool does not easily slide under the screen, return to heating before proceeding.

      • Slowly work the tool around the entire edge of the screen.

      Pergunte ao FixBot

      Comentar

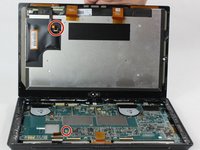
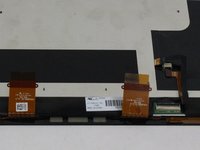
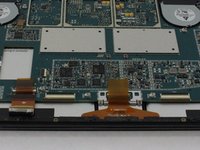
    4. Microsoft Surface Pro 2 Motherboard Replacement: passo 4, imagem 1 %32 Microsoft Surface Pro 2 Motherboard Replacement: passo 4, imagem 2 %32 Microsoft Surface Pro 2 Motherboard Replacement: passo 4, imagem 3 %32
      • Detach the orange cables that connect the screen to the motherboard by pulling on the small tabs. Using the nylon spudger, release these cables.

      • Please note the third small connector in red.

      • Allow the glue to cool before letting it come into contact with any other surface.

      Pergunte ao FixBot
      Comentar

    1. Microsoft Surface Pro 2 Motherboard Replacement, Motherboard: passo 5, imagem 1 %32 Microsoft Surface Pro 2 Motherboard Replacement, Motherboard: passo 5, imagem 2 %32 Microsoft Surface Pro 2 Motherboard Replacement, Motherboard: passo 5, imagem 3 %32
      • Make sure that the front-facing camera is completely disconnected, and then remove the plastic bracket.

      • Remove the 22 screws on the bezel.

      • Remove the left and right brackets; the left has 16 screws and the right has 15 screws.

      • The three different torx screws used are T3, T4, and T5.

      Pergunte ao FixBot
      Comentar

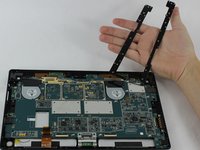
    2. Microsoft Surface Pro 2 Motherboard Replacement: passo 6, imagem 1 %32 Microsoft Surface Pro 2 Motherboard Replacement: passo 6, imagem 2 %32 Microsoft Surface Pro 2 Motherboard Replacement: passo 6, imagem 3 %32
      • Once the brackets are removed, set them aside.

      • The motherboard itself also has screws.

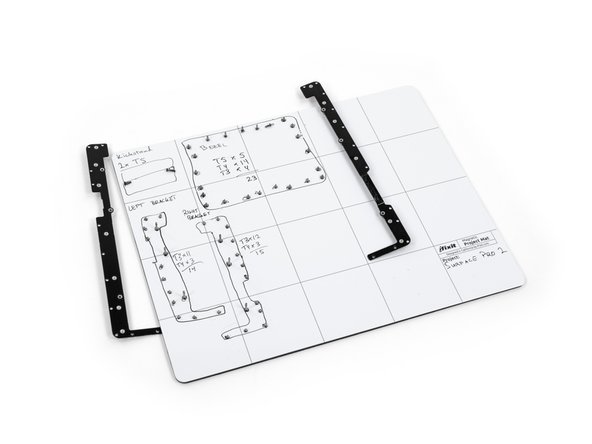
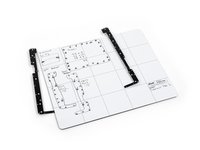
      • Remove the 25 screws of varying sizes that attach the motherboard to the back plate.

      • View the attached photo of a screw diagram to help keep track of your screws.

      Pergunte ao FixBot
      Comentar

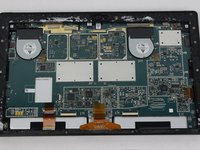
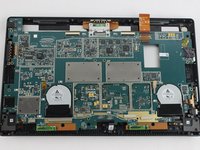
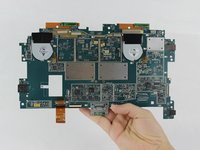
    3. Microsoft Surface Pro 2 Motherboard Replacement: passo 7, imagem 1 %32 Microsoft Surface Pro 2 Motherboard Replacement: passo 7, imagem 2 %32 Microsoft Surface Pro 2 Motherboard Replacement: passo 7, imagem 3 %32
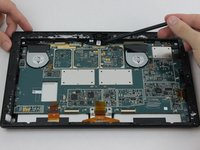
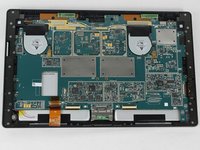
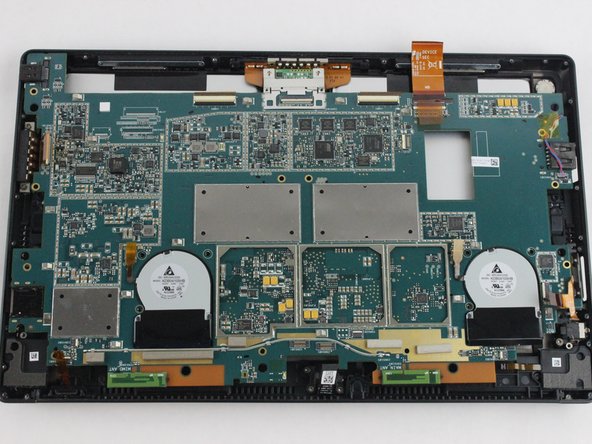
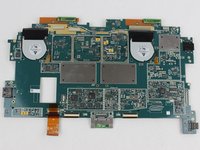
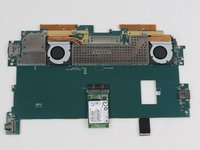
      • You have now completely removed the motherboard, and it should look like the pictures shown.

      • Be sure to be cautious with all the connections with the cables on the motherboard.

      Pergunte ao FixBot

      Comentar

Conclusão

To reassemble your device, follow these instructions in reverse order.

Cancelar: não concluí este guia.

2 outras pessoas executaram este guia.

Equipe

USF Tampa, Team 6-2, Remmell Fall 2016 Membro de USF Tampa, Team 6-2, Remmell Fall 2016

USFT-REMMELL-F16S6G2

4 Membros

Autoria de 11 guias

0Comentários do guia

Comentar

Visualizações:

Últimas 24 horas: 2

Últimos 7 dias: 42

Últimos 30 dias: 102

Ao todo: 7,596