Introdução
If you have tried multiple times but cannot get the Microsoft Surface 2 to turn on, you may need to replace the I/O cable, which houses the charging port. This cable will also need to be replaced if your SD card slot is not working properly.
O que você precisa
-
-
-
Begin by using a heat gun or the iOpener (This will take longer.) to melt the adhesive all around the outer edge of the screen.
-
Insert the opening picks just under the screen and black edging. Be sure to place them evenly on each side.
-
Using the gap created by the picks, slowly pry the screen from the body of the Microsoft Surface 2 with a plastic opening tool. Pry as uniformly as possible.
 Pergunte ao FixBot
-
-
-
Use a plastic spudger to pry the retaining clip away from the display cable.
-
Carefully pull the ribbon cable from its socket on the motherboard.
-
-
-
-
-
-
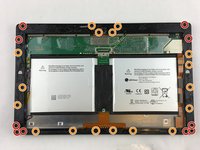
Remove ten 3.45 mm T3 screws from the corners of the black plastic bezel.
-
Remove the remaining seventeen 4.4 mm T5 screws from the perimeter of the bezel.
-
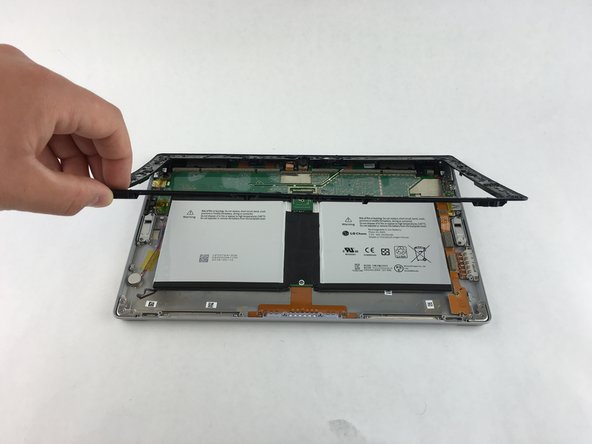
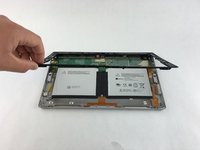
Once all screws have been removed, lift and remove the bezel from the rest of the device.
-
-
-
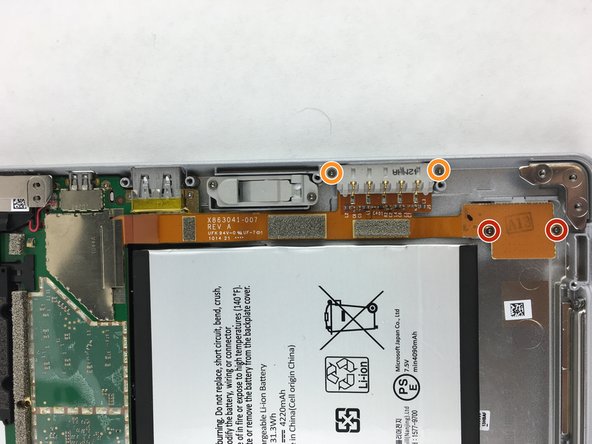
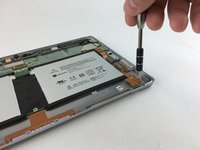
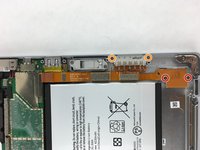
Remove the two 2.19 mm T3 screws that hold down the SD card ribbon cable.
-
Remove the two 3.27 mm T3 screws holding down the charging port.
-
-
-
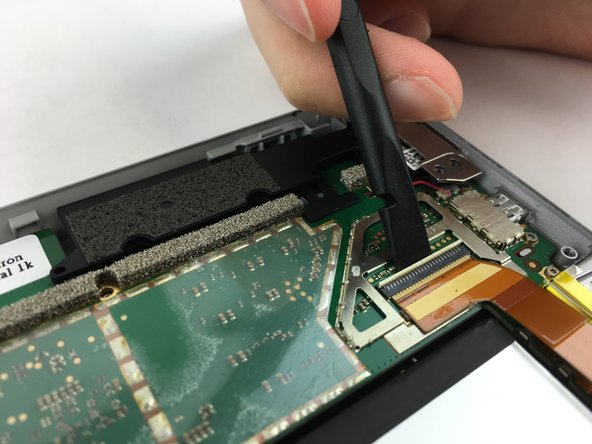
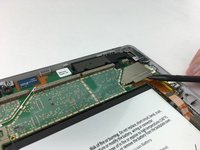
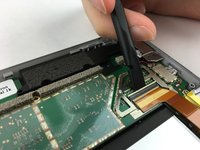
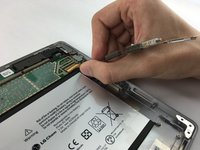
Use a spudger to pry up the retaining plate at the end of the ribbon cable.
-
Use the spudger to flip up the small retaining flap on the cable's zero insertion force connector.
-
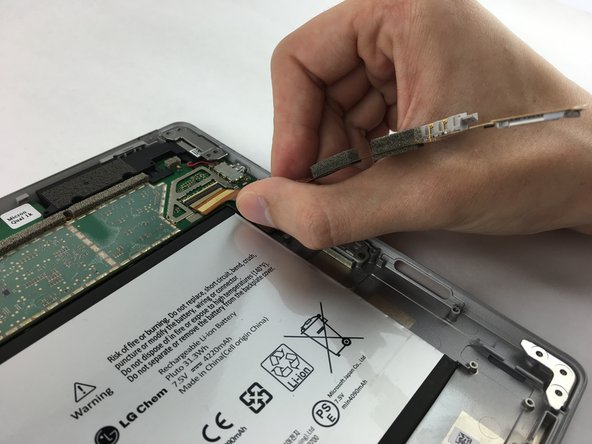
Remove the ribbon cable from its port.
-
-




To reassemble your device, follow these instructions in reverse order.
Cancelar: não concluí este guia.
4 outras pessoas executaram este guia.

Equipe

USF Tampa, Team 3-1, Wollert Spring 2016 Membro de USF Tampa, Team 3-1, Wollert Spring 2016
USFT-WOLLERT-S16S3G1
4 Membros
Autoria de 20 guias
2Comentários do guia
I want to replace the battery of Microsoft Surface 2, which steps I have to follow to replace it?
Cosa devo utilizzare per attaccare il cavo del display sotto al fermaglio di distanza, colla o nastro biadesivo?
