Introdução
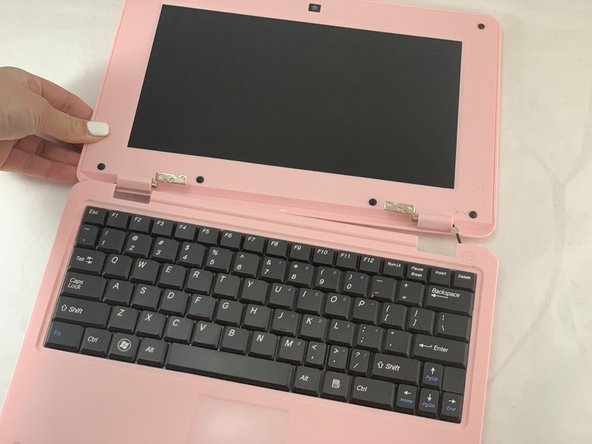
The screen can become cracked or broken if the Maylong MN-1000P has been dropped, or in some cases, a screen may have dead areas making it difficult to use. A screen is relatively easy to replace.
O que você precisa
-
-
-
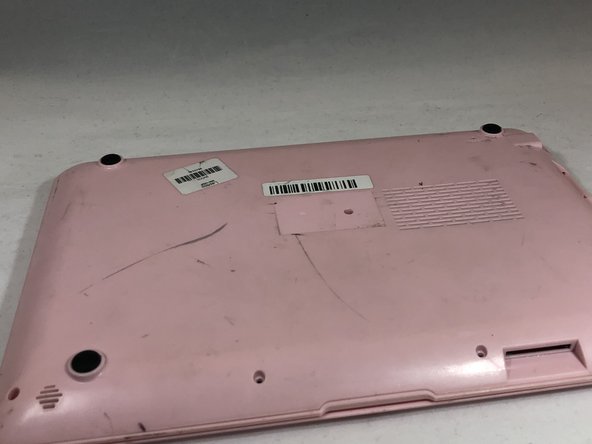
Place the netbook top down, with the opening of the netbook facing you.
 Pergunte ao FixBot
-
-
-
Remove the sticker in the middle of the netbook.
-
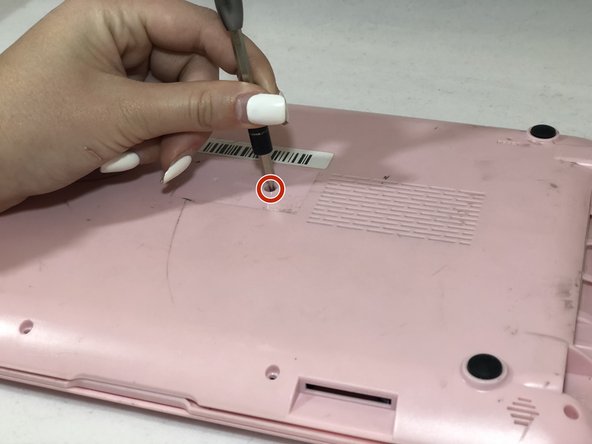
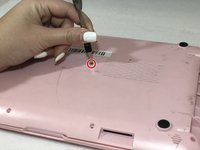
Remove the middle 6mm Phillips #00 screw.
-
-
-
Using two plastic opening tools, pry off the bottom of the netbook by going around the edges.
-
-
-
-
-
-
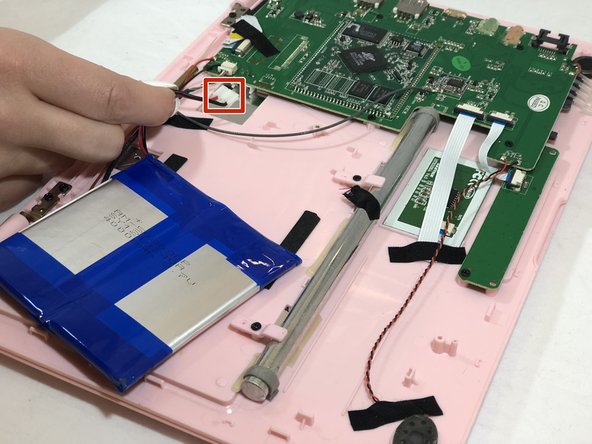
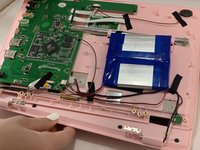
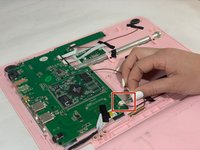
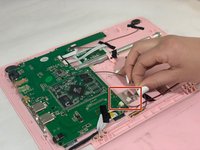
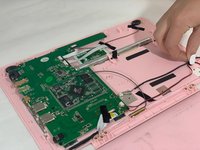
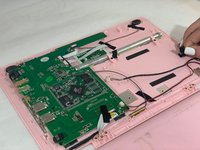
Pinch the red and black wires connected to the section closest to the small white connector, and pull to remove them from the motherboard.
-
-
-
-
-
Remove the six 6mm Phillips #00 screws from both sides of the netbook.
-
-
-
Pull the top of the computer and the back side of the computer away from each other until they are detached.
-
Flip the entire computer over so you can see both the screen and keyboard.
-
-
-
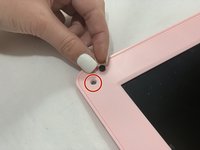
Remove all the black circular pads from around the screen.
-
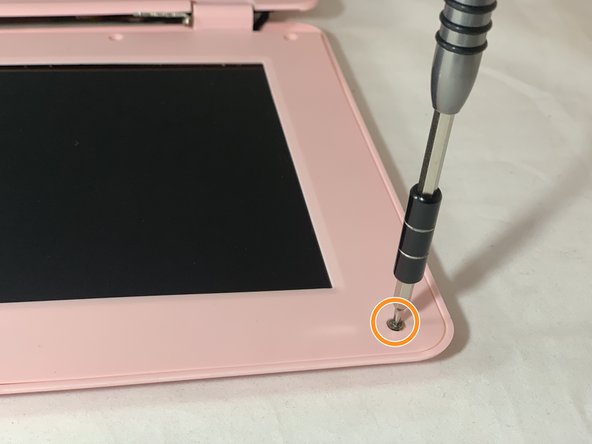
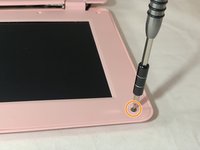
Remove all 6mm Phillips #00 screws from around the screen bezel.
-
-
-
Using a plastic opening tool, pry off the screen bezel.
-
After detaching the screen bezel, pull up on the bezel near the hinge area.
-
-
Ferramenta utilizada neste passo:Tweezers$4.99
-
Use tweezers to gently pull on the black and white wires at the top of the netbook until the white connector detaches.
-
-
-
Use your fingers to pull on the green, red, black, and white intertwined wires at the bottom of the netbook until the white connector detaches.
-
-
-
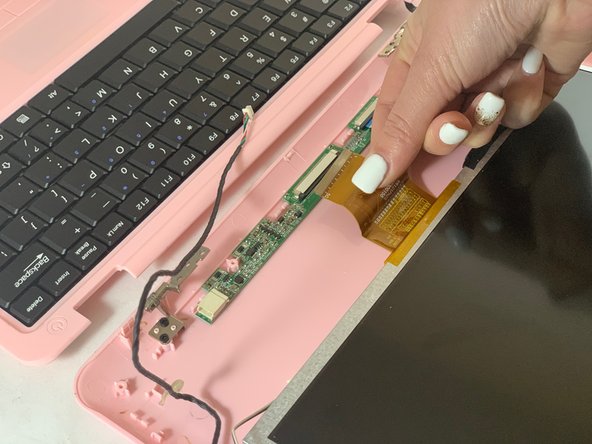
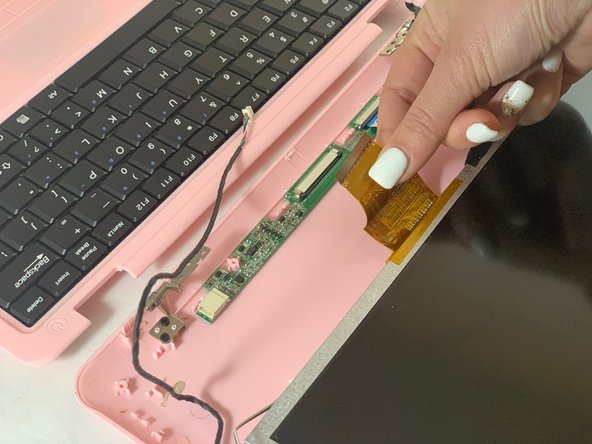
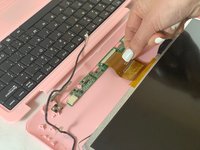
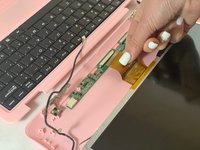
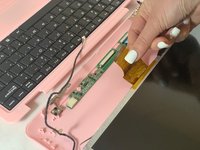
Detach the wide yellow ribbon cable connected to the screen from the computer.
-
-
-
Flip the computer over.
-
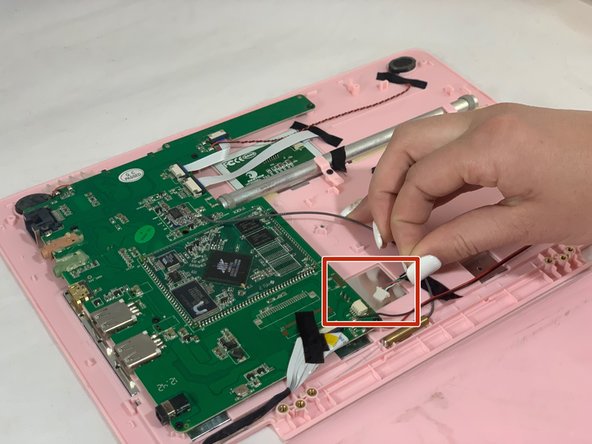
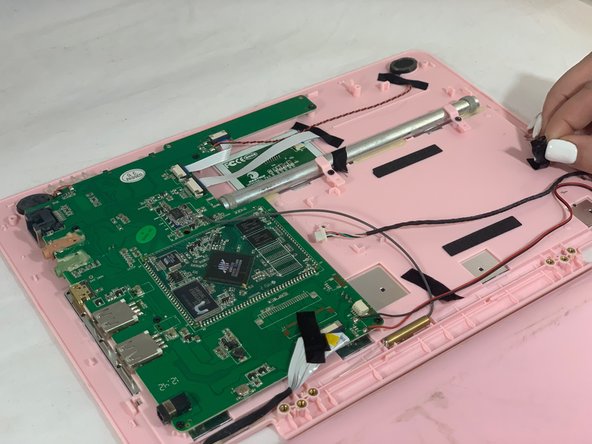
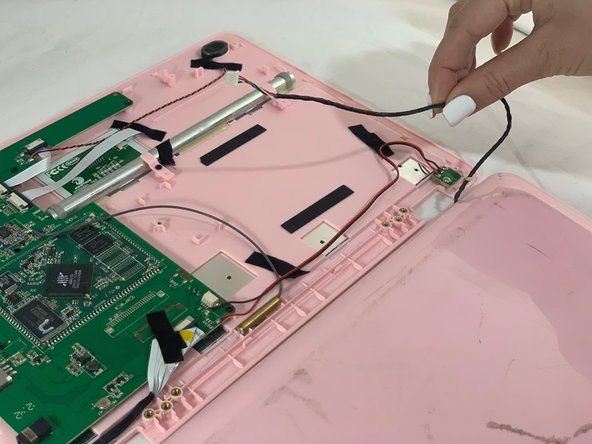
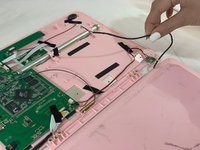
Disconnect the red, green, black, and white intertwined wires from the connector to the motherboard.
-
-
-
Remove the black tape holding down the red, green, black, and white intertwined wires.
-
Remove the screen.
-
-











To reassemble your device, follow these instructions in reverse order.

Equipe

Eastern Washington University, Team S1-G3, Carnegie Winter 2020 Membro de Eastern Washington University, Team S1-G3, Carnegie Winter 2020
EWU-CARNEGIE-W20S1G3
3 Membros
Autoria de 5 guias
