Introdução
Use this guide to remove the bottom cover, a.k.a. lower case—either to replace it, or to access other components in your MacBook Pro.
For your safety, discharge your MacBook Pro's battery below 25% before you begin this procedure. A charged lithium-ion battery can create a dangerous fire if accidentally punctured.
O que você precisa
-
-
Power on your Mac and launch Terminal.
-
Copy and paste the following command (or type it exactly) into Terminal:
-
sudo nvram AutoBoot=%00
-
Press [return]. If prompted, enter your administrator password and press [return] again. Note: Your return key may also be labeled ⏎ or "enter."
-
sudo nvram AutoBoot=%03
-
-
Ferramenta utilizada neste passo:Magnetic Project Mat$19.95
-
Use a P5 Pentalobe driver to remove six screws securing the lower case, of the following lengths:
-
Four 3.7 mm screws
-
Two 7.3 mm screws
-
-
-
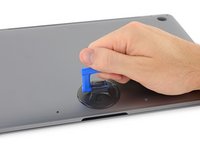
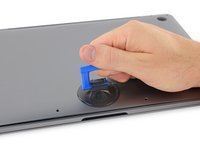
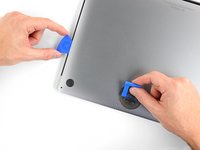
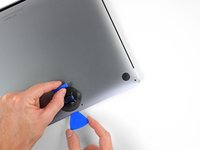
Press a suction handle into place near the front edge of the lower case, between the screw holes.
-
Pull up on the suction handle just enough to open a small gap under the lower case.
-
-
-
-
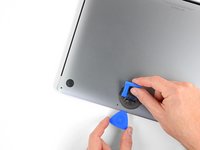
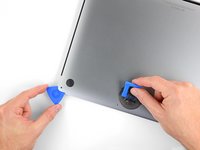
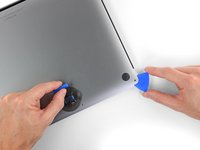
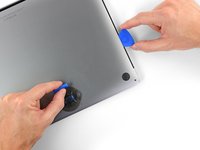
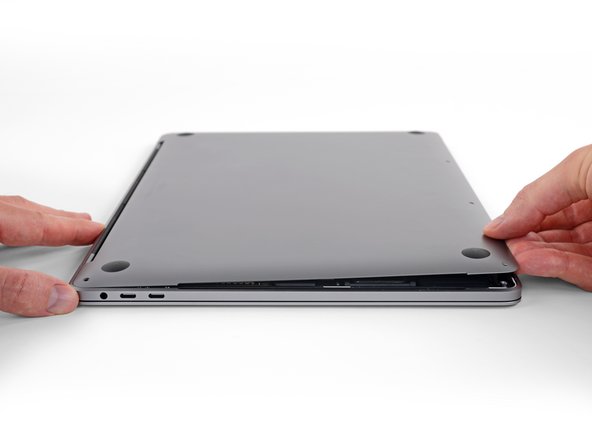
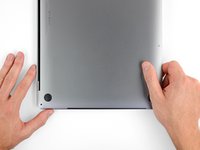
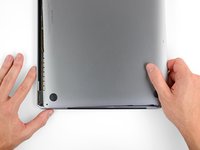
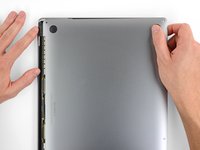
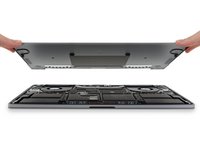
Remove the lower case.
-
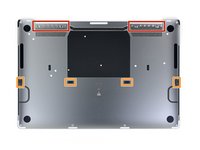
Set it in place and align the sliding clips near the display hinge. Press down and slide the cover toward the hinge. It should stop sliding as the clips engage.
-
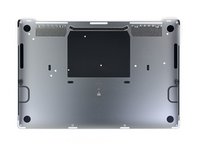
When the sliding clips are fully engaged and the lower case looks correctly aligned, press down firmly on the lower case to engage the four hidden clips underneath. You should feel and hear them snap into place.
-


To reassemble your device, follow these instructions in reverse order.
To reassemble your device, follow these instructions in reverse order.
Cancelar: não concluí este guia.
44 outras pessoas executaram este guia.


2 comentários
What function does the black sheet/mat/? provide for the computer? Is it necessary?