Introdução
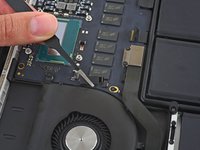
Use this guide to replace the fan.
Don't forget to follow our thermal paste application guide before you reinstall your heat sink.
O que você precisa
-
Ferramenta utilizada neste passo:Magnetic Project Mat$19.95
-
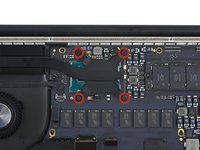
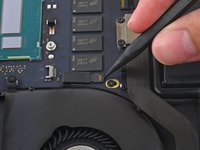
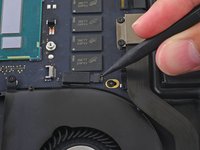
Remove the following ten screws securing the lower case to the upper case:
-
Two 2.3 mm P5 Pentalobe screws
-
Eight 3.0 mm P5 Pentalobe screws
-
-
-
-
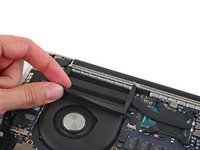
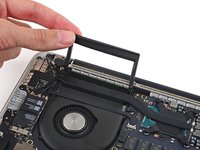
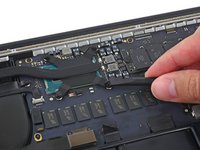
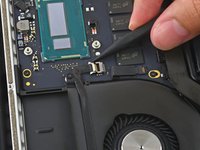
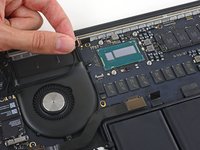
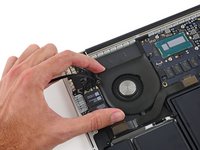
Use the tip of a spudger to push on either side of the the iSight camera cable connector to walk it out of its socket on the logic board.
-


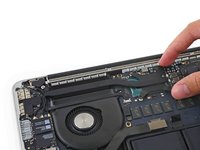
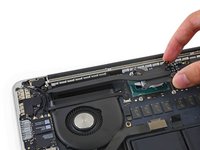


To reassemble your device, follow these instructions in reverse order.
To reassemble your device, follow these instructions in reverse order.
Cancelar: não concluí este guia.
83 outras pessoas executaram este guia.

17 comentários
Very good instructions, just completed the fan replacement, no issues -
Fantastic instructions, brilliant depictions for assistance. Thank you!
I completed this guide and it was brilliant, so thank you Andrew Optimus Goldberg and your contributors! I have a question about the Macbook's heat post-installation of a new fan.
I replaced the fan last night, and put everything back together. Today, the new fan is responding well under activities that would previously make the fan extremely loud and cause intense heat to build up on the bottom right of the Macbook: so far so good.
However, it seems heat is now being distributed to the keys and directly below the screen, and I can even feel it underneath the trackpad, and this is from simply turning the Macbook on with no applications straining the CPU.
Is this something to worry about? Have I possibly made a mistake in my installation, or is this normal for an ordinary working fan?
Thanks for any help that may be given. Appreciated
Is the fan you replaced the original one with the exact same model? While im no expert on this stuff my guess would be that it distributes air differently. I hope it works out for you though.
Nikolay -
Just completed the fan replacement. Great clear instructions. No issues. Thank you so much.