Essa tradução foi gerada por um programa e ainda não foi revisada por uma pessoa. Falas essa língua? Dá uma olhada.
Introdução
Use este guia para substituir o conjunto do display Retina, o vidro do display e a câmera iSight.
O que você precisa
-
-
Ferramenta utilizada neste passo:Magnetic Project Mat$19.95
-
Remova os seguintes dez parafusos que fixam a estrutura traseira à estrutura superior:
-
Dois parafusos P5 Pentalobe de 2,3 mm
-
Oito parafusos P5 Pentalobe de 3,0 mm
 Pergunte ao FixBot
-
-
-
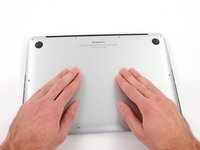
Coloque seus dedos entre a estrutura superior e a estrutura inferior.
-
Puxe cuidadosamente a estrutura inferior, afastando-a da estrutura superior, para removê-la.
-
-
-
-
-
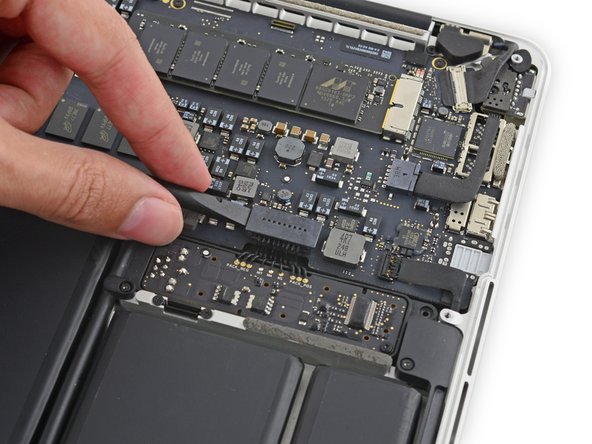
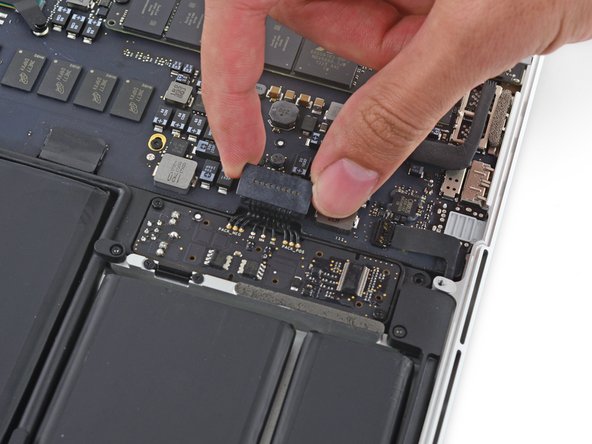
Com a ponta plana de uma espátula, levante o conector da bateria para fora de seu soquete na placa lógica.
-
-
-
-
-
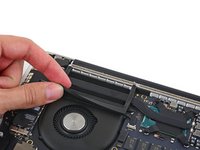
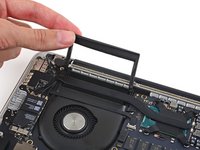
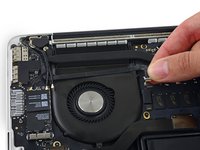
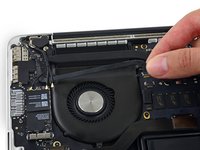
Descole cuidadosamente o protetor de borracha da ventoinha da borda do dissipador de calor para expor o cabo da câmera iSight colado na ventoinha.
-
-
-
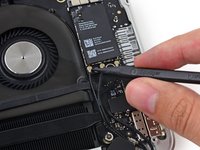
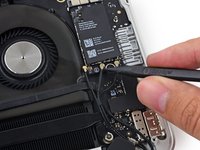
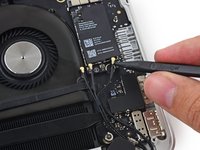
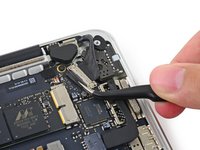
Insira a ponta de uma espátula sob cada um dos cabos da antena, perto de seus conectores, e faça alavanca para desconectá-los da placa AirPort.
-
Conecte o cabo com a capa longa ao soquete central.
-
O cabo com a capa curta conecta-se próximo ao parafuso.
-
O cabo restante não possui capa e conecta-se ao último soquete vazio, ao lado da ventoinha.
-
-
-
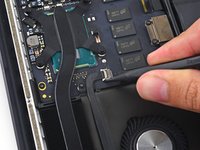
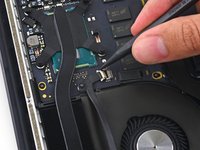
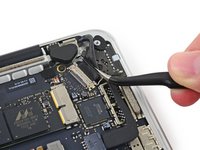
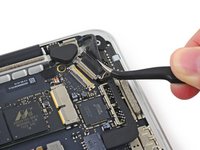
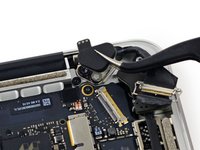
Use a ponta de uma espátula para empurrar os dois lados do conector do cabo da câmera iSight para caminhar com ele para fora do seu soquete na placa lógica.
-
-
-
Segure a aba de plástico preta para abrir o conector para cabo de display e puxe-o para fora do soquete na placa lógica.
-
-
-
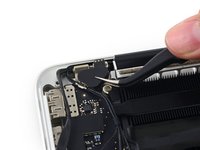
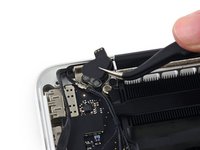
Remova as capas da dobradiça de borracha da direita e da esquerda.
-
-
-
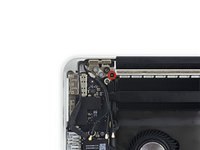
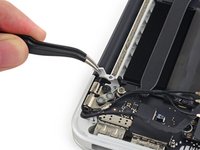
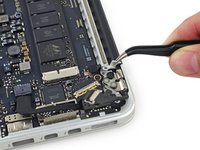
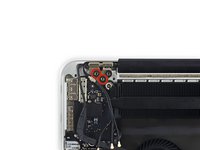
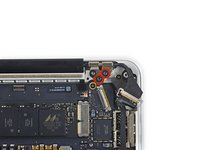
Remova os dois parafusos Torx T5 de 4,2 mm que prendem os suportes de alumínio da dobradiça (um em cada lado do MacBook).
-
-
Ferramenta utilizada neste passo:Tweezers$4.99
-
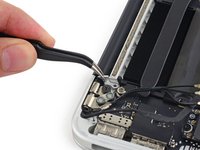
Use uma pinça para levantar os suportes de dobradiça de alumínio das dobradiças direita e esquerda da tela.
-
-
-
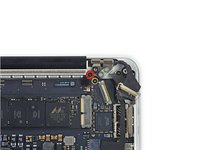
Remova os quatro parafusos Torx T8 externos de 5,3 mm (dois em cada lado) que prendem o display à carcaça superior.
-
-
-
Enquanto segura a tela com a mão esquerda, remova o parafuso Torx T8 restante do suporte superior da tela.
-
Remova o último parafuso Torx T8 que prende a tela à carcaça superior.
-
-
-
Segure a carcaça superior com a mão direita e gire-a levemente no sentido horário, em direção à parte superior da tela, para que os suportes da tela se soltem da borda da carcaça superior.
-
Gire a tela levemente para fora da carcaça superior.
-
Puxe a tela para fora da carcaça superior, tomando cuidado com quaisquer suportes ou cabos que possam prender.
-
-


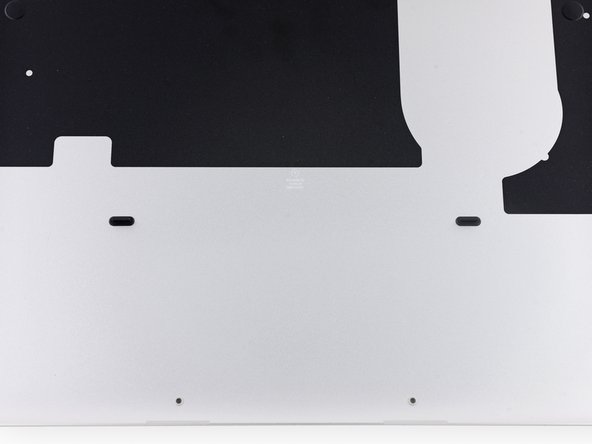
























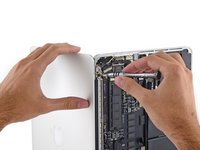
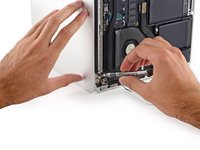


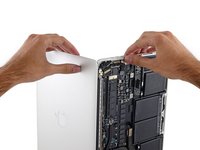
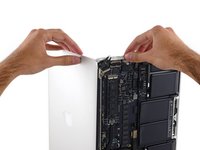
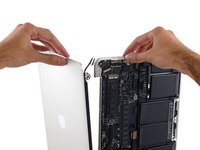
Para a remontagem de seu dispositivo, siga estas instruções na ordem inversa.
Cancelar: não concluí este guia.
236 outras pessoas executaram este guia.


60Comentários do guia
Just did this for my wife. Awesome! Thank you!
Just complete this over lunch and it was cake - no pun. Follow the instructions and you'll be back to new in about 30 minutes. The toughest part is getting all those little screws out, so be patient and just know it's worth the squeeze. Take care, AZ
Is display assembly for Late 2013/Mid 2014 compatible with this model?
Hi, I have same question, and I think its not fully compatible, I tried to put 2014 display on 2015 and its have issue with backlight at startup, for example if you press "ALT" at startup to chose startup disk, screen remains all the time dark only with flash light you can see its working and if you chose disk and only after some 5 seconds backlight will turn on, if I put old original broken display but with working backlight it will turn on backlight straight with the "chime" and yes with new 2014 display its not lighting up straight after chime only after some 5 seconds or so, but after that works fine.
Hi, last night i was watching a movie in my MBP E2015, and out of nothing, gave me "the gift" of a black screen... i tried everything i found in forums, reset SMC PRAM/NRAM, safe mode, force reboot, well, you name it, i tried it with no luck... i opened the MB and re-connected the display cable to what see if something happens, and nothing... i can only see the contents of the screen when using HDMI on a tv (i also can see stuff in the screen when pointing a flashlight in the dark screen, that makes me think its fixable) should i start thinking of replacing the whole display? any suggestion would be appreciated, thanks!
DanielD
