Introdução
Use this guide to remove or replace the USB-C board in an Early 2020 MacBook Air.
O que você precisa
-
-
If your MacBook is running Big Sur v11.1 or later, disabling Auto Boot may not work. You can proceed normally, but make sure to disconnect the battery as soon as you're inside.
-
Use a P5 driver to remove the following screws:
-
Two 7.9 mm screws
-
Two 7.1 mm screws
-
Six 2.6 mm screws
-
-
-
Wedge your fingers between the display and the lower case and pull upward to pop the lower case off the Air.
-
Remove the lower case.
-
Set it in place and press firmly to engage the two hidden clips underneath. You should feel and hear them snap into place.
-
-
-
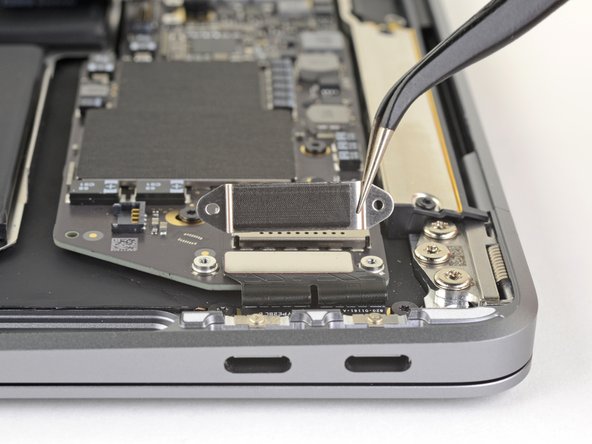
Peel back the tape covering the battery connector enough to reveal the connector underneath.
-
-
-
-
Use a T3 Torx driver to remove the two 1.4 mm screws securing the USB-C connector cover.
-
Remove the USB-C connector cover.
-


Compare your new replacement part to the original part—you may need to transfer remaining components or remove adhesive backings from the new part before installing.
To reassemble your device, follow the above steps in reverse order.
Take your e-waste to an R2 or e-Stewards certified recycler.
Repair didn’t go as planned? Check out our Answers community for troubleshooting help.
Cancelar: não concluí este guia.
8 outras pessoas executaram este guia.


4 comentários
Great guide and easy repair! My MacBook Air thought it was perpetually plugged in and would only charge from one of the USB C ports, this repair fixed it! I had a little scare when rebooting after the the fix, I either wasn’t pressing the power/touch ID button long enough or resetting the SMC (left shift, control, option, and power buttons) and holding the buttons until it booted worked. Not sure which did it.
Thanks a lot, the repair guide was perfect ! It really took me 5mn.
My usb-c connector got corroded after I accidentally pulled some water on my computer. As by Tyler’s comment, my MBA was only working from one single port anymore and showed to be perpetually connected and in charge. I got the spare chip from AliExpress for 10€. Apple would have charged me for 400€…
Lastly, when booting for the 1st time after doing the repair, pressing the power button didn’t work and my MBA stayed off. I had to plug it to the charger and it then booted seamlessly.
Thanks again !
The same experience as Fabio. The repair was simple and straight-forward and the machine wouldn't boot from the battery the first time. Once plugged into the charger it booted just fine and has booted off the battery as normal ever since.
Fixed my 1 dead USB port problem with very little hassle/cost. Just be prepared for the bowel clenching moment when it won't boot from the battery the first time.