Essa tradução foi gerada por um programa e ainda não foi revisada por uma pessoa. Falas essa língua? Dá uma olhada.
Introdução
Atualize ou substitua a unidade combo ou SuperDrive.
O que você precisa
-
-
-
Desligue o Mac mini, desconecte todos os cabos e vire-o.
-
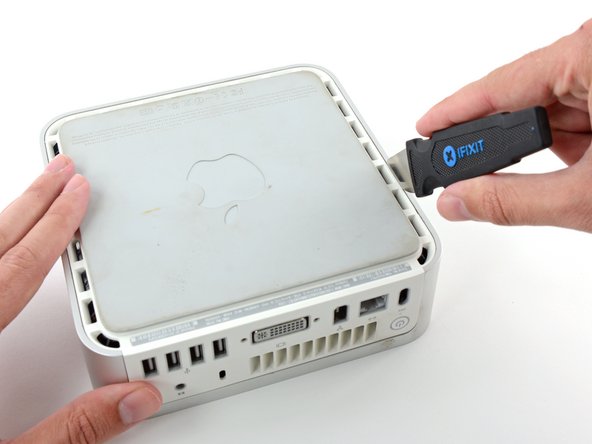
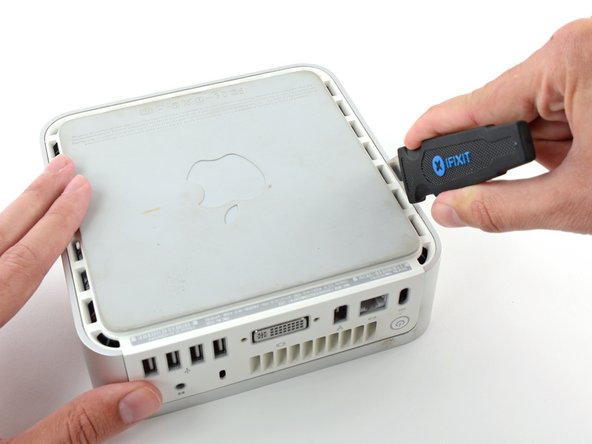
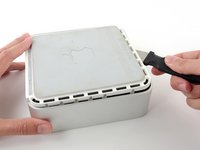
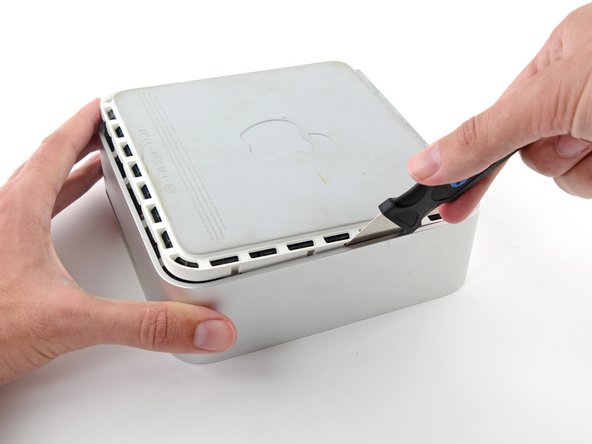
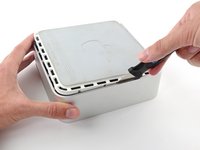
Insira o Jimmy na fresta entre a carcaça superior de alumínio e a carcaça inferior de plástico.
-
O Jimmy deve atingir um limite a cerca de 10 mm de profundidade.
 Pergunte ao FixBot
-
-
-
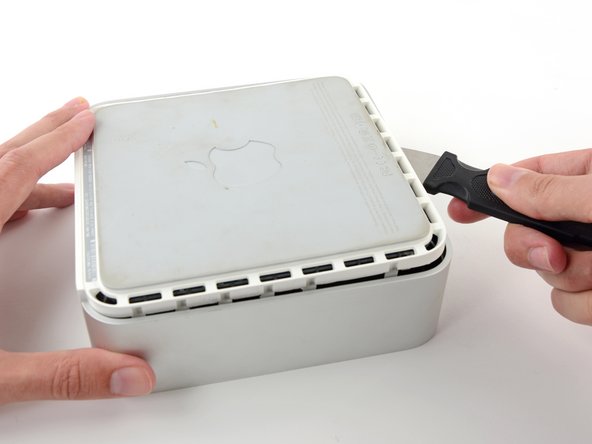
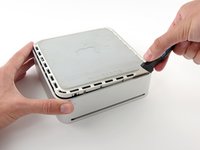
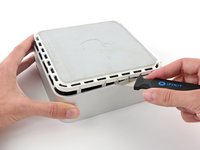
Dobre suavemente a Jimmy para fora para abrir um pouco mais a fenda e levantar levemente a carcaça inferior.
-
-
-
Assim que o primeiro lado estiver livre, gire o Mac mini e comece a forçar a borda frontal para cima.
-
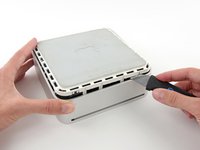
Use o mesmo movimento de alavanca para dobrar os clipes para dentro e levantar a carcaça inferior para fora da carcaça superior.
-
-
-
Talvez você precise mover a Jimmy ao longo da borda para soltar todos os clipes. Tenha paciência e faça um pouco de cada vez.
-
-
-
Continue trabalhando ao longo do perímetro, soltando os clipes da última borda.
-
-
-
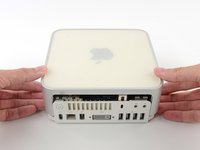
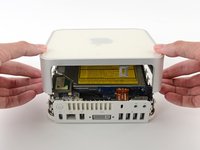
Vire o Mac mini de volta para cima e levante a carcaça superior, separando-a da carcaça inferior.
-
-
-
-
-
Primeiro, removeremos a antena AirPort, localizada no canto inferior esquerdo desta imagem.
-
-
-
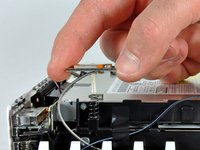
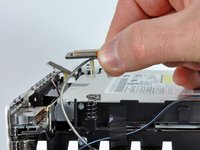
Aperte levemente as duas hastes de retenção uma contra a outra e levante a antena AirPort para retirá-la do suporte.
-
-
-
-
Segure a antena Bluetooth mais próxima da lateral da porta do computador pelas bordas da placa e puxe-a para cima, soltando-a da estrutura interna.
-
-
-
Remova a placa da antena perto da parte frontal do mini puxando-a para cima, para fora da estrutura interna.
-
Se necessário, remova o pedaço de fita que prende os cabos da antena à estrutura interna.
-
-
-
Use a ponta plana da espátula para desconectar o cabo plano de áudio da placa de conexões.
-
-
-
Remova os quatro parafusos a seguir que prendem a estrutura interna à carcaça inferior:
-
Três parafusos Phillips #00 de 6,7 mm
-
Um parafuso Phillips #00 de 9,5 mm
-
-
-
Levante a estrutura interna da carcaça inferior, começando pela borda traseira, até sentir o conector de borda oculto na placa-mãe desconectar. Em seguida, levante na vertical, tomando cuidado com os cabos da antena de Bluetooth e 802.11.
-
-
-
-
-
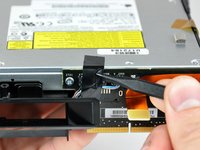
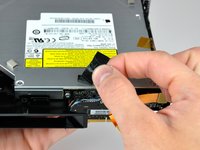
Use a ponta de uma espátula para remover a fita isolante preta que atravessa a placa de interconexão e a unidade de disco óptico.
-
-
-
Use a ponta chata da espátula para desconectar o cabo plano de áudio da placa interconectora.
-
-
-
Se necessário, remova a fita kapton amarela que cobre a estrutura interna e a unidade de disco óptico.
-
-
-
Remova os dois parafusos Phillips que prendem a unidade de disco óptico ao chassi interno.
-
-
-
Gire o mini em 180 graus e remova os dois parafusos Phillips que prendem a unidade de disco óptico à estrutura interna do outro lado.
-
-
-
Remova os dois parafusos Phillips que prendem a placa de interconexão à unidade de disco óptico.
-
-
-
Insira a ponta chata de uma espátula na fresta entre a unidade de disco óptico e a placa de interconexão.
-
Aumente a fresta com cuidado para desconectar a unidade de disco óptico da placa de interconexão.
-
-
-
Levante delicadamente a unidade de disco óptico para fora da estrutura interna.
-
-
-
-
-
Transfira os quatro amortecedores de espuma para a nova unidade de disco óptico.
-
-













Para a remontagem de seu dispositivo, siga estas instruções na ordem inversa.
Cancelar: não concluí este guia.
65 outras pessoas executaram este guia.

6Comentários do guia
I found that it's entirely possible to remove the optical drive without removing the whole subframe. You can remove the four screws on the sides of the drive quite easily, remove the other end of the audio cable then unscrew the two screws on the back of the drive holding the interconnect board to the drive (the only fiddly bit as it's hard to get a a good angle onto those two screws), then gently lift the front of the drive and pull it forward.
Can anyone tell me now that I have replaced the optical drive, why if only accepts dvd's being put into it when I have first turn on the computer?? If I do it when the computer is already on, no matter how far I try and push in the DVD it doesn't grab it and pull it in properly. No trouble playing them once in.
Please help! Can anyone tell me now that I have replaced the optical drive, why if only accepts dvd's being put into it when I have first turn on the computer?? If I do it when the computer is already on, no matter how far I try and push in the DVD it doesn't grab it and pull it in properly. No trouble playing them once in.
Hi!
Is is correct about the optibay i need to replace a DVD up to SSD:
- the inside connector of this optibay is SATA 3 witch is compatible for a modern SSD, like this one - https://ru.aliexpress.com/item/Newest-Go...
- the outside that goes to a motherboard - what is it - i can't really understand - is it eSATA or it it mSATA or smth else?
Thanks for your reply in advance!
I also had n0o need to remove the frame. To use a screwdriver that is magnetized made some undesirable problems. Overall, the optical drive was replaced -that is , put in as the former drive was removed by someone else.
