Ir para o conteúdo principal
Participe da comunidade de reparos - Criar conta

MSI GE62 6QF Apache Pro RAM Replacement

O que você precisa

    1. MSI GE62 6QF Apache Pro  RAM Replacement, Optical Drive: passo 1, imagem 1 %32
      • Use a Phillips screwdriver to remove the 5mm screw securing the optical drive to the bottom case.

      Pergunte ao FixBot

      Comentar

    2. MSI GE62 6QF Apache Pro  RAM Replacement: passo 2, imagem 1 %32
      • Slide Optical Drive out of the computer.

      Pergunte ao FixBot

      Comentar

    1. MSI GE62 6QF Apache Pro  RAM Replacement, Bottom Case: passo 3, imagem 1 %32
      • Use a Phillips screwdriver to remove the fourteen 5mm screws on the back of the laptop.

      • One of these screws is hidden under a sticker.

      Pergunte ao FixBot

      Comentar

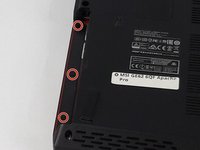
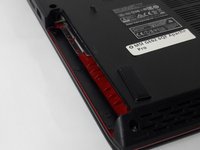
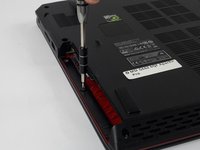
    2. MSI GE62 6QF Apache Pro  RAM Replacement: passo 4, imagem 1 %32 MSI GE62 6QF Apache Pro  RAM Replacement: passo 4, imagem 2 %32 MSI GE62 6QF Apache Pro  RAM Replacement: passo 4, imagem 3 %32
      • Remove the three PH #0 2mm screws that were hidden underneath the optical drive.

      Pergunte ao FixBot

      Comentar

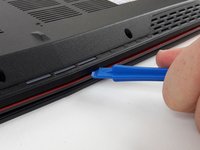
    3. MSI GE62 6QF Apache Pro  RAM Replacement: passo 5, imagem 1 %32 MSI GE62 6QF Apache Pro  RAM Replacement: passo 5, imagem 2 %32
      • Use an opening tool to run along the seam of the case where the upper and bottom case meet.

      • Pry the bottom case and remove from the upper part.

      Pergunte ao FixBot

      Comentar

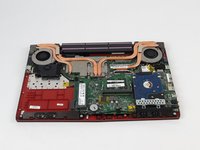
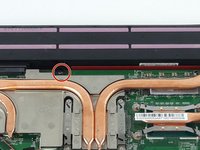
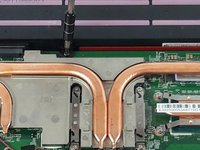
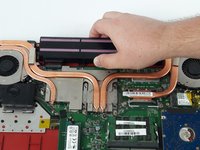
    1. MSI GE62 6QF Apache Pro  RAM Replacement, Battery: passo 6, imagem 1 %32 MSI GE62 6QF Apache Pro  RAM Replacement, Battery: passo 6, imagem 2 %32 MSI GE62 6QF Apache Pro  RAM Replacement, Battery: passo 6, imagem 3 %32
      • Remove the single PH #0 5mm screw holding the battery pack in place.

      • Remove the battery by sliding it away from the computer.

      Pergunte ao FixBot

      Comentar

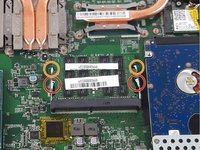
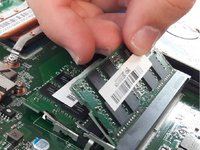
    1. MSI GE62 6QF Apache Pro  RAM Replacement, RAM: passo 7, imagem 1 %32 MSI GE62 6QF Apache Pro  RAM Replacement, RAM: passo 7, imagem 2 %32
      • Pull the metal tabs that hold the RAM in place away horizontally from the RAM stick, and slide the RAM out of the socket.

      • Repeat the same steps for the other RAM stick.

      Pergunte ao FixBot

      Comentar

Conclusão

To reassemble your device, follow these instructions in reverse order.

Cancelar: não concluí este guia.

Juan Erquiaga

Membro desde: 09/26/17

107 Reputação

Autoria de 1 guia

Equipe

USF Tampa, Team S2-G3, Passmore Fall 2017 Membro de USF Tampa, Team S2-G3, Passmore Fall 2017

USFT-PASSMORE-F17S2G3

3 Membros

Autoria de 30 guias

0Comentários do guia

Comentar

Visualizações:

Últimas 24 horas: 0

Últimos 7 dias: 5

Últimos 30 dias: 42

Ao todo: 2,527