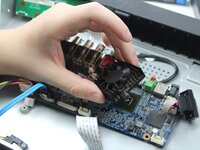
Ir para o conteúdo principal

Lorex LHV210800 Motherboard Replacement

O que você precisa

  1. Lorex LHV210800 Motherboard Replacement, Upper Case: passo 1, imagem 1 %32 Lorex LHV210800 Motherboard Replacement, Upper Case: passo 1, imagem 2 %32 Lorex LHV210800 Motherboard Replacement, Upper Case: passo 1, imagem 3 %32
    • Before beginning, disconnect the DVR from power and unplug all peripheries.

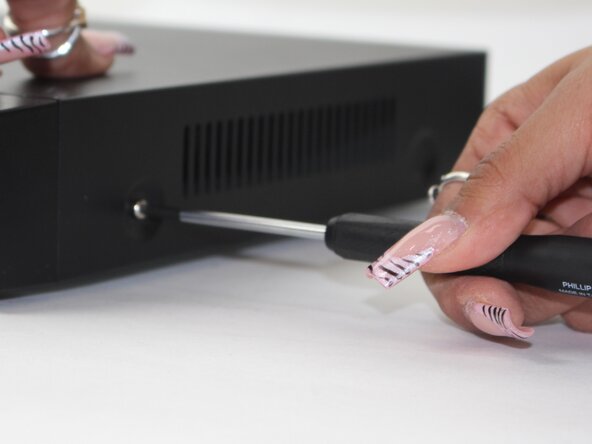
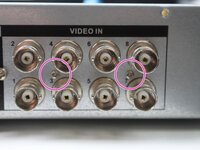
    • Remove each of the two 1 cm screws on the right and left sides of the DVR with a Phillips screwdriver.

  2. Lorex LHV210800 Motherboard Replacement: passo 2, imagem 1 %32 Lorex LHV210800 Motherboard Replacement: passo 2, imagem 2 %32
    • Remove the four 1 cm Phillips screws on the rear panel.

    • Do not unscrew the screw connected to the lower case.

  3. Lorex LHV210800 Motherboard Replacement: passo 3, imagem 1 %32
    • Lift up and remove the top cover.

  4. Lorex LHV210800 Motherboard Replacement, Motherboard: passo 4, imagem 1 %32 Lorex LHV210800 Motherboard Replacement, Motherboard: passo 4, imagem 2 %32
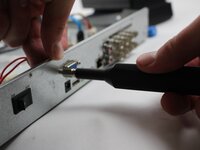
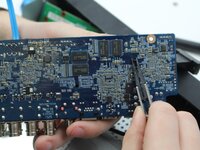
    • Unscrew the 1cm hex screws with the driver and a size 8 hex socket.

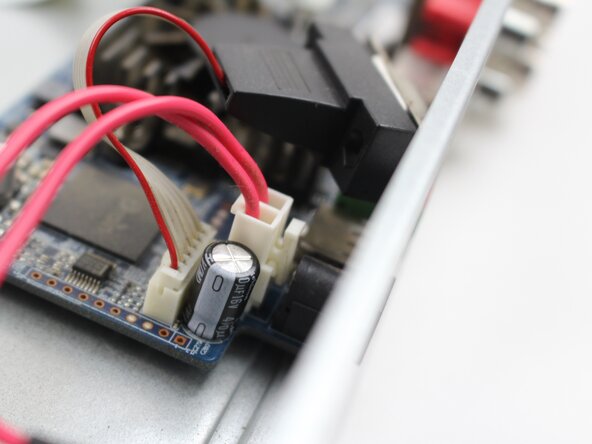
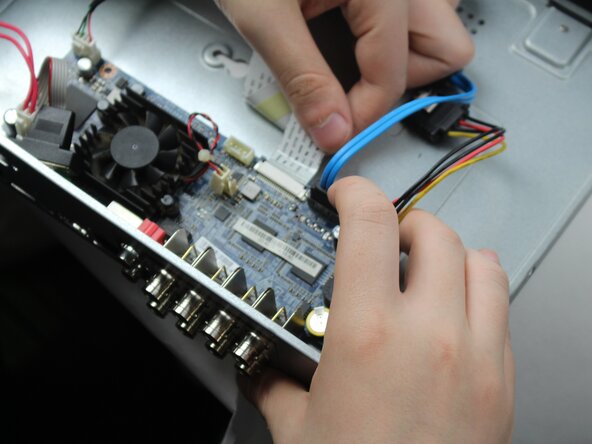
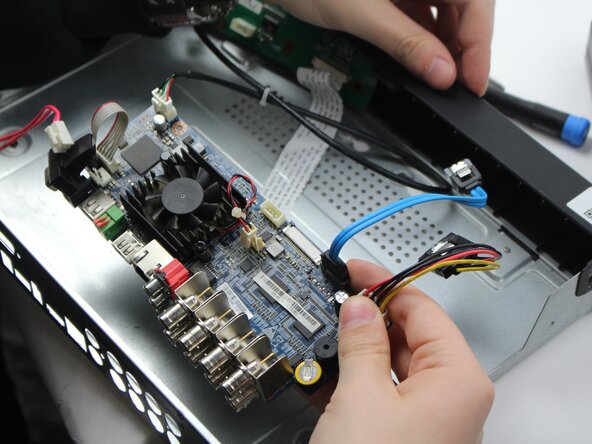
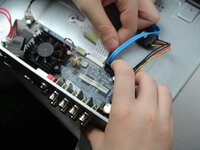
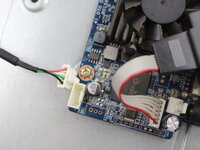
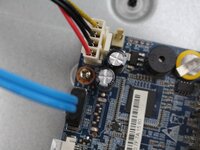
    • Unplug the cord from the socket in the motherboard.

  5. Lorex LHV210800 Motherboard Replacement: passo 5, imagem 1 %32 Lorex LHV210800 Motherboard Replacement: passo 5, imagem 2 %32 Lorex LHV210800 Motherboard Replacement: passo 5, imagem 3 %32
    • Remove the two 1cm screws from the back panel.

    • This makes it easier to slide out with no issue.

  6. Lorex LHV210800 Motherboard Replacement: passo 6, imagem 1 %32 Lorex LHV210800 Motherboard Replacement: passo 6, imagem 2 %32
    • Once all the screws are off the back panel, remove the power source.

    • The power source would be the white box with the R/B/G cables attached, along with the blue and other white box with R/B/B/Y cords.

  7. Lorex LHV210800 Motherboard Replacement: passo 7, imagem 1 %32 Lorex LHV210800 Motherboard Replacement: passo 7, imagem 2 %32
    • Remove this pin in order to take off the fan.

    • Remove the fan in order to access the motherboard.

Conclusão

To reassemble your device, follow the above steps in reverse order.
Take your e-waste to an R2 or e-Stewards certified recycler.
Repair didn’t go as planned? Try some basic troubleshooting or ask our Answers community for help.

Maxwell Cash

Membro desde: 02/19/25

387 Reputação

Autoria de 3 guias

Equipe

0Comentários do guia

Comentar

Visualizações:

Últimas 24 horas: 0

Últimos 7 dias: 3

Últimos 30 dias: 20

Ao todo: 203