Introdução
This guide will detail how to disassemble a Logitech M100 mouse and replace its USB cable. This process is relatively universal, so it can be applied to a number of similar mice.
O que você precisa
-
-
Carefully remove the feet of the mouse with an opening pick.
 Pergunte ao FixBot
-
-
-
Use a Phillips #0 screwdriver to remove the 10mm screws on the bottom of the mouse.
-
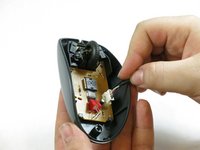
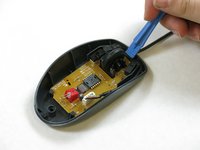
Once all screws are removed, use the plastic opening tool to gently pry the mouse apart. This shouldn't take much force.
-
-
-
-
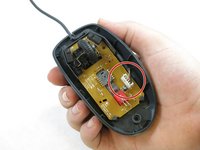
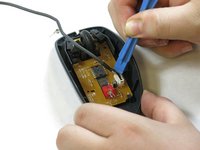
Once the mouse is opened, locate the USB cable's 5-pin connector, which is plugged directly into the mouse's mainboard.
-
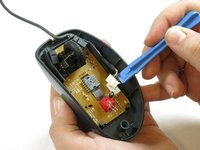
Using a plastic opening tool, gently remove the 5-pin connector from the mainboard.
-
-
-
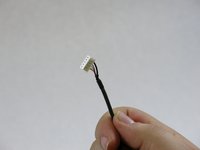
Ensure that the 5-pin connector is fully seated into its slot on the mainboard. You may want to use a spudger to apply pressure onto it.
-
Using a plastic opening tool, route the cable through the case in the same way that was noted in Step 3.
-


To reassemble, follow the steps in reverse order.
Cancelar: não concluí este guia.
4 outras pessoas executaram este guia.
Equipe

DePaul University, Team S1-G5, Dush Fall 2017 Membro de DePaul University, Team S1-G5, Dush Fall 2017
DPU-DUSH-F17S1G5
2 Membros
1 Guia de autoria
1Comentário do guia
Removing the mouse feet is completely unnecessary, as there are no screws underneath the feet.