Ir para o conteúdo principal
Participe da comunidade de reparos - Criar conta

Logitech K480 Keycap Replacement

O que você precisa

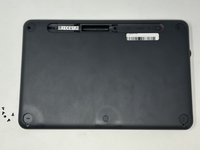
  1. Logitech K480 Keycap Replacement, Back Cover: passo 1, imagem 1 %32
    • Flip the keyboard over.

    Pergunte ao FixBot

    Comentar

  2. Logitech K480 Keycap Replacement: passo 2, imagem 1 %32 Logitech K480 Keycap Replacement: passo 2, imagem 2 %32 Logitech K480 Keycap Replacement: passo 2, imagem 3 %32
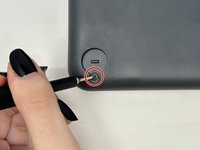
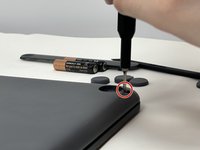
    • Remove the four rubber feet with a spudger.

    Pergunte ao FixBot

    Comentar

  3. Logitech K480 Keycap Replacement: passo 3, imagem 1 %32 Logitech K480 Keycap Replacement: passo 3, imagem 2 %32 Logitech K480 Keycap Replacement: passo 3, imagem 3 %32
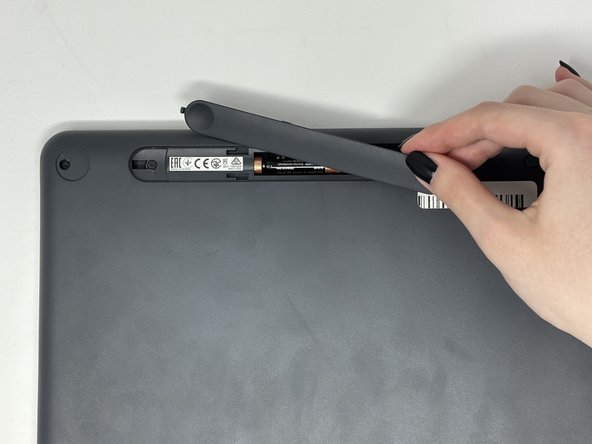
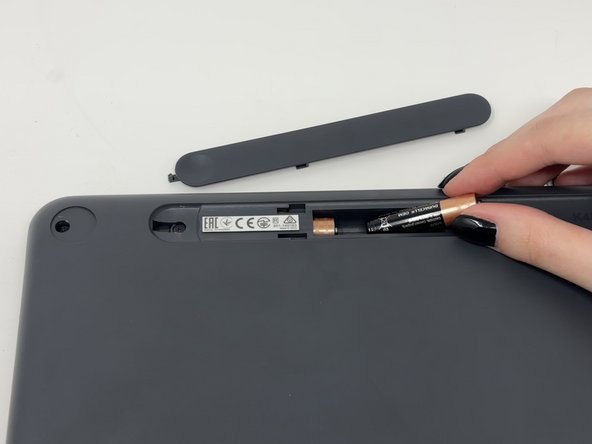
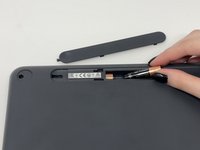
    • Slide open battery panel.

    • Remove the batteries.

    Pergunte ao FixBot

    Comentar

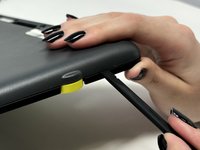
  4. Logitech K480 Keycap Replacement: passo 4, imagem 1 %32 Logitech K480 Keycap Replacement: passo 4, imagem 2 %32
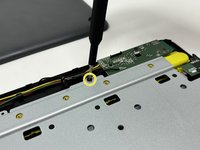
    • Remove the three 4 mm screws under the rubber feet using a Phillips #0 screwdriver.

    Pergunte ao FixBot
    Comentar

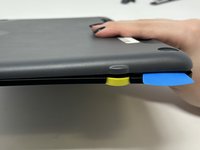
  5. Logitech K480 Keycap Replacement: passo 5, imagem 1 %32 Logitech K480 Keycap Replacement: passo 5, imagem 2 %32
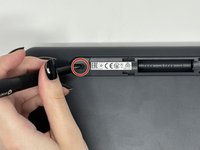
    • Remove the two 4 mm screws from beneath the battery cover using a Phillips #0 screwdriver.

    Pergunte ao FixBot
    Comentar

  6. Logitech K480 Keycap Replacement: passo 6, imagem 1 %32 Logitech K480 Keycap Replacement: passo 6, imagem 2 %32 Logitech K480 Keycap Replacement: passo 6, imagem 3 %32
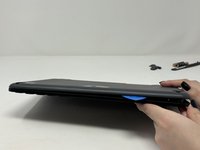
    • Starting by the dial, slide the spudger between the front and back panels until it lifts and snaps.

    • Slide a blue pick in to keep the pieces apart while you work on other areas.

    • Continue prying along the edges until you have enough opened that you can pull both pieces apart gently with your hands.

    • The loud snaps are the clips that hold the pieces together. They're not breaking and you do not need to be alarmed.

    Pergunte ao FixBot
    Comentar

  7. Logitech K480 Keycap Replacement, Metal Plate: passo 7, imagem 1 %32 Logitech K480 Keycap Replacement, Metal Plate: passo 7, imagem 2 %32 Logitech K480 Keycap Replacement, Metal Plate: passo 7, imagem 3 %32
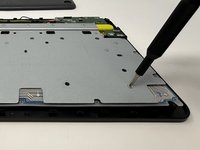
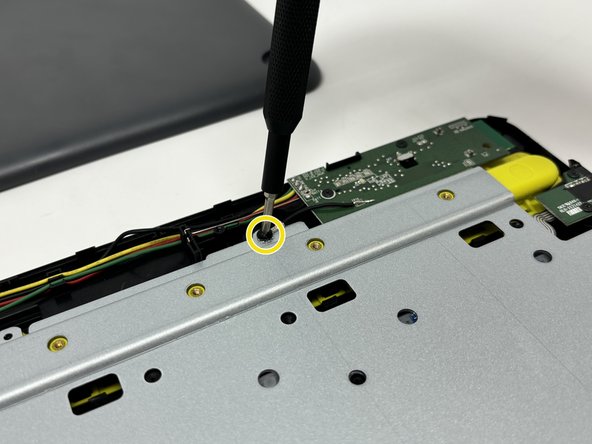
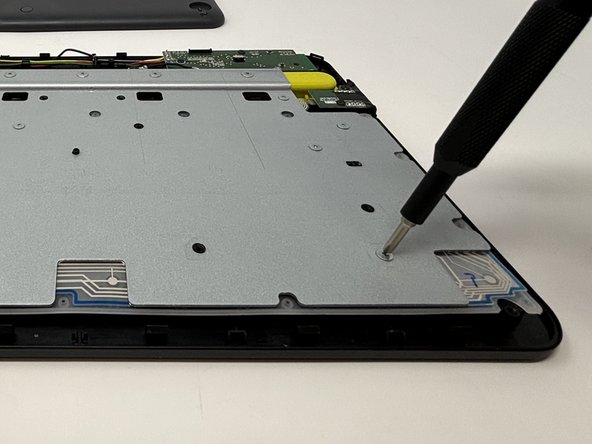
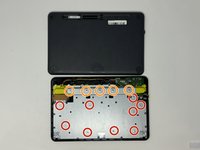
    • Remove the eight 3 mm screws using a Phillips #00 screwdriver

    • Remove the five 2 mm silver screws from the metal plate using a Phillips #00 screwdriver.

    • Remove the single 4 mm black screw by the motherboard using a Phillips #00 screwdriver.

    Pergunte ao FixBot

    Comentar

  8. Logitech K480 Keycap Replacement: passo 8, imagem 1 %32 Logitech K480 Keycap Replacement: passo 8, imagem 2 %32
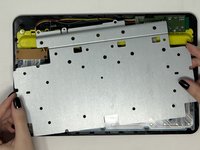
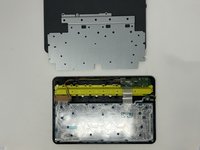
    • Lift up and remove the metal plate.

    Pergunte ao FixBot
    Comentar

  9. Logitech K480 Keycap Replacement, Keycap: passo 9, imagem 1 %32
    • Flip the flex circuit and rubber dome sheet over.

    Pergunte ao FixBot
    Comentar

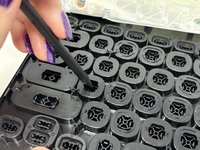
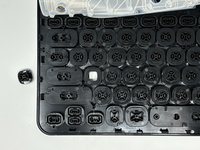
  10. Logitech K480 Keycap Replacement: passo 10, imagem 1 %32 Logitech K480 Keycap Replacement: passo 10, imagem 2 %32 Logitech K480 Keycap Replacement: passo 10, imagem 3 %32
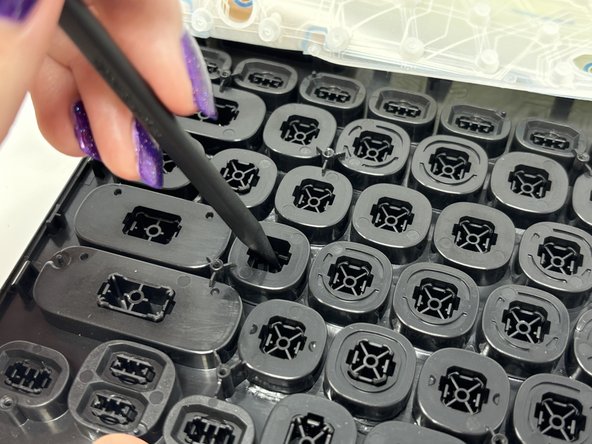
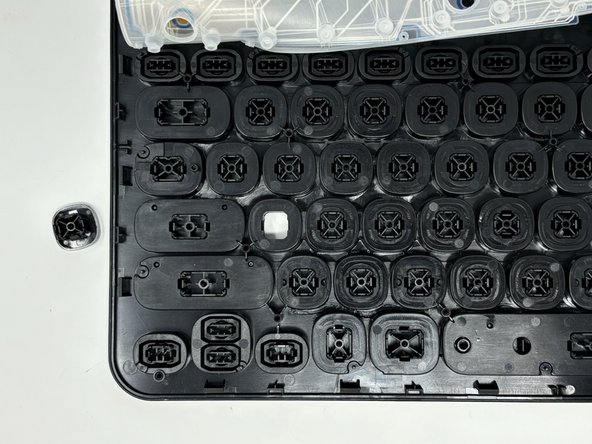
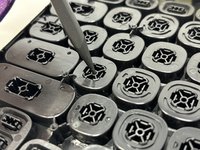
    • Using the spudger, gently press on the underside of the key and pop it out.

    Pergunte ao FixBot
    Comentar

Conclusão

To reassemble your device, follow these instructions in reverse order.

Cancelar: não concluí este guia.

Uma outra pessoa concluiu este guia.

Madison

Membro desde: 09/04/24

727 Reputação

Autoria de 4 guias

0Comentários do guia

Comentar

Visualizações:

Últimas 24 horas: 2

Últimos 7 dias: 6

Últimos 30 dias: 42

Ao todo: 728