Ir para o conteúdo principal
Participe da comunidade de reparos - Criar conta

Linsay Model F-7HD2CORE Screen Replacement

O que você precisa

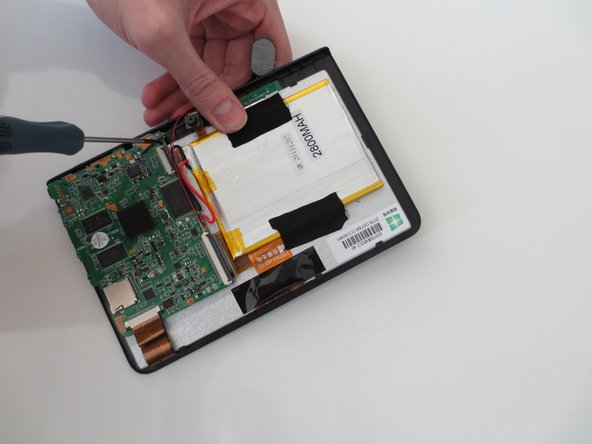
    1. Linsay Model F-7HD2CORE Screen Replacement, Screen: passo 1, imagem 1 %32 Linsay Model F-7HD2CORE Screen Replacement, Screen: passo 1, imagem 2 %32 Linsay Model F-7HD2CORE Screen Replacement, Screen: passo 1, imagem 3 %32
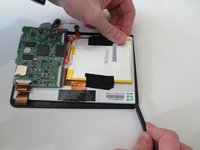
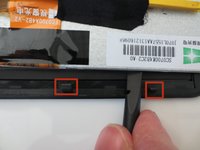
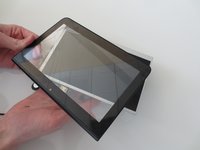
      • Insert your plastic opening tool in between the black and white portions of your device.

      • Gently pry the top screen from the base of the tablet.

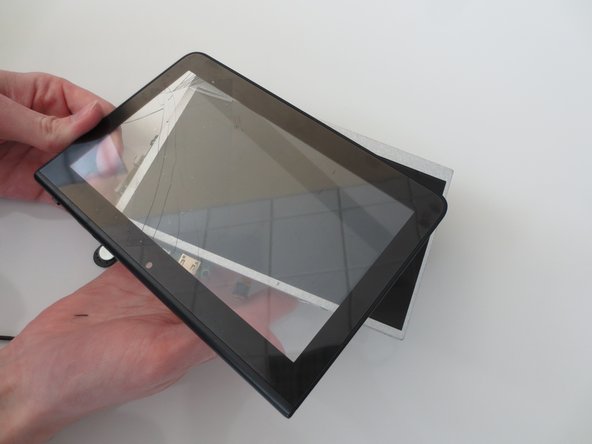
      • Your tablet should now look like the third photo.

      Pergunte ao FixBot

      Comentar

    2. Linsay Model F-7HD2CORE Screen Replacement: passo 2, imagem 1 %32 Linsay Model F-7HD2CORE Screen Replacement: passo 2, imagem 2 %32
      • Peel the microphone from the back of the device.

      Pergunte ao FixBot

      Comentar

    3. Linsay Model F-7HD2CORE Screen Replacement: passo 3, imagem 1 %32
      • Remove the tape from the indicated copper strip.

      Pergunte ao FixBot

      Comentar

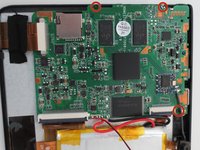
    4. Linsay Model F-7HD2CORE Screen Replacement: passo 4, imagem 1 %32 Linsay Model F-7HD2CORE Screen Replacement: passo 4, imagem 2 %32
      • Use your 00 phillips head screwdriver to remove the three 4mm phillips screws circled in red.

      Pergunte ao FixBot

      Comentar

    5. Linsay Model F-7HD2CORE Screen Replacement: passo 5, imagem 1 %32
      • Remove the soldered portion of the circuit board on the screen.

      • You will need a soldering kit to reattach this part.

      Pergunte ao FixBot

      Comentar

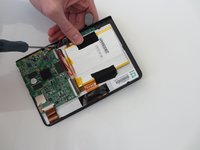
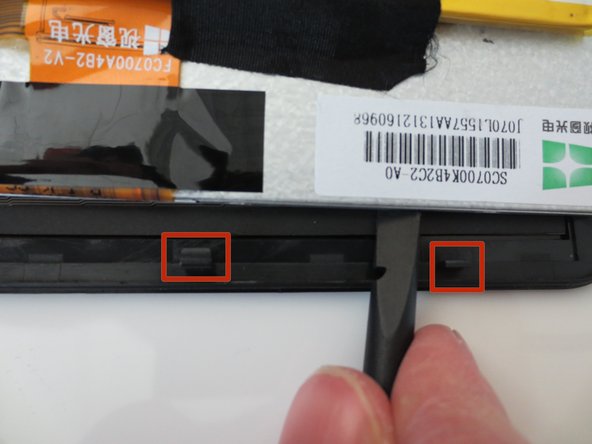
    6. Linsay Model F-7HD2CORE Screen Replacement: passo 6, imagem 1 %32 Linsay Model F-7HD2CORE Screen Replacement: passo 6, imagem 2 %32
      • Use the blunt end of the spudger to remove the circuit panel and battery from the glass screen portion of the device.

      • There will be several small hooks holding the screen onto the back panel.

      Pergunte ao FixBot

      Comentar

    7. Linsay Model F-7HD2CORE Screen Replacement: passo 7, imagem 1 %32 Linsay Model F-7HD2CORE Screen Replacement: passo 7, imagem 2 %32
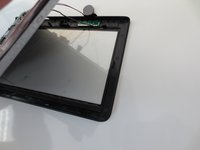
      • Gently pull the two pieces of the tablet apart.

      • Your tablet should now look like image two.

      • You are now ready to attach your new screen!

      Pergunte ao FixBot

      Comentar

Conclusão

To reassemble your device, follow these instructions in reverse order.

Cancelar: não concluí este guia.

3 outras pessoas executaram este guia.

Equipe

Penn State, Team 1-5, Kaschak Winter 2015 Membro de Penn State, Team 1-5, Kaschak Winter 2015

PSU-KASCHAK-W15S1G5

3 Membros

Autoria de 2 guias

1Comentário do guia

Excellent work!

Glen Lind - Responder Compartilhar

Comentar

Visualizações:

Últimas 24 horas: 1

Últimos 7 dias: 9

Últimos 30 dias: 41

Ao todo: 1,670