Ir para o conteúdo principal
Participe da comunidade de reparos - Criar conta

Levoit Core 300-RAC Control Board Replacement

O que você precisa

    1. Levoit Core 300-RAC Control Board Replacement, Control Board: passo 1, imagem 1 %32 Levoit Core 300-RAC Control Board Replacement, Control Board: passo 1, imagem 2 %32 Levoit Core 300-RAC Control Board Replacement, Control Board: passo 1, imagem 3 %32
      • Make sure the device is turned off and unplugged before disassembling it.

      • Insert the Jimmy between the gray grille cover and the top of the device.

      • Work your way around the grille cover with the Jimmy to release the clips holding it in place.

      • Take note of the placement of the clips, as they are keyed and need to go back in the exact way they came out.

      • Remove the grille cover gently as it is connected by a ribbon cable.

      • Be careful not to put too much strain on the ribbon cable as it may break.

      Pergunte ao FixBot

      Comentar

    2. Levoit Core 300-RAC Control Board Replacement: passo 2, imagem 1 %32 Levoit Core 300-RAC Control Board Replacement: passo 2, imagem 2 %32 Levoit Core 300-RAC Control Board Replacement: passo 2, imagem 3 %32
      • Squeeze the tab on the connector to release the bundled cable from the control board.

      • The connector should come out fairly easily, so do not force it. Pulling too hard could damage the connector.

      Pergunte ao FixBot

      Comentar

    3. Levoit Core 300-RAC Control Board Replacement: passo 3, imagem 1 %32 Levoit Core 300-RAC Control Board Replacement: passo 3, imagem 2 %32
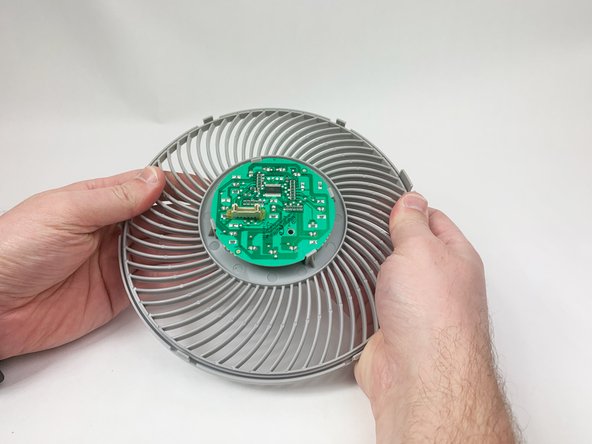
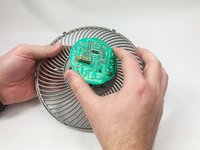
      • Gently bend the gray plastic cover to release the control board.

      • There are several hard tabs holding the control board in place.

      Pergunte ao FixBot

      Comentar

    4. Levoit Core 300-RAC Control Board Replacement: passo 4, imagem 1 %32 Levoit Core 300-RAC Control Board Replacement: passo 4, imagem 2 %32 Levoit Core 300-RAC Control Board Replacement: passo 4, imagem 3 %32
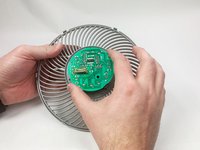
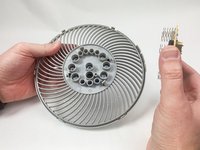
      • Lift the control board from the gray plastic cover.

      • Take note of the orientations of the buttons, as that will help during reassembly.

      Pergunte ao FixBot

      Comentar

Conclusão

To reassemble your device, follow these instructions in reverse order.

Cancelar: não concluí este guia.

Mustafa

Membro desde: 11/03/23

259 Reputação

Autoria de 1 guia

Equipe

UMass Dartmouth, Team 1-6, Petersen Fall 2023 Membro de UMass Dartmouth, Team 1-6, Petersen Fall 2023

UMASSD-PETERSEN-F23S1G6

5 Membros

Autoria de 8 guias

0Comentários do guia

Comentar

Visualizações:

Últimas 24 horas: 4

Últimos 7 dias: 22

Últimos 30 dias: 92

Ao todo: 1,875