Esta versão pode conter edições incorretas. Mude para o último instantâneo verificado.
O que você precisa
-
Este passo não foi traduzido. Ajude a traduzi-lo
-
Open the battery casing by pressing the gray "PUSH" button. Slide the back of the casing downward.
-
-
Este passo não foi traduzido. Ajude a traduzi-lo
-
Carefully remove the faulty battery from the back of the phone.
-
Inspect the battery port to ensure the battery is the issue. Ensure the four gold connecting prongs are intact and are pointing straight into the port.
-
-
Este passo não foi traduzido. Ajude a traduzi-lo
-
Align the gold prongs with the gold plates on the bottom of the battery. Make sure "This Side Up" is visible
-
Push the battery flat against the back of the phone until it clicks into place.
-
-
Este passo não foi traduzido. Ajude a traduzi-lo
-
Replace the back cover of the phone by sliding the casing down into place. Gently press the top until it clicks.
-
Charge the device and turn it on to confirm the issue is resolved.
-
-
-
Este passo não foi traduzido. Ajude a traduzi-lo
-
Remove the four grey plugs using either tweezers or a push pin.
-
-
Este passo não foi traduzido. Ajude a traduzi-lo
-
Remove the four screws that are now exposed using a Phillips #00 screwdriver.
-
-
Este passo não foi traduzido. Ajude a traduzi-lo
-
Once all the screws have been removed, use a plastic opener tool to pry the case from the rest of the phone.
-
Insert the opener tool into the seem between the case and the phone. Apply pressure to separate the two pieces.
-
Do this across the entire length of the seem until the case is no longer attached to the phone.
-
-
Este passo não foi traduzido. Ajude a traduzi-lo
-
The case can now be removed and the interior of the front is accessible.
-
-
Este passo não foi traduzido. Ajude a traduzi-lo
-
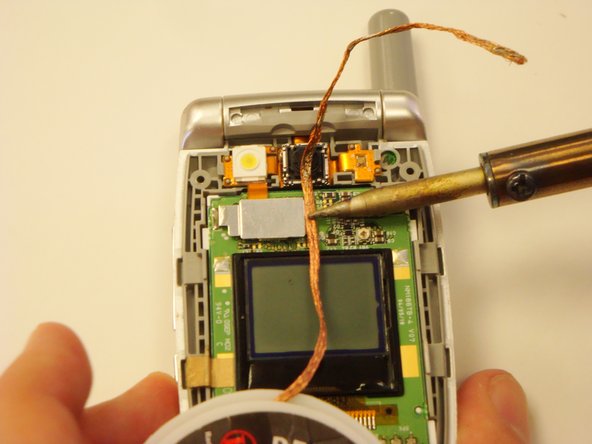
Locate the solder on the side of the metal plate on the top half of the phone.
-
Place a piece of solder wick on top of the solder.
-
To desolder the connection, very carefully place the tip of the soldering iron on top of the solder wick. Hold it steady until the solder is soaked up into the solder wick.
-
Cut off the used solder wick with pliers and repeat this step if any solder remains.
-
-
Este passo não foi traduzido. Ajude a traduzi-lo
-
After the solder has been removed, pry off the camera assembly connection shield with the plastic opening tool.
-
-
Este passo não foi traduzido. Ajude a traduzi-lo
-
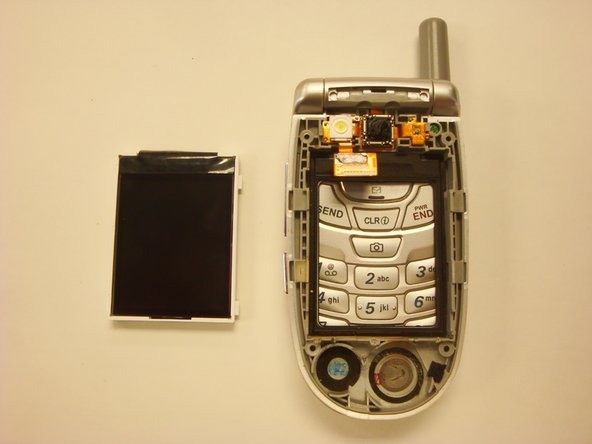
Remove the main display by lifting up the extruded white edge with your fingernail.
-


Equipe

Cal Poly, Team 12-39, Regan Spring 2012 Membro de Cal Poly, Team 12-39, Regan Spring 2012
CPSU-REGAN-S12S12G39
Membros da 3
Autoria de 16 guias