Introdução
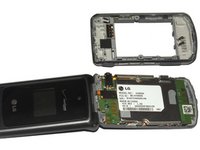
O guia a seguir mostrará a desmontagem completa do celular para substituir a carcaça interna do aparelho.
O que você precisa
-
-
Remova a capa traseira colocando o polegar na pequena saliência perto da parte superior da traseira do celular e empurre para baixo, expondo a bateria.
-
Remova a bateria usando o dedo para retirá-la do compartimento da bateria.
 Pergunte ao FixBot
-
-
Ferramenta utilizada neste passo:Tweezers$4.99
-
Remova as (2) capas de borracha dos parafusos localizadas perto da dobradiça do telefone usando uma pinça ou um percevejo.
-
Desparafuse os (4) parafusos Phillips de 3,6 mm usando uma chave Phillips #00.
-
-
-
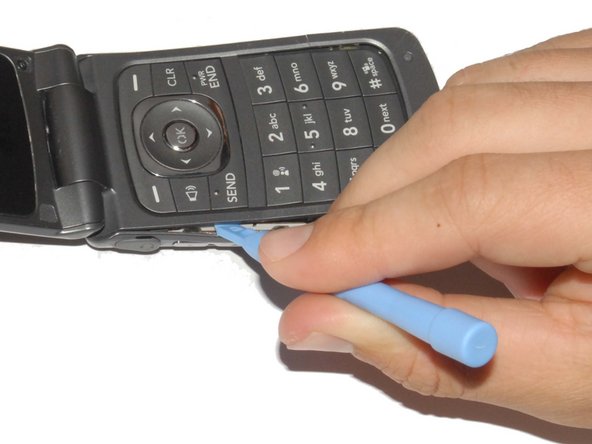
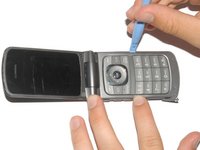
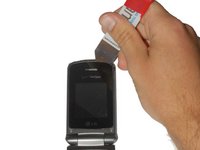
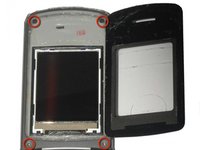
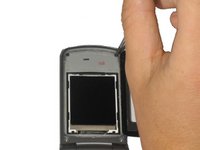
Com cuidado, remova a tampa traseira do celular usando uma Ferramenta de abertura.
-
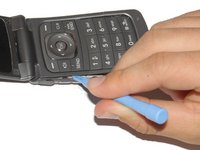
Insira a ferramenta na fresta entre o teclado (painel frontal) e o painel traseiro.
-
Deslize a ferramenta ao longo das laterais do celular para soltar as travas que prendem a tampa traseira.
-
-
-
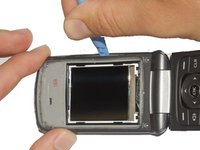
Descole o adesivo com uma pinça e mantenha-o afastado com o dedo.
-
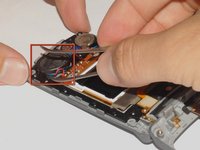
Use a pinça para levantar o adaptador da tela para fora da placa lógica.
-
-
-
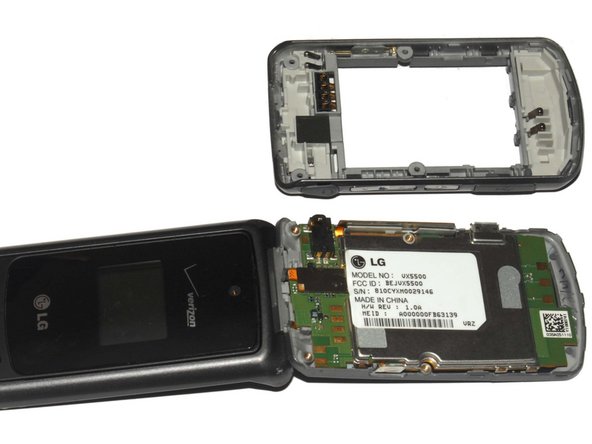
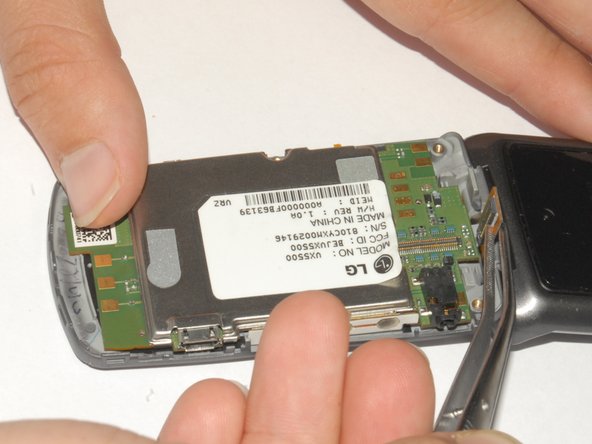
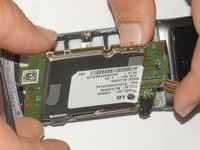
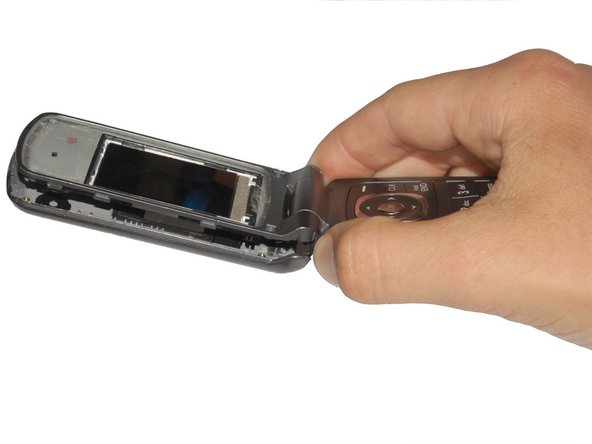
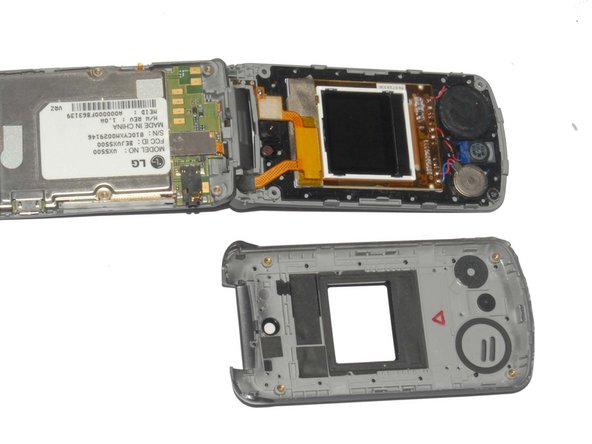
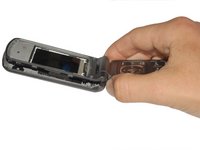
Retire a placa-mãe da carcaça do celular.
-
O teclado pode ser facilmente removido assim que a placa-mãe sair do celular.
-
-
-
-
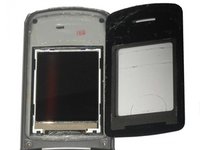
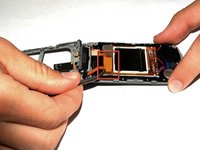
Com cuidado, remova a tampa plástica preta da tela usando a espátula iSesamo ou outra ferramenta fina e plana.
-
-
Ferramenta utilizada neste passo:Tweezers$4.99
-
Desparafuse os 4 parafusos de 3,6 mm próximos a cada canto do painel do display do celular usando uma chave Phillips #00.
-
-
-
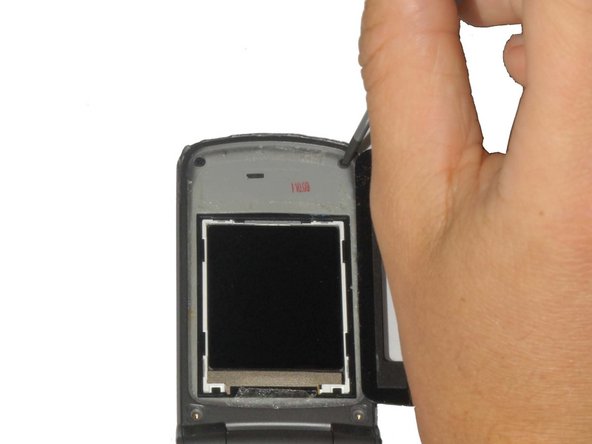
Desencaixe o painel frontal do celular usando uma Ferramenta de abertura de plástico.
-
Empurre a ferramenta na fresta ao longo da lateral do celular.
-
Deslize a ferramenta pela fresta para soltar as abas que prendem a parte traseira ao celular.
-
-
-
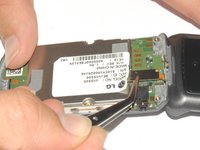
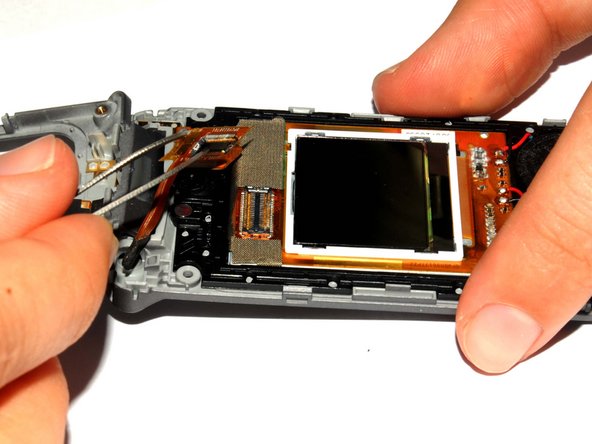
Use a pinça para levantar o adaptador da tela do componente da tela.
-
-
-
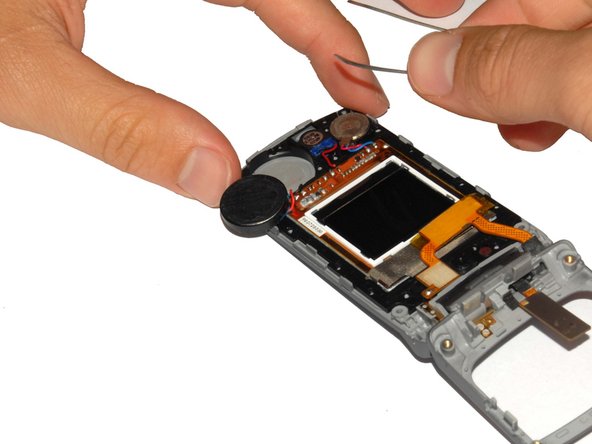
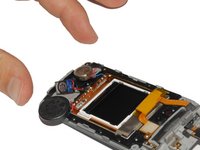
Com uma pinça, remova o alto-falante de sua carcaça.
-
-
-
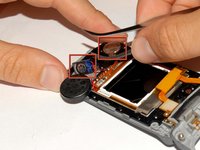
Remova o alto-falante auricular e o giroscópio levantando-os para fora da carcaça do celular com uma pinça.
-
-
-
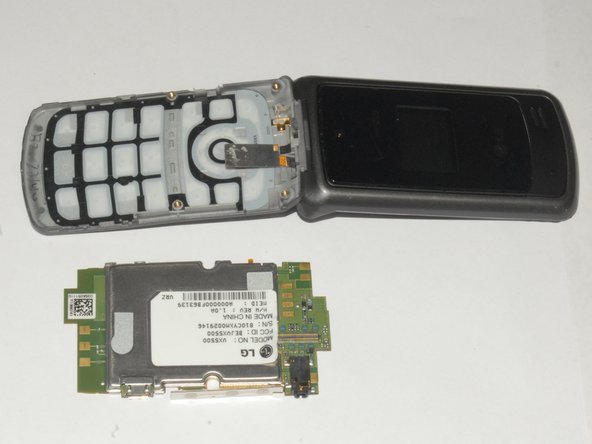
O celular agora está totalmente desmontado.
-
Substitua as peças indicadas pela sua nova carcaça de celular.
-


Para a remontagem de seu dispositivo, siga estas instruções na ordem inversa.
Cancelar: não concluí este guia.
3 outras pessoas executaram este guia.
Um agradecimento especial a esses tradutores:
100%

Translation Bot está nos ajudando a consertar o mundo! Quer contribuir?
Comece a traduzir ›

Equipe

Cal Poly, Team 7-33, Maness Spring 2012 Membro de Cal Poly, Team 7-33, Maness Spring 2012
CPSU-MANESS-S12S7G33
4 Membros
Autoria de 20 guias