Introdução
If your LG Stylo 2 Plus takes low quality pictures or the rear camera is unable to take pictures, it might be time to replace the rear facing camera unit. Rear camera replacement on this device is a intermediate task, and you need to remember to be gentle; you will be handling delicate components and thin plastics.
O que você precisa
-
-
To remove the rear case of the phone, insert the spudger into the opening on the back of the case.
-
With the spudger parallel to the frame of the phone, slide it along the edge, forcing the casing to pop off.
 Pergunte ao FixBot
-
-
-
To remove the battery, insert your fingernail or the flat end of the spudger into the dimple at the bottom of the battery and lift upwards.
-
Firmly grasp the battery and remove from the phone.
-
-
-
-
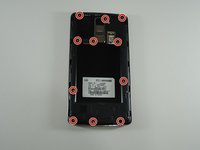
Using the JIS #000 screwdriver, remove the eleven 4mm screws around the mid-frame.
-
-
-
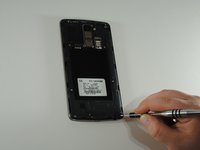
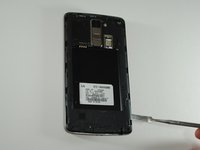
Insert the metal spudger in the dimple at the base of the cover.
-
Pry upward, removing the mid-frame from the phone.
-
-
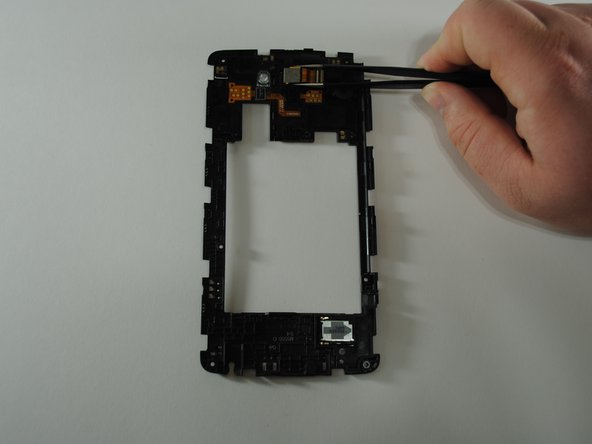
Ferramenta utilizada neste passo:Tweezers$4.99
-
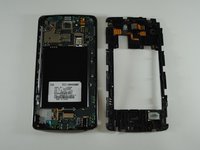
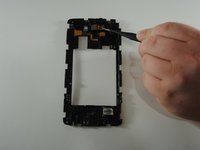
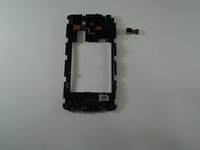
Flip the cover over to show the rear camera unit in the center of the cover.
-
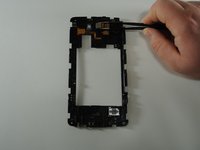
Using the tweezers, carefully grab the rear camera unit and pull directly upward, removing the unit from the cover housing.
-


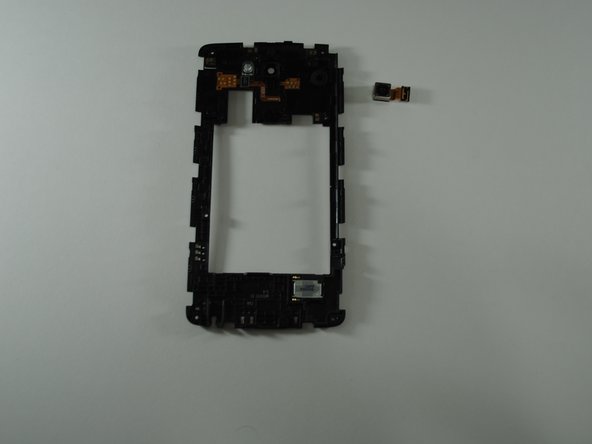

To reassemble your device, follow these instructions in reverse order.
Equipe

UW Tacoma, Team S1-G3, Cardinal Spring 2019 Membro de UW Tacoma, Team S1-G3, Cardinal Spring 2019
UWT-CARDINAL-S19S1G3
4 Membros
Autoria de 21 guias