Introdução
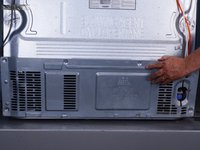
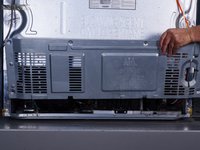
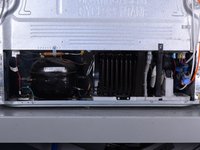
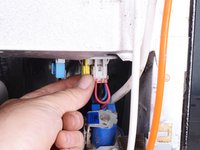
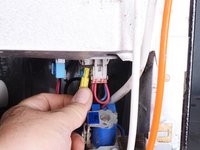
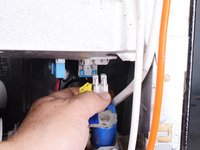
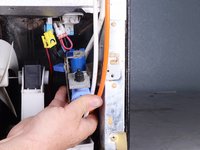
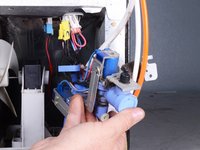
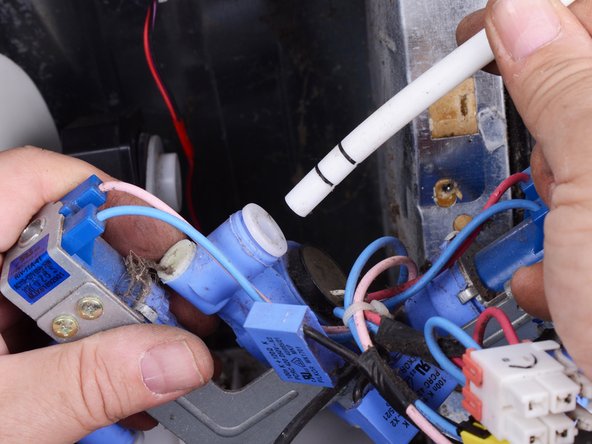
Use this guide to replace the water inlet valve assembly on your LG refrigerator
This guide will work for most LG refrigerators. This guide is written with an LG model LFX25973 refrigerator. If you have a different model, you may encounter some minor disassembly differences, but the overall repair process will be the same.
The water inlet valve assembly controls the flow of water to the dispenser and also to the ice makers.
If it fails, you may experience the following:
- Leaking and puddles on the floor near the refrigerator
- Water freezing on the bottom of your freezer
- Ice in your in-door dispenser freezing up and not dispensing
- No ice produced, or no water dispensed if the valve refuses to open at all
O que você precisa
-
-
Unplug your refrigerator before you begin your repair.
-
Condenser fan motor
-
Compressor motor and thermal overload device
-
Water supply valve assembly
-
-
-
Use a Phillips screwdriver to remove the screws securing the condenser cover to the rear of the refrigerator.
-
-
-
Tilt the top edge of the condenser cover toward you.
-
Lift and remove the condenser cover.
-
-
-
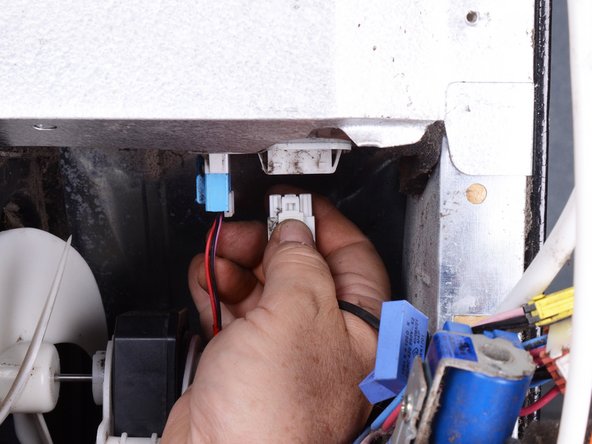
Squeeze and pull down the connectors for the valve assembly harness to disconnect them.
-
-
-
-
Use a Phillips screwdriver to remove the screw(s) securing the water inlet valve assembly.
-
-
-
Squeeze and pull downward the remaining water inlet valve assembly connector(s) to disconnect it.
-
-
-
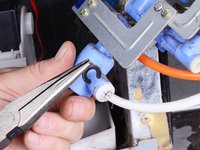
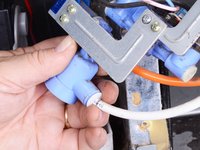
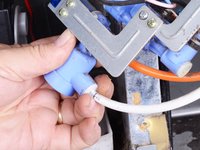
Use long nose pliers to pull and remove the locking clip from a tubing connector.
-
-
-
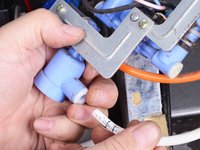
Repeat this procedure for the remaining tubes.
-
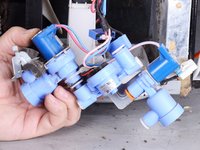
Remove the inlet valve assembly.
-
-
-
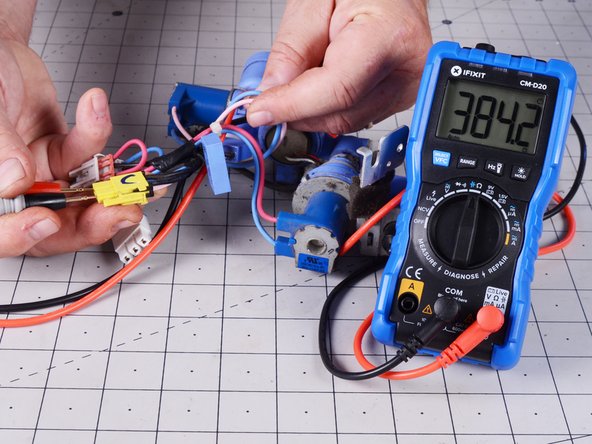
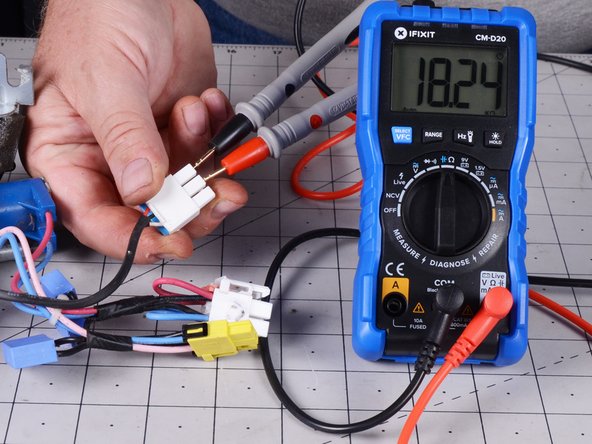
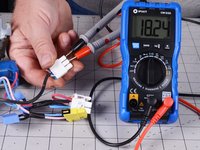
For the first solenoid, test the resistance between the wires from it at the connector.
-
Repeat the test on the connector for the other solenoid.
-
To test the flow meter, test the resistance between the wires from it at the connector.
-
To reassemble your device, follow these instructions in reverse order.
Take your e-waste to an R2 or e-Stewards certified recycler.
Repair didn’t go as planned? Try some basic troubleshooting, or ask our Answers community for help.
To reassemble your device, follow these instructions in reverse order.
Take your e-waste to an R2 or e-Stewards certified recycler.
Repair didn’t go as planned? Try some basic troubleshooting, or ask our Answers community for help.
1Comentário do guia
Just turn off the power for 30 seconds and check it again.


