Ir para o conteúdo principal

LG Refrigerator Condenser Fan Motor Replacement

O que você precisa

  1. LG Refrigerator Condenser Fan Motor Replacement, Unplug your refrigerator: passo 1, imagem 1 %32
    • Unplug your refrigerator before you begin your repair.

    • If you are testing or repairing the following items, you may also need to shut off and disconnect the water supply:

    • Condenser fan motor

    • Compressor motor and thermal overload device

    • Water supply valve assembly

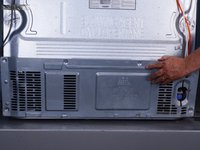
  2. LG Refrigerator Condenser Fan Motor Replacement, Unfasten the condenser cover: passo 2, imagem 1 %32
    • Use a Phillips screwdriver to remove the screws securing the condenser cover to the rear of the refrigerator.

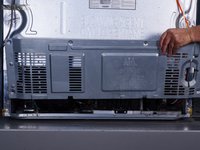
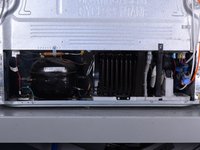
  3. LG Refrigerator Condenser Fan Motor Replacement, Remove the condenser cover: passo 3, imagem 1 %32 LG Refrigerator Condenser Fan Motor Replacement, Remove the condenser cover: passo 3, imagem 2 %32 LG Refrigerator Condenser Fan Motor Replacement, Remove the condenser cover: passo 3, imagem 3 %32
    • Tilt the top edge of the condenser cover toward you.

    • Lift and remove the condenser cover.

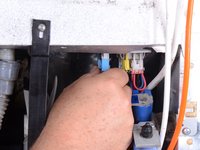
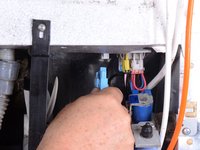
  4. LG Refrigerator Condenser Fan Motor Replacement, Disconnect the condenser fan: passo 4, imagem 1 %32 LG Refrigerator Condenser Fan Motor Replacement, Disconnect the condenser fan: passo 4, imagem 2 %32
    • Squeeze and pull the condenser fan connector straight down to disconnect the condenser fan.

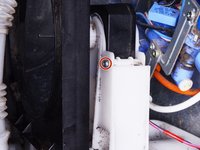
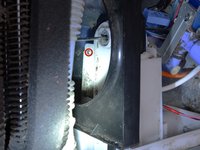
  5. LG Refrigerator Condenser Fan Motor Replacement, Unfasten the condenser fan shroud: passo 5, imagem 1 %32
    • Use a Phillips screwdriver to remove the condenser fan shroud screw.

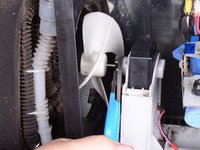
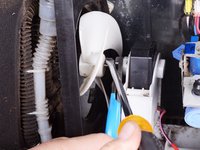
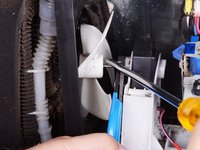
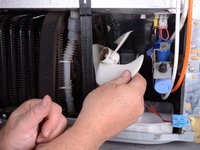
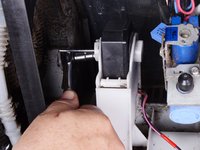
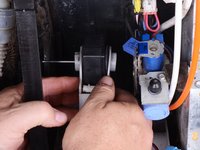
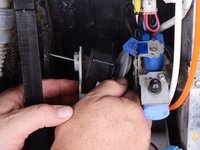
  6. LG Refrigerator Condenser Fan Motor Replacement, Remove the condenser fan blade assembly: passo 6, imagem 1 %32 LG Refrigerator Condenser Fan Motor Replacement, Remove the condenser fan blade assembly: passo 6, imagem 2 %32 LG Refrigerator Condenser Fan Motor Replacement, Remove the condenser fan blade assembly: passo 6, imagem 3 %32
    • Place a pair of slip joint pliers around the condenser fan drive shaft.

    • Place a large flat blade screwdriver between the slip joint pliers and the fan hub.

    • While holding the pliers in place, push the screwdriver against the pliers to pry the fan off.

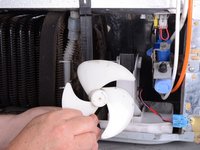
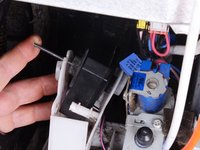
  7. LG Refrigerator Condenser Fan Motor Replacement: passo 7, imagem 1 %32 LG Refrigerator Condenser Fan Motor Replacement: passo 7, imagem 2 %32
    • Remove the fan blade assembly.

  8. LG Refrigerator Condenser Fan Motor Replacement, Remove the condenser fan motor: passo 8, imagem 1 %32 LG Refrigerator Condenser Fan Motor Replacement, Remove the condenser fan motor: passo 8, imagem 2 %32 LG Refrigerator Condenser Fan Motor Replacement, Remove the condenser fan motor: passo 8, imagem 3 %32
    • Use a stubby Phillips screwdriver to remove the screws securing the fan motor inside the fan motor bracket.

    • You may find it easier to use a 1/4 inch drive socket with a Phillips head bit to remove the screws.

  9. LG Refrigerator Condenser Fan Motor Replacement, Remove the fan motor: passo 9, imagem 1 %32 LG Refrigerator Condenser Fan Motor Replacement, Remove the fan motor: passo 9, imagem 2 %32 LG Refrigerator Condenser Fan Motor Replacement, Remove the fan motor: passo 9, imagem 3 %32
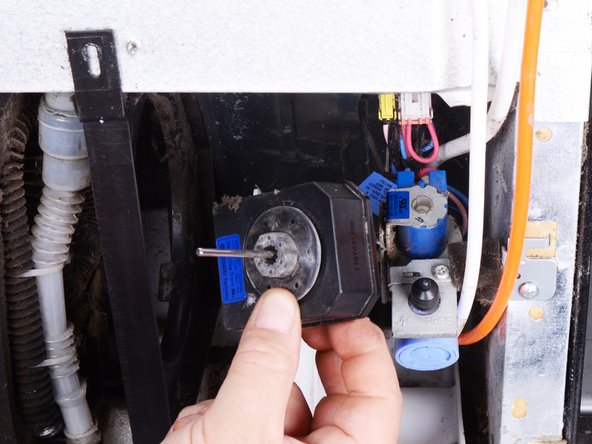
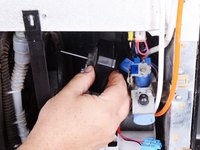
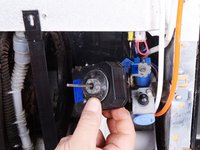
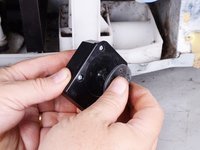
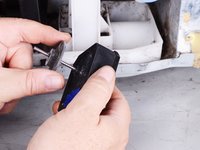
    • Push apart the two halves of the fan motor bracket to release the fan motor.

    • Slide the fan motor shaft up through the slot in the front fan motor bracket.

  10. LG Refrigerator Condenser Fan Motor Replacement: passo 10, imagem 1 %32 LG Refrigerator Condenser Fan Motor Replacement: passo 10, imagem 2 %32
    • Remove the fan motor.

  11. LG Refrigerator Condenser Fan Motor Replacement, Transfer the motor mounting washers: passo 11, imagem 1 %32 LG Refrigerator Condenser Fan Motor Replacement, Transfer the motor mounting washers: passo 11, imagem 2 %32 LG Refrigerator Condenser Fan Motor Replacement, Transfer the motor mounting washers: passo 11, imagem 3 %32
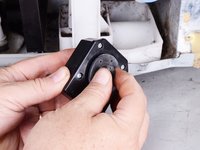
    • Transfer the two rubber motor mounting washers from the old motor to the new motor.

Conclusão

To reassemble your device, follow these instructions in reverse order.

Take your e-waste to an R2 or e-Stewards certified recycler.

Repair didn’t go as planned? Try some basic troubleshooting, or ask our  Answers community for help.

Bill Gilbert

Membro desde: 06/30/22

30.088 Reputação

Autoria de 213 guias

Equipe

iFixit Membro de iFixit

Staff

Membros da 136

Autoria de 17.432 guias

0 comentários

Adicione um comentário

Exibir estatísticas:

Últimas 24 horas: 6

Últimos 7 dias: 40

Últimos 30 dias: 159

Duração total: 500