Introdução
Remove the battery before removing the back controls to avoid electric shock. Do not lose any screws or the middle button of the back controls.
O que você precisa
-
-
Flip the LG K7 over so that the back of the phone is facing up.
-
Locate the small notch on the bottom left side of the phone.
 Pergunte ao FixBot
-
-
-
Insert a plastic opening tool into the notch and lift the back cover upward while holding the bottom portion of the phone down to remove it.
-
-
-
-
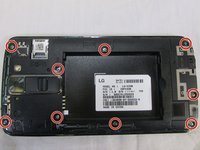
Located to nine 3.4 mm screws that keep that keep the phones rear housing in tacked.
-
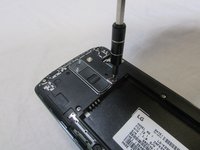
Using a Phillips 00 screwdriver remove all nine 3.4 mm screws.
-
-
-
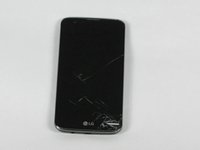
Turn the phone over so the screen is facing up
-
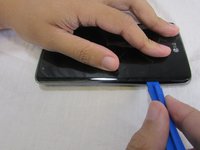
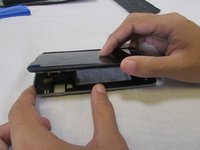
Insert your plastic opening tool between the midframe and front panel assembly on the side of the phone.
-
Slide the plastic opening tool down the seams carefully to separate the screen from the rest of the phone housing.
-
-
-
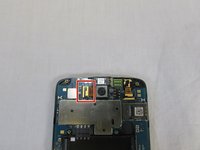
Locate the ribbon cable that holds the camera's ribbon cable in place.
-
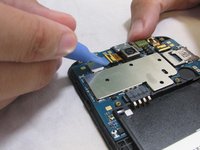
Carefully remove the camera's ribbon cable from the motherboard using the plastic removal tool.
-
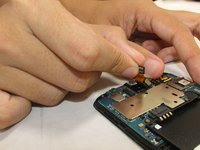
Holding the camera ribbon you just released pull upwards and the camera should release from the case.
-






To reassemble your device, follow these instructions in reverse order.
Cancelar: não concluí este guia.
Uma outra pessoa concluiu este guia.

Equipe

USF Tampa, Team S2-G5, Nance Fall 2017 Membro de USF Tampa, Team S2-G5, Nance Fall 2017
USFT-NANCE-F17S2G5
3 Membros
Autoria de 12 guias
