Ir para o conteúdo principal
Participe da comunidade de reparos - Criar conta

LG G4 LCD and Digitizer Replacement

O que você precisa

  1. LG G4 LCD and Digitizer Replacement, Back Cover: passo 1, imagem 1 %32
    • Make sure the phone is powered off.

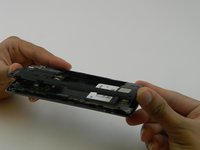
    • Remove the rear cover by placing the plastic opening tool in the groove on the bottom left side of the LG G4 and gently prying up.

    Pergunte ao FixBot

    Comentar

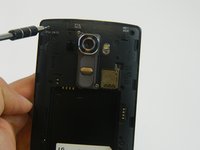
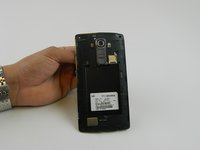
  2. LG G4 LCD and Digitizer Replacement: passo 2, imagem 1 %32 LG G4 LCD and Digitizer Replacement: passo 2, imagem 2 %32
    • Place the plastic opening tool at the bottom edge of the battery and lift up. Carefully remove battery with your hands.

    Pergunte ao FixBot

    Comentar

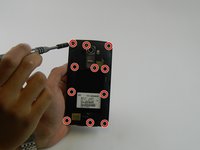
  3. LG G4 LCD and Digitizer Replacement: passo 3, imagem 1 %32 LG G4 LCD and Digitizer Replacement: passo 3, imagem 2 %32 LG G4 LCD and Digitizer Replacement: passo 3, imagem 3 %32
    • Remove the eleven 3.9 mm Phillips #00 screws found at the back of the phone.

    Pergunte ao FixBot

    Comentar

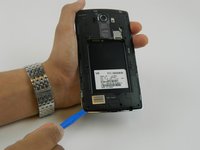
  4. LG G4 LCD and Digitizer Replacement: passo 4, imagem 1 %32 LG G4 LCD and Digitizer Replacement: passo 4, imagem 2 %32 LG G4 LCD and Digitizer Replacement: passo 4, imagem 3 %32
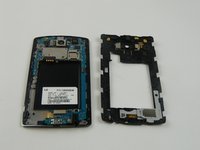
    • Once all the screws have been removed, place the plastic opening tool in the lower left corner and firmly lift the cover up.

    • Detach the cover with your fingers

    Pergunte ao FixBot

    Comentar

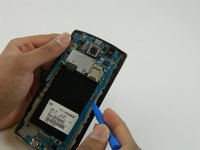
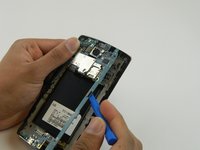
  5. LG G4 LCD and Digitizer Replacement, Motherboard: passo 5, imagem 1 %32 LG G4 LCD and Digitizer Replacement, Motherboard: passo 5, imagem 2 %32
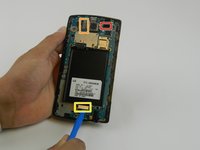
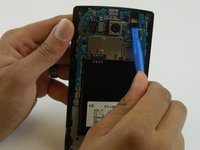
    • Remove the following four press-fit connectors with the flat edge of a plastic spudger or opening tool:

    • Front-facing camera connector.

    • Rear-facing camera connector.

    • Digitizer connector.

    • The rear-facing camera may be held down to the frame with two sided tape. Try to move the camera with the spudger prior to lifting the motherboard If it does not budge, use the same tool to pry it from the frame to avoid damaging the connector cable in the next step.

    Pergunte ao FixBot

    Comentar

  6. LG G4 LCD and Digitizer Replacement: passo 6, imagem 1 %32 LG G4 LCD and Digitizer Replacement: passo 6, imagem 2 %32
    • Remove the motherboard by lifting it up using the plastic opening tool and your fingers .

    Pergunte ao FixBot

    Comentar

  7. LG G4 LCD and Digitizer Replacement, Screen Assembly: passo 7, imagem 1 %32
    • Use a heat gun or iOpener over the auxiliary port to soften the adhesive that secures it to the plastic housing.

    Pergunte ao FixBot

    Comentar

  8. LG G4 LCD and Digitizer Replacement: passo 8, imagem 1 %32 LG G4 LCD and Digitizer Replacement: passo 8, imagem 2 %32
    Ferramenta utilizada neste passo:
    Spudger
    $2.99
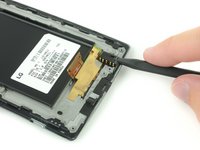
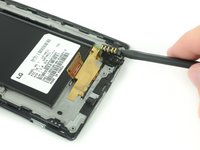
    • Insert a nylon spudger into the auxiliary port and gently pry upward to free the port.

    Pergunte ao FixBot

    Comentar

  9. LG G4 LCD and Digitizer Replacement, Other components: passo 9, imagem 1 %32
    • You may also need to remove the vibration motor (the small circular component with two gold contacts), ear-speaker, and two rubber covers on either side of the ear-speaker to transfer these over to the new display assembly.

    • Use a spudger to carefully remove these components and then place them in the new display assembly..

    Pergunte ao FixBot

    Comentar

  10. LG G4 LCD and Digitizer Replacement, LCD and Digitizer: passo 10, imagem 1 %32 LG G4 LCD and Digitizer Replacement, LCD and Digitizer: passo 10, imagem 2 %32
    Ferramenta utilizada neste passo:
    Tweezers
    $3.99
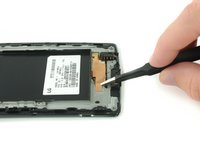
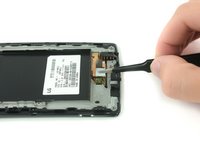
    • Use a pair of tweezers to remove the adhesive strip that secures the digitizer ribbon cable.

    Pergunte ao FixBot

    Comentar

  11. LG G4 LCD and Digitizer Replacement: passo 11, imagem 1 %32 LG G4 LCD and Digitizer Replacement: passo 11, imagem 2 %32
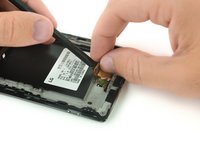
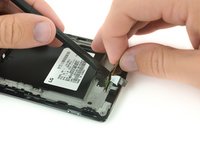
    • Insert the flat side of a nylon spudger below the digitizer ribbon cable to free it from the adhesive.

    • You may use your fingers to pull the ribbon cable gently as you free the panel from the adhesive with the spudger. It may be necessary to apply more heat if the adhesive is still too strong.

    Pergunte ao FixBot

    Comentar

  12. LG G4 LCD and Digitizer Replacement: passo 12, imagem 1 %32 LG G4 LCD and Digitizer Replacement: passo 12, imagem 2 %32
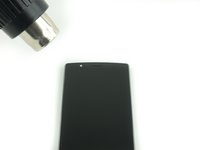
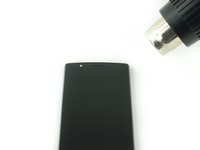
    • Use a heat gun or an iOpener to soften the adhesive underneath the edges of the screen.

    Pergunte ao FixBot

    Comentar

  13. LG G4 LCD and Digitizer Replacement: passo 13, imagem 1 %32 LG G4 LCD and Digitizer Replacement: passo 13, imagem 2 %32
    Ferramenta utilizada neste passo:
    Heavy-Duty Suction Cups (Pair)
    $16.95
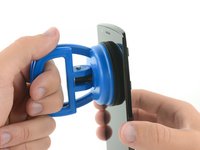
    • Use a heavy duty suction cup and firmly pull the screen away from the frame to create a small gap.

    • There is a very thin strip of adhesive that holds the screen to the frame; this step should not require excessive force. Apply additional heat along the edges of the phone if the screen is difficult to free.

    Pergunte ao FixBot

    Comentar

  14. LG G4 LCD and Digitizer Replacement: passo 14, imagem 1 %32 LG G4 LCD and Digitizer Replacement: passo 14, imagem 2 %32 LG G4 LCD and Digitizer Replacement: passo 14, imagem 3 %32
    Ferramenta utilizada neste passo:
    iFixit Opening Picks (Set of 6)
    $4.95
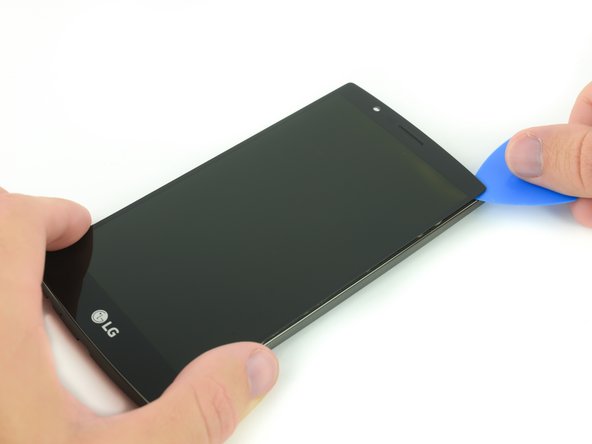
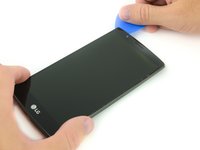
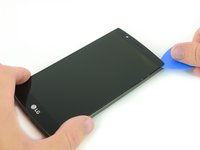
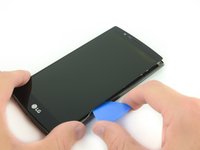
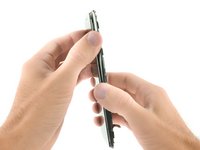
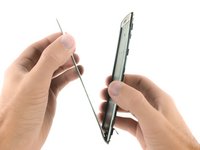
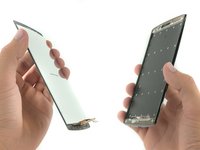
    • Insert a plastic opening pick into the gap between the screen and the plastic housing.

    • Slide the plastic opening pick along the border of the screen to break any additional adhesive and free the screen assembly.

    Pergunte ao FixBot

    Comentar

  15. LG G4 LCD and Digitizer Replacement: passo 15, imagem 1 %32 LG G4 LCD and Digitizer Replacement: passo 15, imagem 2 %32 LG G4 LCD and Digitizer Replacement: passo 15, imagem 3 %32
    Pergunte ao FixBot

    Comentar

Conclusão

To reassemble your device, follow these instructions in reverse order.

Cancelar: não concluí este guia.

24 outras pessoas executaram este guia.

Richard

Membro desde: 02/07/17

35.711 Reputação

Autoria de 11 guias

4Comentários do guia

It is possible replace the digitalizer only? Thanks

Nene indy - Responder Compartilhar

Per the LG G4 Teardown guide, the glass, digitizer, and LCD are all fused together, so you have to replace the whole assembly

Eric Clothier - Responder Compartilhar
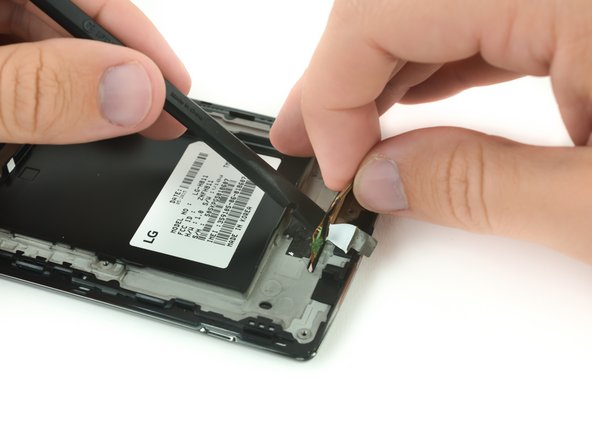
Lorsqu’on remplace l’ensemble écran + LCD achetés ensemble et que l’on transfère les pièces de l’ancien cadre (caméra, vibreur…), il ne faut pas oublier de transférer également 3 petits caoutchoucs carrés noir ou gris (2 en haut de chaque coté du haut parleur, et 1 en bas à gauche de la prise jack), sinon le détecteur de proximité ne marche pas et l’écran s’éteint et le reste lorsqu’on téléphone…

Nevile - Responder Compartilhar

C'est bien qu'on fasse cette observation. Mon technicien avait omis ces neoprenes et j'ai pu les transférés.

My tech had omitted these pads. I am super grateful someone commented that the phone would black out on a call. Problem solved!

Sidney Stratton - Responder Compartilhar

Comentar

Visualizações:

Últimas 24 horas: 0

Últimos 7 dias: 9

Últimos 30 dias: 55

Ao todo: 24,030