Ir para o conteúdo principal
Participe da comunidade de reparos - Criar conta

LG Front Load Washing Machine Temperature Sensor Replacement

O que você precisa

  1. LG Front Load Washing Machine Temperature Sensor Replacement, Safety Precautions: passo 1, imagem 1 %32 LG Front Load Washing Machine Temperature Sensor Replacement, Safety Precautions: passo 1, imagem 2 %32
    • Before you begin your repair, perform the following:

    • Turn off the main water supply

    • Unplug your washer

    • Disconnect all water connections at the rear of your washer

    Pergunte ao FixBot

    Comentar

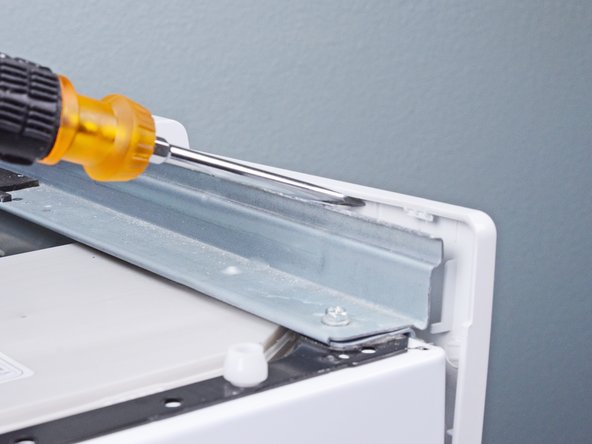
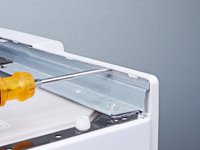
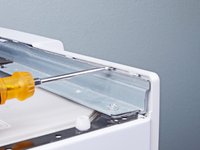
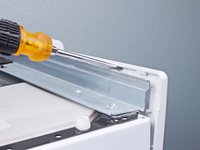
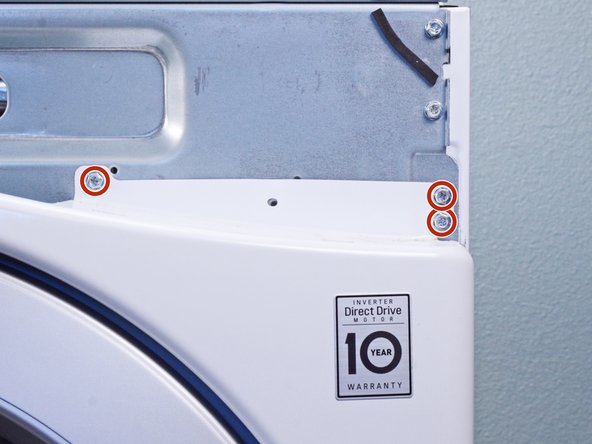
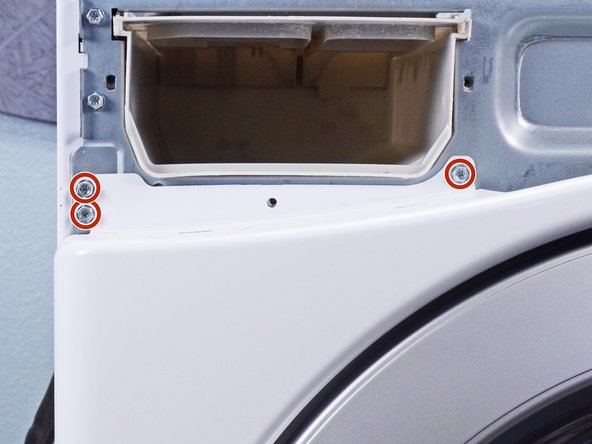
  2. LG Front Load Washing Machine Temperature Sensor Replacement, Unfasten the top panel: passo 2, imagem 1 %32 LG Front Load Washing Machine Temperature Sensor Replacement, Unfasten the top panel: passo 2, imagem 2 %32 LG Front Load Washing Machine Temperature Sensor Replacement, Unfasten the top panel: passo 2, imagem 3 %32
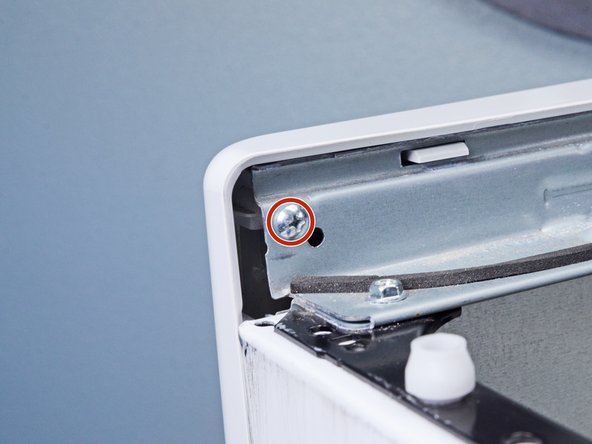
    • Remove the screw(s) securing the top panel brackets to the back panel.

    • You don't need to remove the screws securing the brackets to the top panel.

    Pergunte ao FixBot

    Comentar

  3. LG Front Load Washing Machine Temperature Sensor Replacement, Remove the top panel: passo 3, imagem 1 %32 LG Front Load Washing Machine Temperature Sensor Replacement, Remove the top panel: passo 3, imagem 2 %32
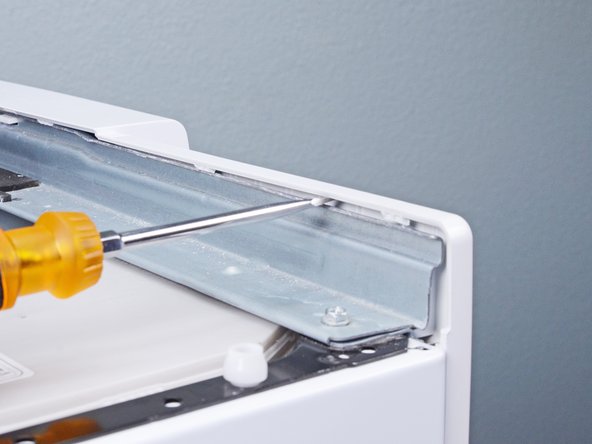
    • Slide the top panel towards the rear of the device to disconnect its clips.

    Pergunte ao FixBot

    Comentar

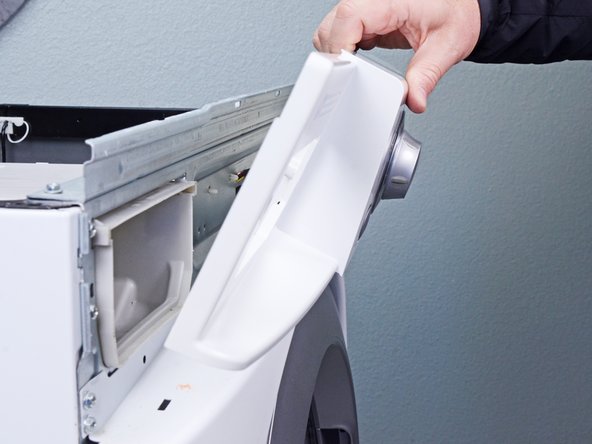
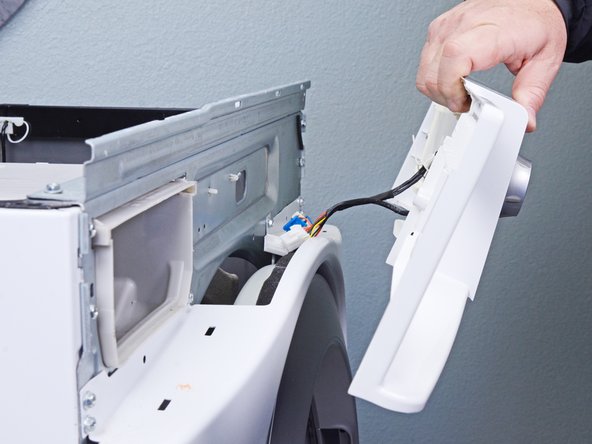
  4. LG Front Load Washing Machine Temperature Sensor Replacement: passo 4, imagem 1 %32 LG Front Load Washing Machine Temperature Sensor Replacement: passo 4, imagem 2 %32
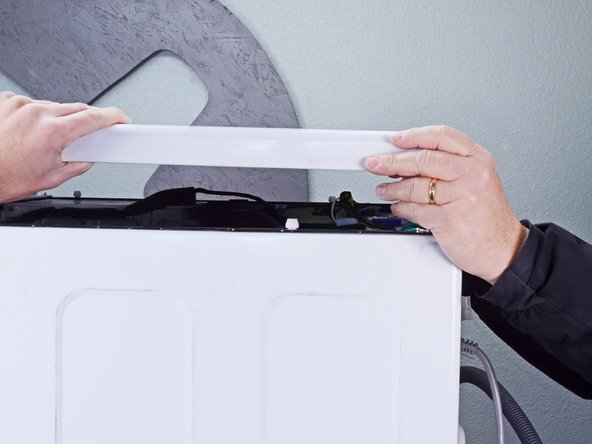
    • Tilt the top panel upward to completely disconnect it from the chassis.

    • Remove the top panel.

    Pergunte ao FixBot

    Comentar

  5. LG Front Load Washing Machine Temperature Sensor Replacement, Remove the detergent drawer: passo 5, imagem 1 %32 LG Front Load Washing Machine Temperature Sensor Replacement, Remove the detergent drawer: passo 5, imagem 2 %32
    • Pull the detergent drawer away from the chassis as far as it will go.

    Pergunte ao FixBot

    Comentar

  6. LG Front Load Washing Machine Temperature Sensor Replacement: passo 6, imagem 1 %32 LG Front Load Washing Machine Temperature Sensor Replacement: passo 6, imagem 2 %32 LG Front Load Washing Machine Temperature Sensor Replacement: passo 6, imagem 3 %32
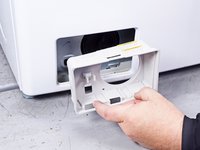
    • Press down on the "Push" button to disengage the clips securing the detergent drawer.

    • Pull the drawer out of its slot on the chassis and remove it.

    Pergunte ao FixBot

    Comentar

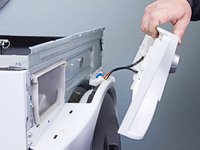
  7. LG Front Load Washing Machine Temperature Sensor Replacement, Disconnect the control panel: passo 7, imagem 1 %32 LG Front Load Washing Machine Temperature Sensor Replacement, Disconnect the control panel: passo 7, imagem 2 %32 LG Front Load Washing Machine Temperature Sensor Replacement, Disconnect the control panel: passo 7, imagem 3 %32
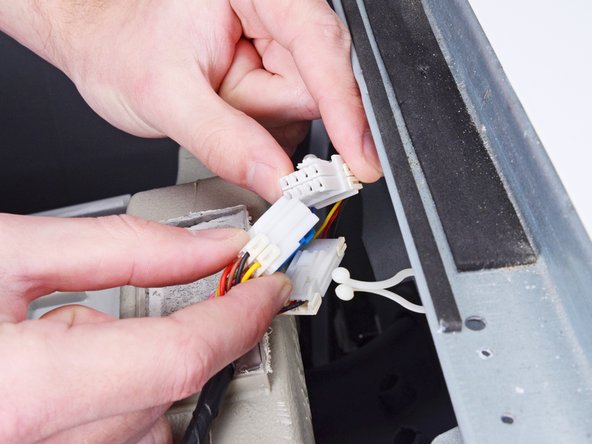
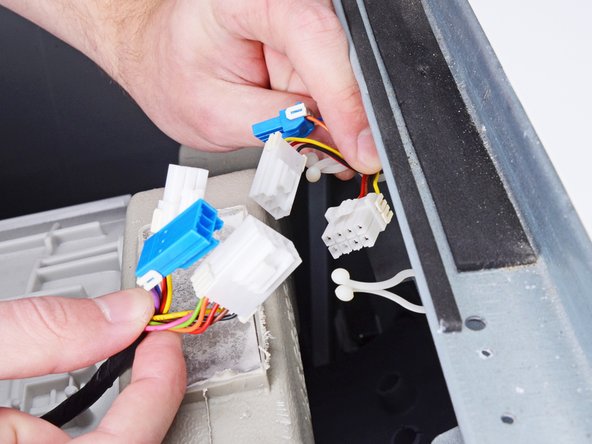
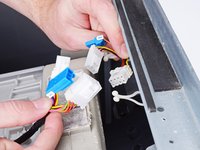
    • Disconnect the connectors attached to the control panel.

    • Always grip cables by their connectors and not the wires themselves.

    Pergunte ao FixBot

    Comentar

  8. LG Front Load Washing Machine Temperature Sensor Replacement, Unfasten the control panel: passo 8, imagem 1 %32 LG Front Load Washing Machine Temperature Sensor Replacement, Unfasten the control panel: passo 8, imagem 2 %32
    • Remove the screw(s) securing the control panel to the top edge of the chassis.

    Pergunte ao FixBot

    Comentar

  9. LG Front Load Washing Machine Temperature Sensor Replacement, Unfasten the detergent dispenser: passo 9, imagem 1 %32
    • Remove the screw(s) securing the detergent dispenser.

    Pergunte ao FixBot

    Comentar

  10. LG Front Load Washing Machine Temperature Sensor Replacement, Unclip the control panel: passo 10, imagem 1 %32 LG Front Load Washing Machine Temperature Sensor Replacement, Unclip the control panel: passo 10, imagem 2 %32 LG Front Load Washing Machine Temperature Sensor Replacement, Unclip the control panel: passo 10, imagem 3 %32
    • Use a flathead screwdriver, or a pry tool, to unclip the control panel from the chassis.

    Pergunte ao FixBot

    Comentar

  11. LG Front Load Washing Machine Temperature Sensor Replacement, Remove the control panel: passo 11, imagem 1 %32 LG Front Load Washing Machine Temperature Sensor Replacement, Remove the control panel: passo 11, imagem 2 %32 LG Front Load Washing Machine Temperature Sensor Replacement, Remove the control panel: passo 11, imagem 3 %32
    • Remove the control panel, making sure to thread any cables through the chassis.

    Pergunte ao FixBot

    Comentar

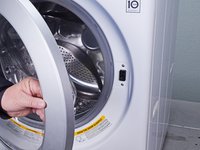
  12. LG Front Load Washing Machine Temperature Sensor Replacement, Open the door: passo 12, imagem 1 %32 LG Front Load Washing Machine Temperature Sensor Replacement, Open the door: passo 12, imagem 2 %32
    • Open the front door completely.

    Pergunte ao FixBot

    Comentar

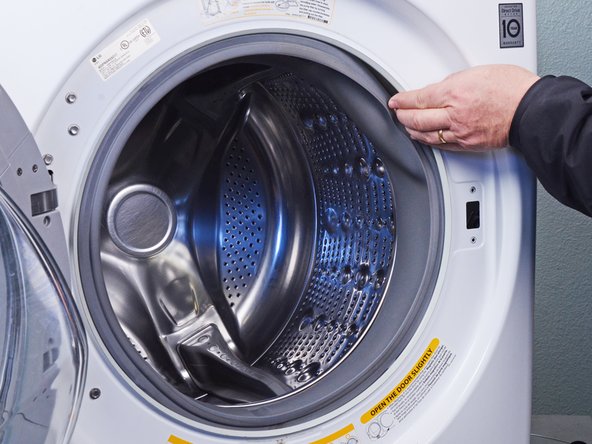
  13. LG Front Load Washing Machine Temperature Sensor Replacement, Remove the boot ring: passo 13, imagem 1 %32 LG Front Load Washing Machine Temperature Sensor Replacement, Remove the boot ring: passo 13, imagem 2 %32 LG Front Load Washing Machine Temperature Sensor Replacement, Remove the boot ring: passo 13, imagem 3 %32
    • Use needle nose pliers to grip the spring end of the metal ring at the bottom of the rubber boot.

    • Pull the ring away from the chassis to separate it from the boot.

    Pergunte ao FixBot

    Comentar

  14. LG Front Load Washing Machine Temperature Sensor Replacement: passo 14, imagem 1 %32 LG Front Load Washing Machine Temperature Sensor Replacement: passo 14, imagem 2 %32 LG Front Load Washing Machine Temperature Sensor Replacement: passo 14, imagem 3 %32
    • Use your hand to completely pull the ring off the boot.

    • During reassembly, perform the following:

    • Insert one end of the ring into its groove along the boot's perimeter.

    • Use pliers to slowly stretch the ring around the boot's perimeter until it's completely nested in its groove.

    • Be sure the spring is centered at the bottom of the boot when you reinstall it.

    • This procedure will take significant force.

    Pergunte ao FixBot

    Comentar

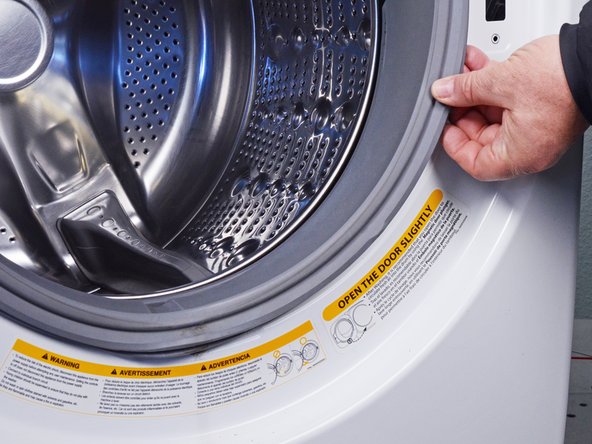
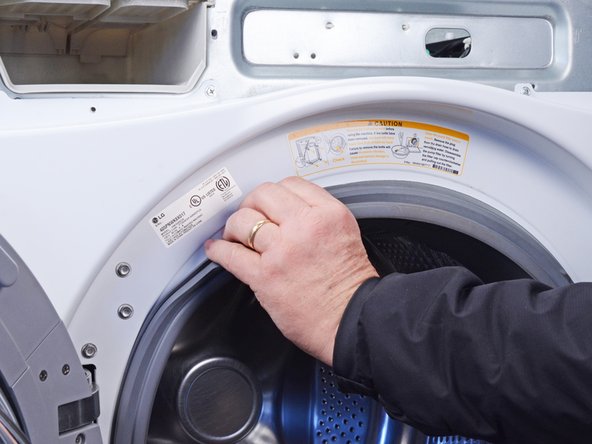
  15. LG Front Load Washing Machine Temperature Sensor Replacement, Disconnect the boot: passo 15, imagem 1 %32 LG Front Load Washing Machine Temperature Sensor Replacement, Disconnect the boot: passo 15, imagem 2 %32 LG Front Load Washing Machine Temperature Sensor Replacement, Disconnect the boot: passo 15, imagem 3 %32
    • Use your fingers to pull the boot off its lip on the front panel.

    Pergunte ao FixBot

    Comentar

  16. LG Front Load Washing Machine Temperature Sensor Replacement: passo 16, imagem 1 %32 LG Front Load Washing Machine Temperature Sensor Replacement: passo 16, imagem 2 %32 LG Front Load Washing Machine Temperature Sensor Replacement: passo 16, imagem 3 %32
    • Slide your fingers around the lip of the boot until it's completely separated from the panel.

    Pergunte ao FixBot

    Comentar

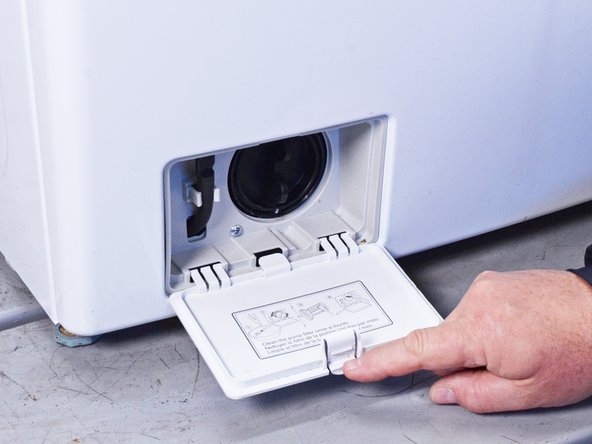
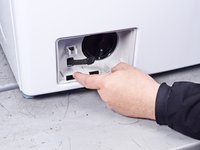
  17. LG Front Load Washing Machine Temperature Sensor Replacement, Remove the filter panel: passo 17, imagem 1 %32 LG Front Load Washing Machine Temperature Sensor Replacement, Remove the filter panel: passo 17, imagem 2 %32 LG Front Load Washing Machine Temperature Sensor Replacement, Remove the filter panel: passo 17, imagem 3 %32
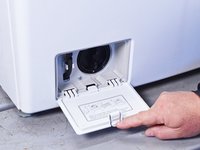
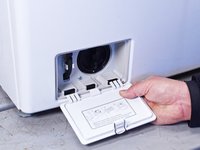
    • Open the filter panel at the bottom of the front panel.

    • Unclip the filter panel.

    Pergunte ao FixBot

    Comentar

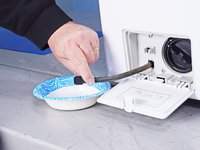
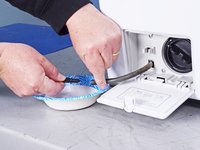
  18. LG Front Load Washing Machine Temperature Sensor Replacement, Drain the machine: passo 18, imagem 1 %32 LG Front Load Washing Machine Temperature Sensor Replacement, Drain the machine: passo 18, imagem 2 %32 LG Front Load Washing Machine Temperature Sensor Replacement, Drain the machine: passo 18, imagem 3 %32
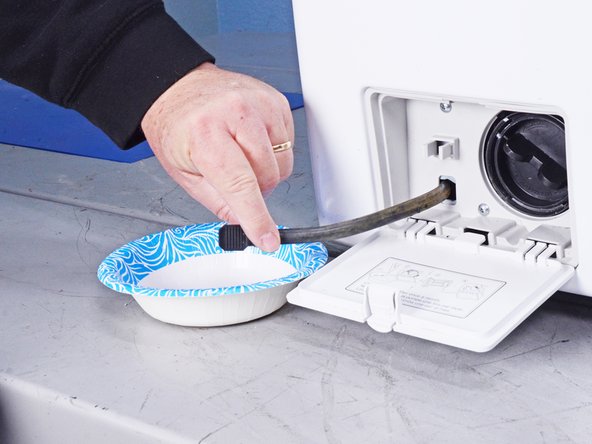
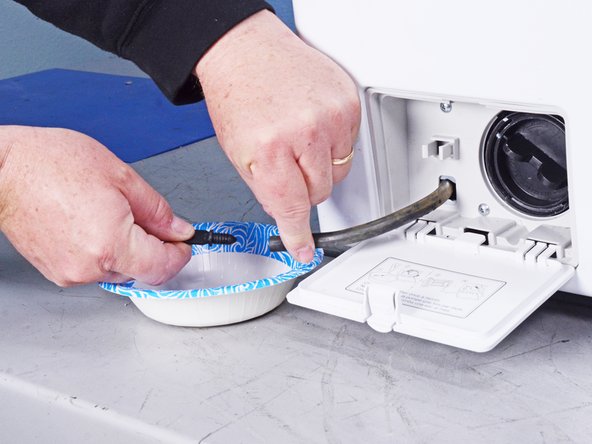
    • Generally, you should drain your machine when you are repairing the pumps or any hoses leading to or from them.

    • Place a bowl next to the machine.

    • Pull the drain filter hose out of its slot in the chassis enough to lay over the bowl.

    • Remove the plug at the end of the drain filter hose to release excess water into the bowl.

    • During reassembly, re-plug the drain filter hose and thread it back through its slot in the chassis.

    Pergunte ao FixBot

    Comentar

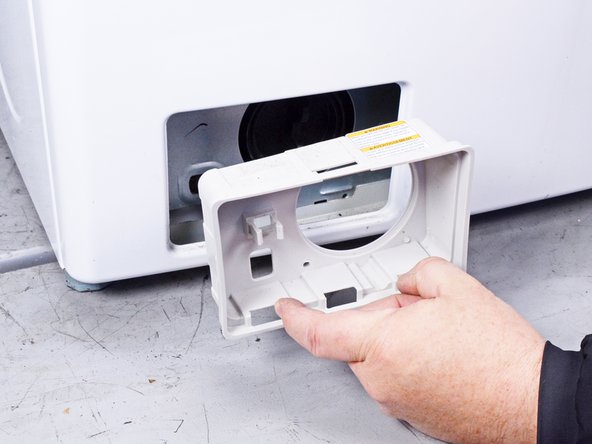
  19. LG Front Load Washing Machine Temperature Sensor Replacement, Unfasten the filter trim: passo 19, imagem 1 %32
    • Remove the screw(s) securing the filter trim.

    Pergunte ao FixBot

    Comentar

  20. LG Front Load Washing Machine Temperature Sensor Replacement, Remove the filter trim: passo 20, imagem 1 %32 LG Front Load Washing Machine Temperature Sensor Replacement, Remove the filter trim: passo 20, imagem 2 %32
    • Pull the filter trim straight off the front panel to remove it.

    Pergunte ao FixBot

    Comentar

  21. LG Front Load Washing Machine Temperature Sensor Replacement, Unfasten the lower front panel: passo 21, imagem 1 %32
    • Remove the screw(s) securing the lower front panel.

    Pergunte ao FixBot

    Comentar

  22. LG Front Load Washing Machine Temperature Sensor Replacement, Unfasten the door latch: passo 22, imagem 1 %32
    • Remove the screw(s) securing the door latch.

    Pergunte ao FixBot

    Comentar

  23. LG Front Load Washing Machine Temperature Sensor Replacement, Remove the door latch: passo 23, imagem 1 %32 LG Front Load Washing Machine Temperature Sensor Replacement, Remove the door latch: passo 23, imagem 2 %32 LG Front Load Washing Machine Temperature Sensor Replacement, Remove the door latch: passo 23, imagem 3 %32
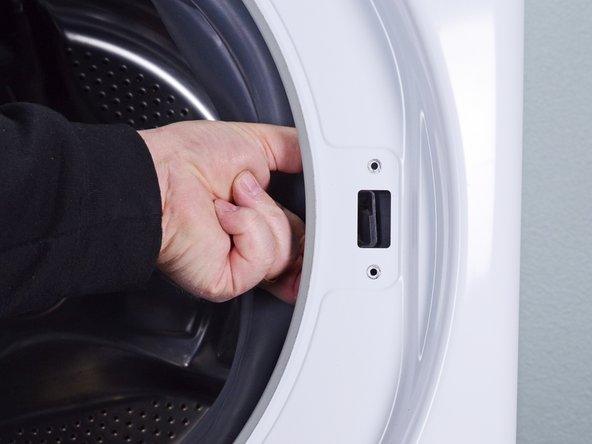
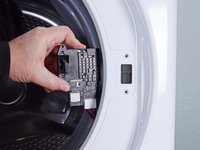
    • Pull the door latch through its slot in the chassis and let it hang on its wire.

    Pergunte ao FixBot

    Comentar

  24. LG Front Load Washing Machine Temperature Sensor Replacement, Unfasten the front panel: passo 24, imagem 1 %32 LG Front Load Washing Machine Temperature Sensor Replacement, Unfasten the front panel: passo 24, imagem 2 %32 LG Front Load Washing Machine Temperature Sensor Replacement, Unfasten the front panel: passo 24, imagem 3 %32
    • Hold the front panel against the chassis while performing this step to prevent it from falling.

    • Remove the screw(s) securing the front panel.

    Pergunte ao FixBot

    Comentar

  25. LG Front Load Washing Machine Temperature Sensor Replacement, Remove the front panel: passo 25, imagem 1 %32 LG Front Load Washing Machine Temperature Sensor Replacement, Remove the front panel: passo 25, imagem 2 %32 LG Front Load Washing Machine Temperature Sensor Replacement, Remove the front panel: passo 25, imagem 3 %32
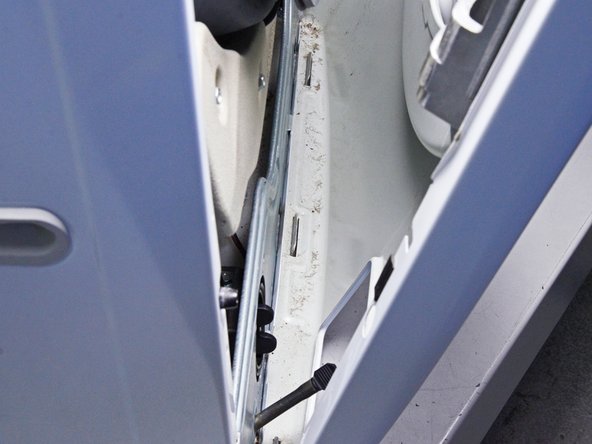
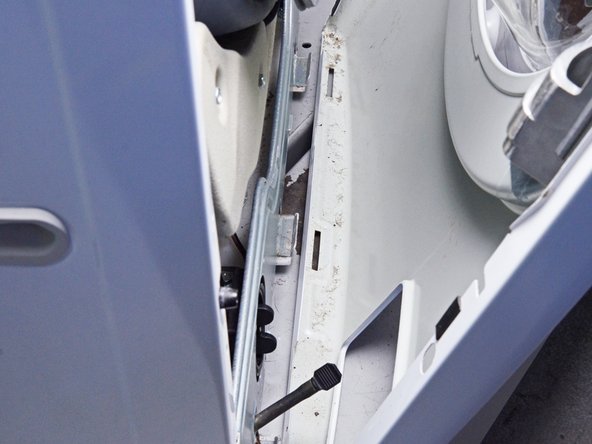
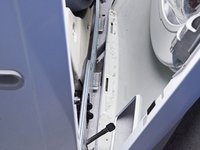
    • Lift the front panel upward to separate it from its clips on the bottom of the chassis.

    • Pull the front panel away from the chassis to completely separate the front panel.

    Pergunte ao FixBot

    Comentar

  26. LG Front Load Washing Machine Temperature Sensor Replacement: passo 26, imagem 1 %32
    • Remove the front panel.

    Pergunte ao FixBot

    Comentar

  27. LG Front Load Washing Machine Temperature Sensor Replacement, Disconnect the temperature sensor: passo 27, imagem 1 %32 LG Front Load Washing Machine Temperature Sensor Replacement, Disconnect the temperature sensor: passo 27, imagem 2 %32
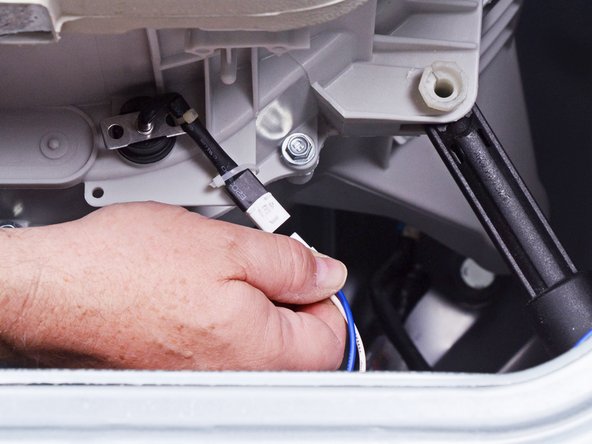
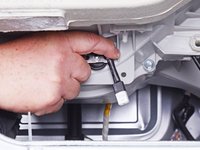
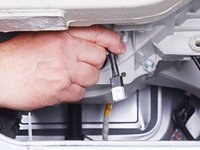
    • Disconnect the temperature sensor attached to the chassis.

    Pergunte ao FixBot

    Comentar

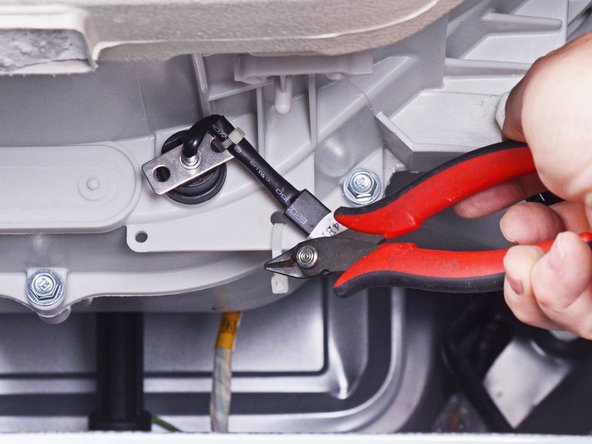
  28. LG Front Load Washing Machine Temperature Sensor Replacement, Cut the cable ties: passo 28, imagem 1 %32 LG Front Load Washing Machine Temperature Sensor Replacement, Cut the cable ties: passo 28, imagem 2 %32
    • If your device doesn't use cable ties to secure its thermistor, skip this step.

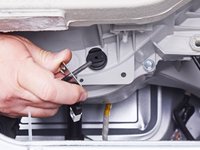
    • Use angle cutters, or scissors, to cut any cable ties securing the temperature sensor to the chassis.

    Pergunte ao FixBot

    Comentar

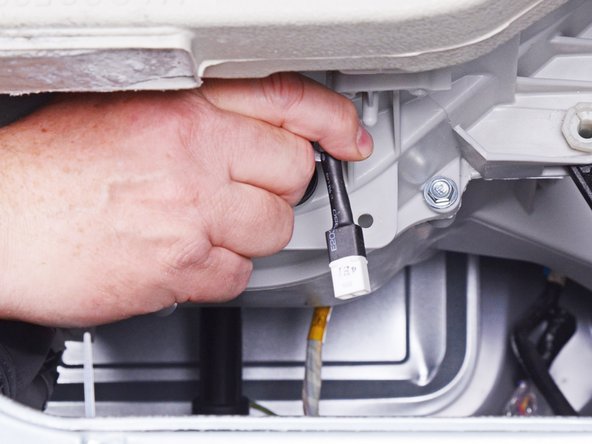
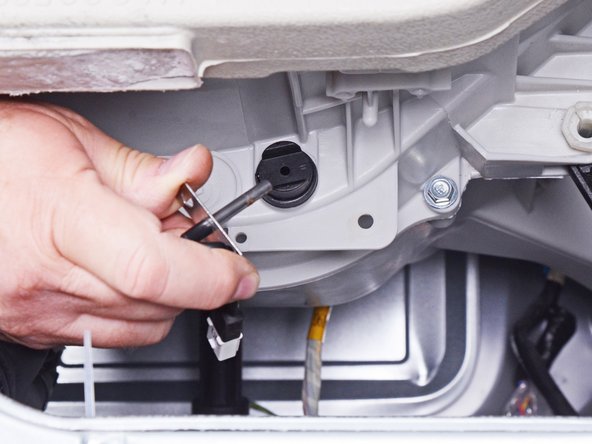
  29. LG Front Load Washing Machine Temperature Sensor Replacement, Remove the temperature sensor: passo 29, imagem 1 %32 LG Front Load Washing Machine Temperature Sensor Replacement, Remove the temperature sensor: passo 29, imagem 2 %32 LG Front Load Washing Machine Temperature Sensor Replacement, Remove the temperature sensor: passo 29, imagem 3 %32
    • Pull the temperature sensor straight out of its slot in the chassis to remove it.

    Pergunte ao FixBot

    Comentar

Conclusão

To reassemble your device, follow these instructions in reverse order.

Take your e-waste to an R2 or e-Stewards certified recycler.

Repair didn’t go as planned? Ask our Answers community for help.

Cancelar: não concluí este guia.

6 outras pessoas executaram este guia.

Bill Gilbert

Membro desde: 06/30/22

40.137 Reputação

Autoria de 261 guias

Equipe

iFixit Membro de iFixit

Staff

123 Membros

Autoria de 27.624 guias

10Comentários do guia

Awesome thank you

kell kg - Responder Compartilhar
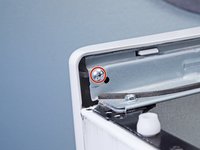
Thank you. the WM2240CW model lower panel screw is a tough fit for a screw driver. I had to tilt the front panel to access the lower panel screw.

Nathan Lee - Responder Compartilhar

Or you could just flip unit on it's side and access it underneath in about 15 minutes....

Kale Martin - Responder Compartilhar

While this is a speedy way to gain access, it is not what LG recommends. (Not that every manufacturer's recommendation is the only way to go, but in this case...) Front-load units have shipping bolts that are supposed to be installed so they can be shipped or moved to a new location. They hold the tub in place so the suspension can't shift in ways it isn't designed to accommodate (on its side is one of those directions). Several potential issues can arise if they aren't in place. Suspension springs can come loose if the spring retainer isn't fully in place. You might also have a hose pull loose from the tub. The suspension dampers aren't meant to bear the load of the tub and drum laterally. The front tub boot may be pulled loose. So, if you choose this access route, strongly consider installing the shipping bolts, tipping the unit to the rear, and securely supporting it from underneath in that position. Since the temperature sensor is on the bottom of the tub, it can be reached this way.

Bill Gilbert - Responder Compartilhar

Nice to see all the steps to pen the front of the machine but it would have been worth mentioning: if you can tip the machine back and secure it at an angle you can access these parts through the open bottom. Without removing a single screw.

Aingle112 - Responder Compartilhar

Comentar

Visualizações:

Últimas 24 horas: 13

Últimos 7 dias: 71

Últimos 30 dias: 381

Ao todo: 11,798