Ir para o conteúdo principal
Participe da comunidade de reparos - Criar conta

LG Dare Logic Board Replacement

O que você precisa

  1. LG Dare Logic Board Replacement, Battery: passo 1, imagem 1 %32 LG Dare Logic Board Replacement, Battery: passo 1, imagem 2 %32
    • Remove the back cover by firmly pressing against the raised lip on the back panel. Slide the cover towards the top of the phone.

    Pergunte ao FixBot
  2. LG Dare Logic Board Replacement: passo 2, imagem 1 %32 LG Dare Logic Board Replacement: passo 2, imagem 2 %32 LG Dare Logic Board Replacement: passo 2, imagem 3 %32
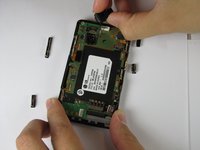
    • Remove the battery by placing your fingernail or a opening tool in the recessed edge and lift the battery out.

    Pergunte ao FixBot
  3. LG Dare Logic Board Replacement, Logic Board: passo 3, imagem 1 %32 LG Dare Logic Board Replacement, Logic Board: passo 3, imagem 2 %32
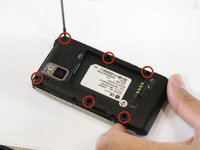
    • Use the #00 screwdriver to remove the six 4mm phillips screws located around the edges of the phone.

    Pergunte ao FixBot
  4. LG Dare Logic Board Replacement: passo 4, imagem 1 %32 LG Dare Logic Board Replacement: passo 4, imagem 2 %32 LG Dare Logic Board Replacement: passo 4, imagem 3 %32
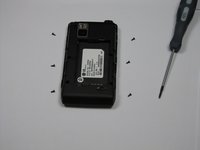
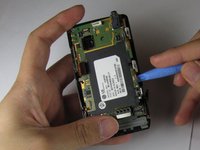
    • Lift the back plastic cover off by moving the opening tool around the edges of the phone.

    • Wedging the opening tool in several places on the bottom of the phone will help release small tabs that hold the back to the front frame.

    • The side buttons may fall out when removing the back plastic.

    Pergunte ao FixBot
  5. LG Dare Logic Board Replacement: passo 5, imagem 1 %32 LG Dare Logic Board Replacement: passo 5, imagem 2 %32 LG Dare Logic Board Replacement: passo 5, imagem 3 %32
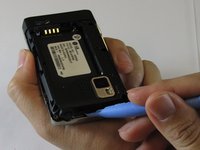
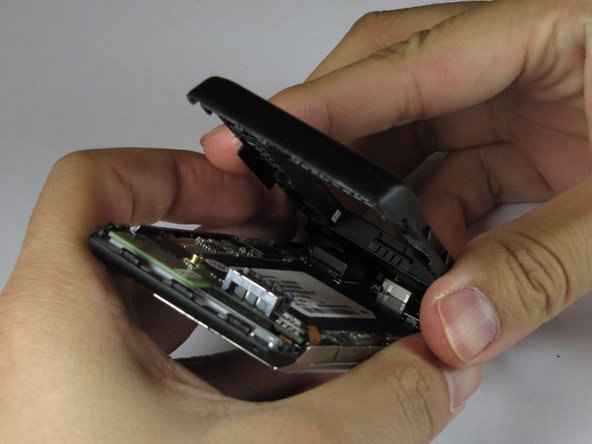
    • Pull off the back plastic panel.

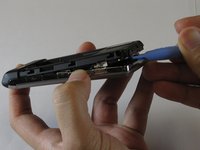
    • Remove the buttons from the edge of the frame. The buttons are [lock], [volume control], [speaker], and [camera].

    Pergunte ao FixBot
  6. LG Dare Logic Board Replacement: passo 6, imagem 1 %32
    • Disconnect the three ribbon connectors from the motherboard.

    Pergunte ao FixBot
  7. LG Dare Logic Board Replacement: passo 7, imagem 1 %32 LG Dare Logic Board Replacement: passo 7, imagem 2 %32 LG Dare Logic Board Replacement: passo 7, imagem 3 %32
    • Remove the LED.

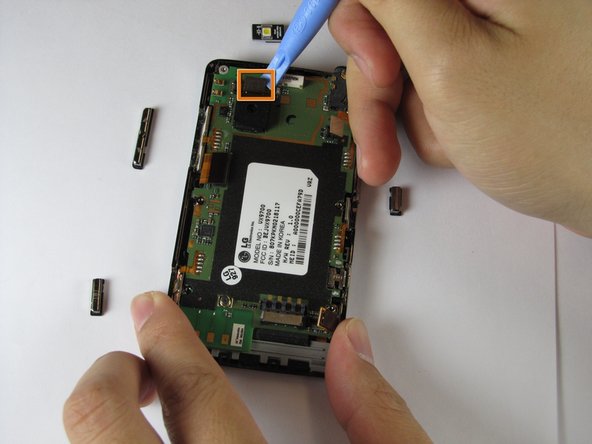
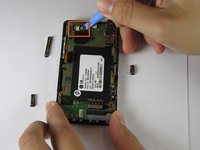
    • Remove the camera connector.

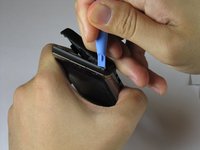
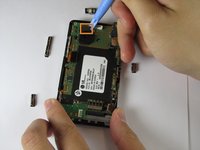
    • Remove the camera sensor from the logic board. Squeeze the sides of the camera sensor firmly and pull straight up.

    Pergunte ao FixBot
  8. LG Dare Logic Board Replacement: passo 8, imagem 1 %32
    • Open the USB port cover.

    Pergunte ao FixBot
  9. LG Dare Logic Board Replacement: passo 9, imagem 1 %32 LG Dare Logic Board Replacement: passo 9, imagem 2 %32 LG Dare Logic Board Replacement: passo 9, imagem 3 %32
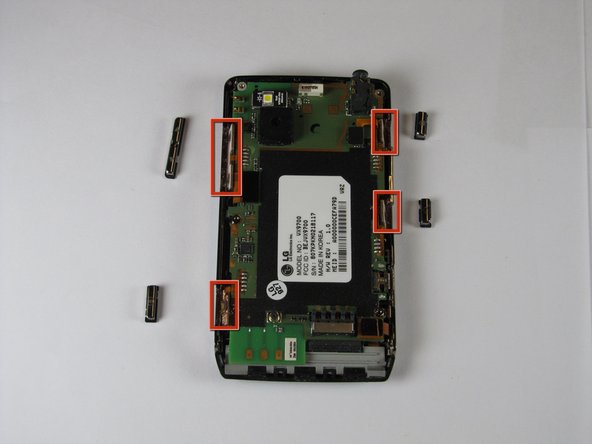
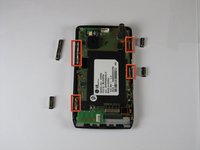
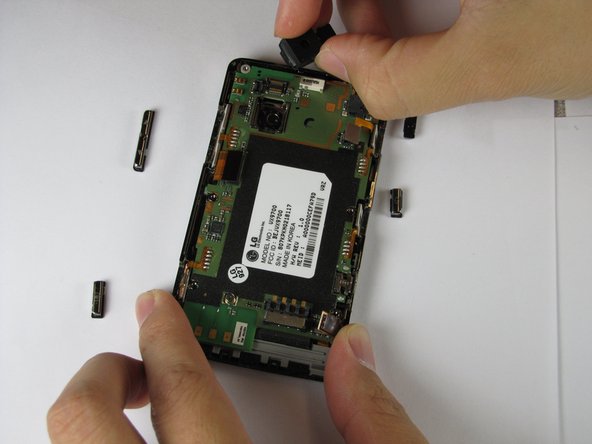
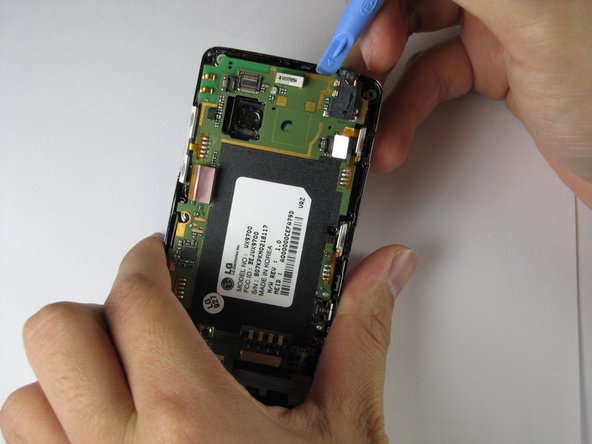
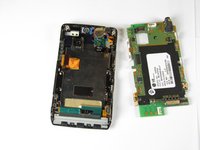
    • Use the opening tool to lift up the green logic board in all areas and remove it.

    • The logic board may require some force to remove because it is taped to the plastic frame.

    • When removing the logic board, be careful not to tear any of the ribbon cables or side buttons.

    Pergunte ao FixBot
Conclusão

To re-assemble your device, follow these instructions in reverse order.

2 outras pessoas executaram este guia.

Haoyan Huang

Membro desde: 01/26/12

151 Reputação

Autoria de 4 guias

Equipe

Cal Poly, Team 9-4, Regan Winter 2012 Membro de Cal Poly, Team 9-4, Regan Winter 2012

CPSU-REGAN-W12S9G4

5 Membros

Autoria de 11 guias

0Comentários do guia

Comentar

Visualizações:

Últimas 24 horas: 1

Últimos 7 dias: 3

Últimos 30 dias: 62

Ao todo: 2,518