Ir para o conteúdo principal
Kodak Easyshare C183 LCD Replacement

Kodak Easyshare C183 LCD Replacement

oldturkey03

oldturkey03 e 2 outros colaboradores

Última atualização em May 17, 2020

45 minutos - 1 hora
Moderado
Guia em destaque
Guia colaborativo

Introdução

Ir para o passo 1

This guide shows how to replace a broken LCD on a C183. It is not a difficult job, however, most cameras open from the back case first, this one opens from the front first.

O que você precisa

Peças

Ferramentas

Exibir mais…

  1. Kodak Easyshare C183 LCD Replacement, LCD: passo 1, imagem 1 %32 Kodak Easyshare C183 LCD Replacement, LCD: passo 1, imagem 2 %32 Kodak Easyshare C183 LCD Replacement, LCD: passo 1, imagem 3 %32
    • Remove the two screws from the right hand side

    • Remove the two screws from the left hand side

    • Remove the three screws from the bottom.

    • All the screws on this camera are the same size. No need to mark them by position.

  2. Kodak Easyshare C183 LCD Replacement: passo 2, imagem 1 %32 Kodak Easyshare C183 LCD Replacement: passo 2, imagem 2 %32 Kodak Easyshare C183 LCD Replacement: passo 2, imagem 3 %32
    • Open the battery compartment and start carefully to separate the front and back half of the camera. On this camera the front half will come of first.

    • In the top left corner is one screw that will have to be removed. It holds the back cover to the body of the camera.

    • Once that screw is removed, the camera separates easy.

  3. Kodak Easyshare C183 LCD Replacement: passo 3, imagem 1 %32 Kodak Easyshare C183 LCD Replacement: passo 3, imagem 2 %32 Kodak Easyshare C183 LCD Replacement: passo 3, imagem 3 %32
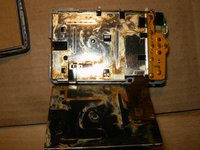
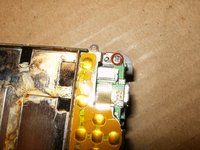
    • Fold the LCD from the top downward. DO NOT try to remove the LCD, it is still attached. Obviously this camera has had water damage.

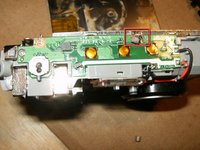
    • Remove the Kapton tape from the top of the camera.

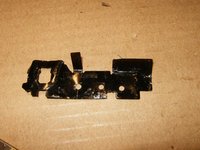
    • you will have to de-solder the battery frame on one point.

  4. Kodak Easyshare C183 LCD Replacement: passo 4, imagem 1 %32 Kodak Easyshare C183 LCD Replacement: passo 4, imagem 2 %32 Kodak Easyshare C183 LCD Replacement: passo 4, imagem 3 %32
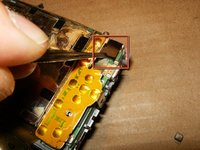
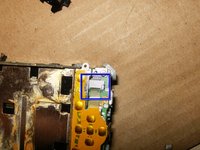
    • Remove the tape

    • Remove the single screw.

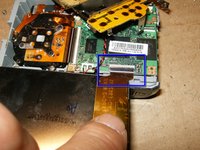
    • You can disconnect the ribbon cable, by carefully pulling on the end. I opted to leave it connected to minimize the risk of tearing the fragile cable. It is possible to just move the frame out of the way.

  5. Kodak Easyshare C183 LCD Replacement: passo 5, imagem 1 %32 Kodak Easyshare C183 LCD Replacement: passo 5, imagem 2 %32 Kodak Easyshare C183 LCD Replacement: passo 5, imagem 3 %32
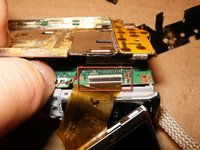
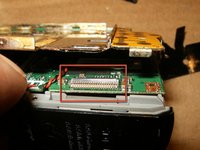
    • Lift the LCD frame slightly up and fold the black clip gently to the back.

    • This will loosen the ribbon cable and lets your remove the LCD.

    • Insert the ribbon cable of the new LCD. there will be a solid white stripe on the cable. Insert the cable as shown, close the connector.

Conclusão

To reassemble your device, follow these instructions in reverse order.

Uma outra pessoa concluiu este guia.

oldturkey03

Membro desde: 09/29/10

817.086 Reputação

Autoria de 119 guias

0Comentários do guia

Comentar

Visualizações:

Últimas 24 horas: 0

Últimos 7 dias: 1

Últimos 30 dias: 10

Ao todo: 2,458