Introdução
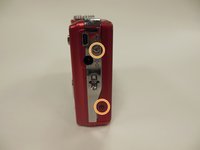
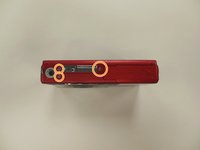
The screen is very fragile, and often becomes cracked. In this guide, you will learn how to remove it, so that it can easily be replaced.
O que você precisa
-
-
-
First, press in and slide forward the battery latch as indicated by the arrow.
 Pergunte ao FixBot
-
-
-
Press down on battery until you hear a click and release it. Battery should easily slide out.
-
-
-
-
-
Remove the 3.9 mm frame screws using a Phillips #00 screwdriver.
-
-
-
-
-
-
Remove the two 3.85 mm screws on the bottom right of the camera, as indicated.
-
-
-
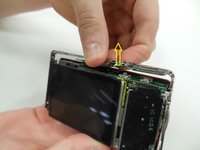
Remove dial button located on top of camera, by gently pulling up.
-
-
-
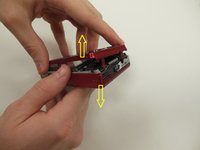
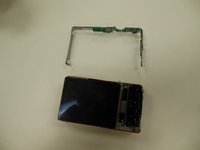
Starting at one side, carefully work the chrome frame off of the camera itself.
-
-
-
On the right side of the camera, locate and remove the two 3.25 mm screws as highlighted.
-
-
-
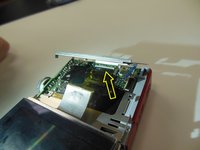
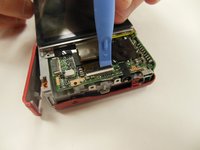
Carefully lift the motherboard panel up, pulling towards the left. Make sure you do not rip the blue ribbon.
-
Using a plastic opening tool, gently lift up on the ribbon fastener until it is in an upright position.
-
Slide panel away from camera.
-
-
-
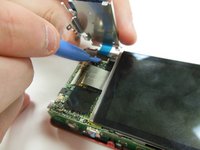
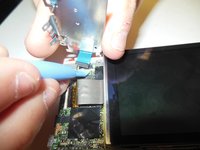
Using a plastic opening tool, gently lift ribbon clamp as indicated to remove the screen ribbon from the motherboard.
-
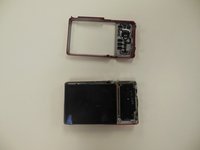
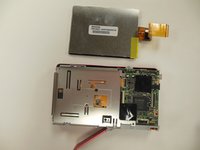
Screen should now be detached. Gently lift it away from the base of the camera.
-
-


To reassemble your device, follow these instructions in reverse order.
Equipe

University of Kentucky Louisville, Team 1-4, Rountree Winter 2015 Membro de University of Kentucky Louisville, Team 1-4, Rountree Winter 2015
LOUISVILLE-ROUNTREE-W15S1G4
4 Membros
Autoria de 14 guias