Ir para o conteúdo principal
Participe da comunidade de reparos - Criar conta

Kodak EasyShare C913 Capacitor Replacement

O que você precisa

    1. Kodak EasyShare C913 Capacitor Replacement, Batteries: passo 1, imagem 1 %32 Kodak EasyShare C913 Capacitor Replacement, Batteries: passo 1, imagem 2 %32 Kodak EasyShare C913 Capacitor Replacement, Batteries: passo 1, imagem 3 %32
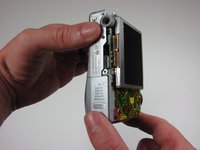
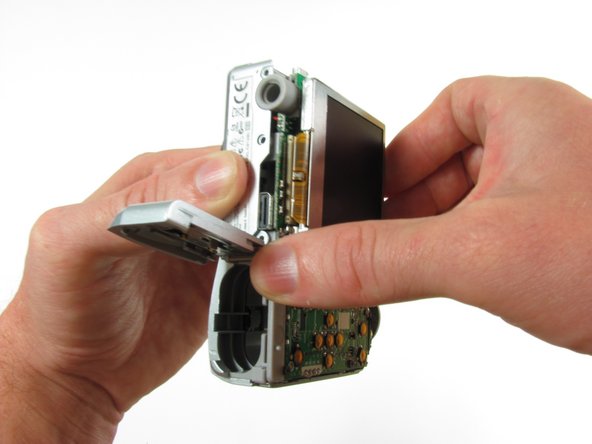
      • Position the camera with the bottom facing up.

      • Slide the battery cover in the direction of the arrow with your finger gently.

      • Remove the batteries

      Pergunte ao FixBot

      Comentar

    1. Kodak EasyShare C913 Capacitor Replacement, Back Case: passo 2, imagem 1 %32 Kodak EasyShare C913 Capacitor Replacement, Back Case: passo 2, imagem 2 %32 Kodak EasyShare C913 Capacitor Replacement, Back Case: passo 2, imagem 3 %32
      • Remove the seven 4.5mm screws with a Phillips #00 screwdriver.

      • 2 screws on the left, 2 screws on the right, 3 screws on the bottom

      Pergunte ao FixBot

      Comentar

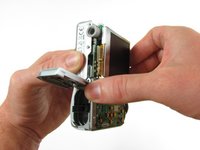
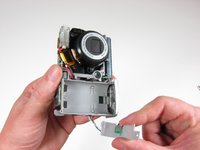
    2. Kodak EasyShare C913 Capacitor Replacement: passo 3, imagem 1 %32 Kodak EasyShare C913 Capacitor Replacement: passo 3, imagem 2 %32 Kodak EasyShare C913 Capacitor Replacement: passo 3, imagem 3 %32
      • Firmly grasp the back of the camera and pull the casing away.

      Pergunte ao FixBot

      Comentar

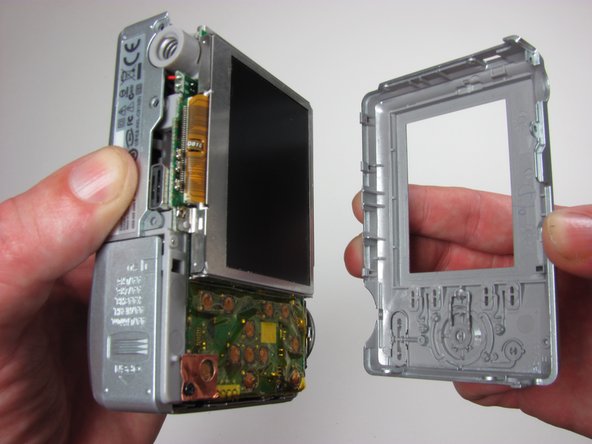
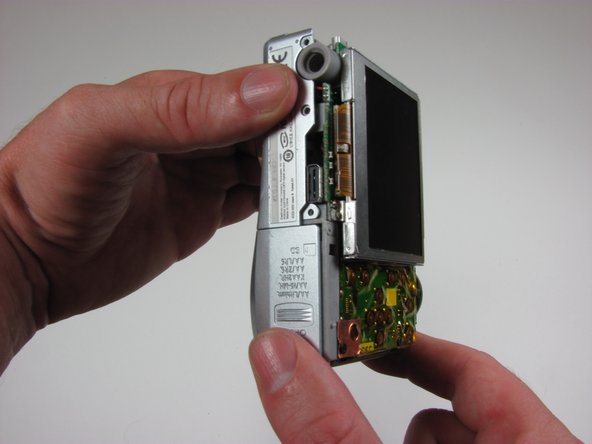
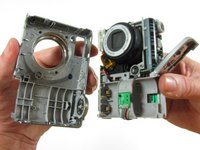
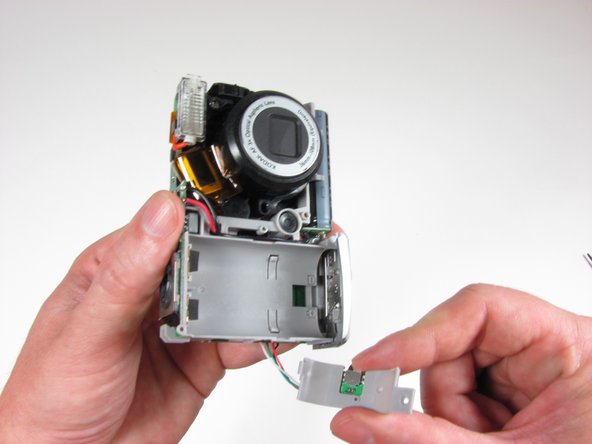
    1. Kodak EasyShare C913 Capacitor Replacement, Front Case: passo 4, imagem 1 %32 Kodak EasyShare C913 Capacitor Replacement, Front Case: passo 4, imagem 2 %32 Kodak EasyShare C913 Capacitor Replacement, Front Case: passo 4, imagem 3 %32
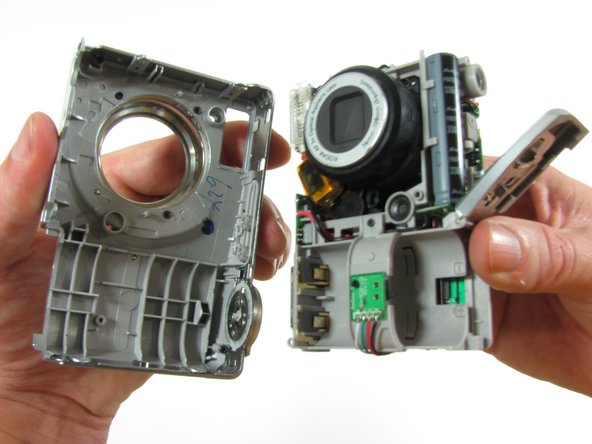
      • Keep the battery door open

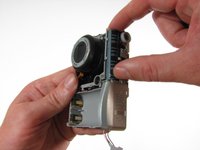
      • Firmly grasp the front casing and pull it away from the camera.

      Pergunte ao FixBot

      Comentar

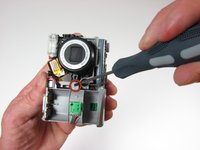
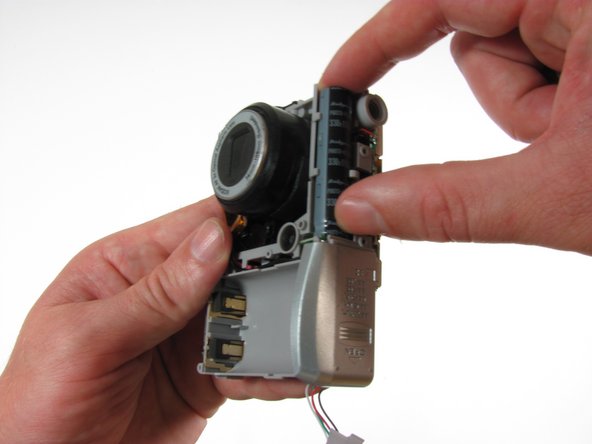
    1. Kodak EasyShare C913 Capacitor Replacement, Capacitor: passo 5, imagem 1 %32 Kodak EasyShare C913 Capacitor Replacement, Capacitor: passo 5, imagem 2 %32
      • Orient the camera with the lens facing you.

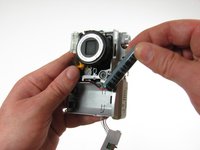
      • Use a Phillips #00 screwdriver to remove the one 2.2mm screw on the plastic bridge.

      • Lift the plastic bridge off and place it to the side.

      Pergunte ao FixBot

      Comentar

    2. Kodak EasyShare C913 Capacitor Replacement: passo 6, imagem 1 %32
      • Do not touch the capacitor contact points for any reason. This will result in a severe shock.

      Pergunte ao FixBot

      Comentar

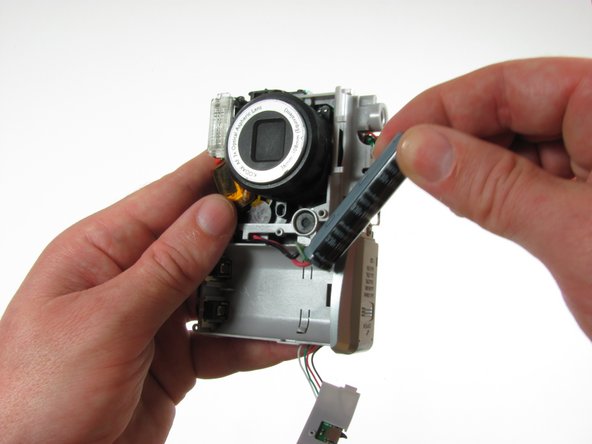
    3. Kodak EasyShare C913 Capacitor Replacement: passo 7, imagem 1 %32 Kodak EasyShare C913 Capacitor Replacement: passo 7, imagem 2 %32 Kodak EasyShare C913 Capacitor Replacement: passo 7, imagem 3 %32
      • Grasp the capacitor, carefully remove it from its holder, and place it off to the side.

      Pergunte ao FixBot

      Comentar

    4. Kodak EasyShare C913 Capacitor Replacement: passo 8, imagem 1 %32
      • De-solder the connections at the base of the capacitor

      Pergunte ao FixBot

      Comentar

Conclusão

To reassemble your device, follow these instructions in reverse order.

Cancelar: não concluí este guia.

Alan Galarza

Membro desde: 10/03/10

84 Reputação

Autoria de 3 guias

Equipe

Cal Poly, Team 7-51, Amido Fall 2010 Membro de Cal Poly, Team 7-51, Amido Fall 2010

CPSU-AMIDO-F10S7G51

4 Membros

Autoria de 14 guias

0Comentários do guia

Comentar

Visualizações:

Últimas 24 horas: 0

Últimos 7 dias: 7

Últimos 30 dias: 43

Ao todo: 4,700