Introdução
This guide will help with replacing the lens of the Kodak EasyShare C713 Camera.
The errors you have been experiencing may have been caused by something as simple as dropping the camera with the lens extended, blocking the lens extension when it was turned on, or the batteries ran out with the lens extended. They also may be due to inner malfunctions in the camera itself. For example, if the lens is not fully extending, something may be wrong with a motor.
During this process, you will need to know how to solder and desolder points on a circuit board.
Make sure the camera is turned off before you begin.
O que você precisa
-
-
-
Use your finger tip to slide battery cover door away from the center of the camera.
-
The battery door should spring open.
-
If this does not happen, gently open the door lifting from the outer bottom side of the camera.
 Pergunte ao FixBot
-
-
-
-
-
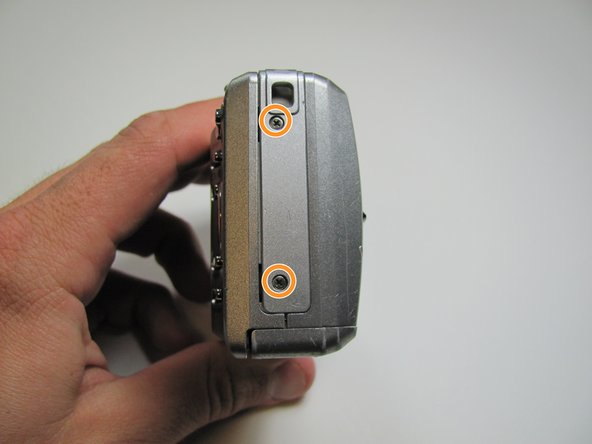
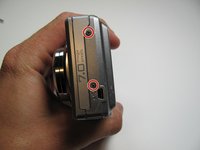
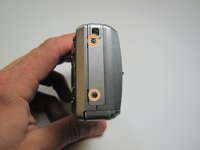
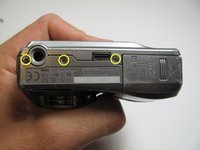
Remove the seven screws from the outer case with a Phillips #00.
-
All screws are 4.45mm.
-
There are 2 screws on the port side.
-
There are 2 screws on starboard side.
-
There are 3 screws on the bottom.
-
-
-
-
-
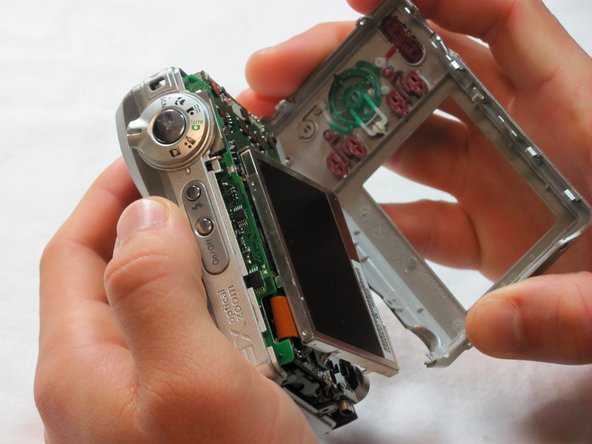
Put your thumb in the upper right corner of the LCD screen.
-
Pull the LCD screen out of its outer case with your thumb.
-
-
-
Remove the screw underneath LCD screen with the Phillips #00. The screw measures 4.1mm in length.
-
-
-
-
After desoldering the LCD casing, just use your fingers to carefully remove it.
-
-
-
Flip up the black tab on the bottom of the LCD screen with a fingertip.
-
-
-
-
-
Using a fingertip, flip the black tab near the top of the camera.
-
Remove the ribbon connector from inside the black tab.
-
-
-
Remove the remaining eight 4.1mm screws on the back with the Phillips #00 screwdriver.
-
-
-
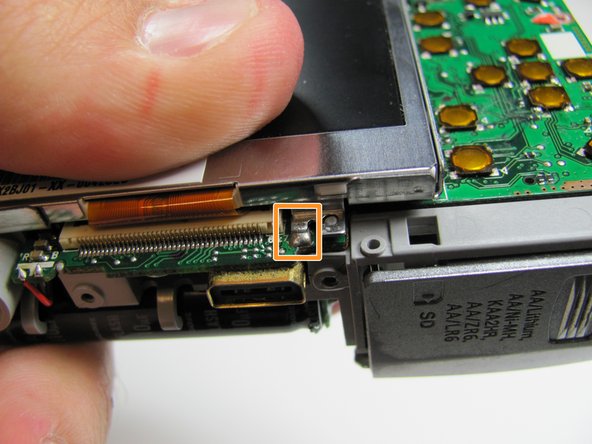
Desolder the upper points.
-
There is a series of solder points in a rectangular area in the upper middle of the camera.
-
There is a large solder point in the upper right.
-
-
-
Turn the camera over.
-
Pry the capacitor out of its holder on the bottom of the camera with your fingers.
-
-
-
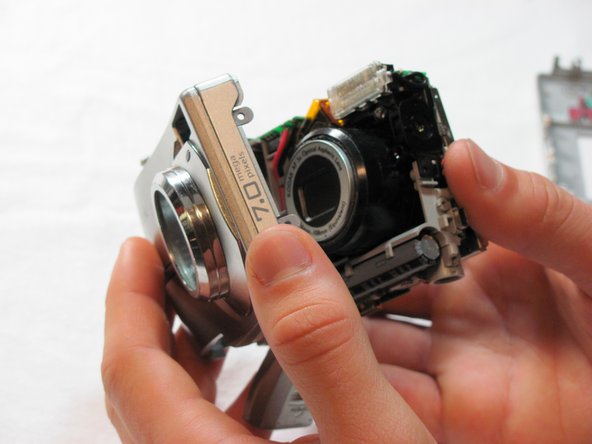
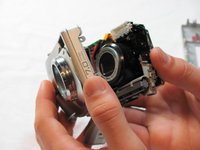
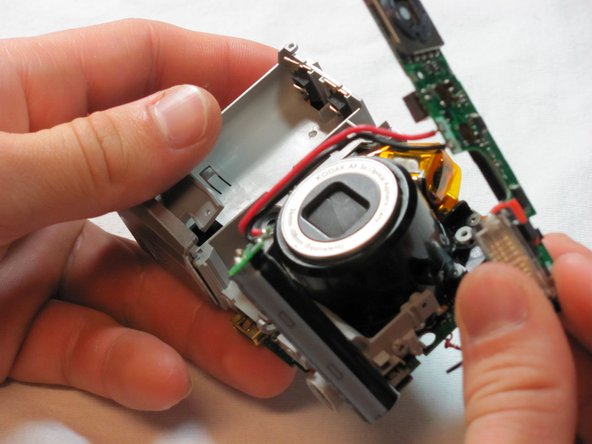
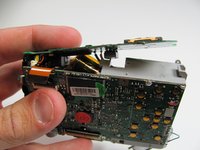
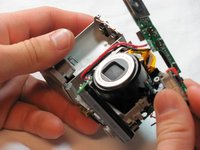
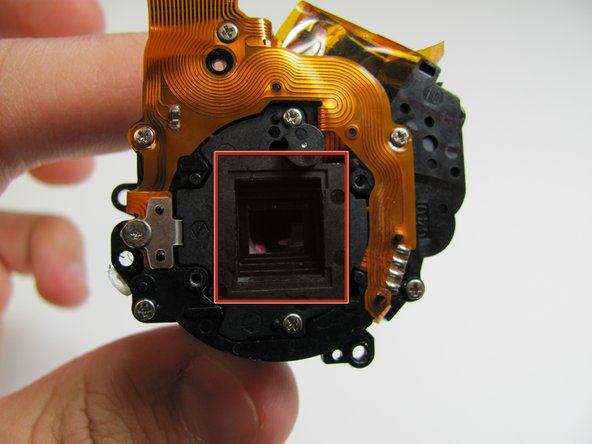
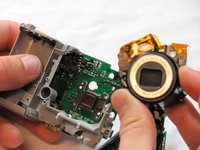
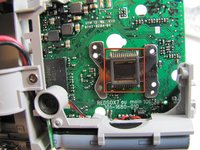
Remove the lens assembly with your fingers.
-
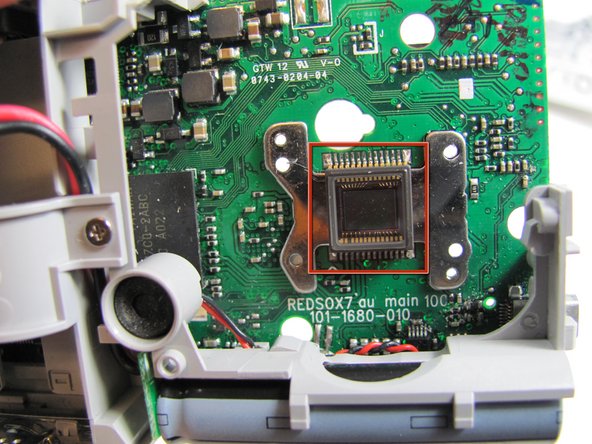
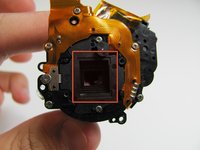
Do not touch the marked areas. This will cause the camera to take blurry pictures.
-
-









To reassemble your device, follow these instructions in reverse order.
Cancelar: não concluí este guia.
2 outras pessoas executaram este guia.

Equipe

Cal Poly, Team 26-19, Regan Spring 2010 Membro de Cal Poly, Team 26-19, Regan Spring 2010
CPSU-REGAN-S10S26G19
4 Membros
Autoria de 14 guias
1Comentário do guia
why didn't you mention to discharge the capacitor, its stored charge is pretty high & dangerous
