Ir para o conteúdo principal
Participe da comunidade de reparos - Criar conta

KitchenAid KSB5CR Power Cable Replacement

O que você precisa

    1. KitchenAid KSB5CR Power Cable Replacement, Removing the Back Panel Part 1: passo 1, imagem 1 %32 KitchenAid KSB5CR Power Cable Replacement, Removing the Back Panel Part 1: passo 1, imagem 2 %32 KitchenAid KSB5CR Power Cable Replacement, Removing the Back Panel Part 1: passo 1, imagem 3 %32
      • Remove the glass container and place the blender upside down on a solid surface.

      • Remove the four rubber feet using the needle nose pliers.

      • Remove the four #7.5 Phillips 25mm screws that were located underneath the rubber feet using the Phillips #2 screwdriver.

      Pergunte ao FixBot

      Comentar

    2. KitchenAid KSB5CR Power Cable Replacement, Removing the Back Panel Part 2: passo 2, imagem 1 %32
      • Lift the back panel up, sliding it along the power cord.

      Pergunte ao FixBot

      Comentar

    1. KitchenAid KSB5CR Power Cable Replacement, Freeing the Power Cable: passo 3, imagem 1 %32
      • Lift up on the power cable to pop it out of its holder.

      Pergunte ao FixBot

      Comentar

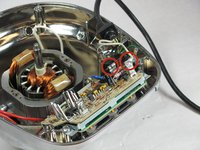
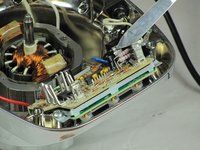
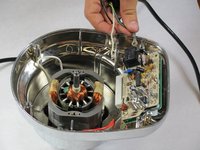
    2. KitchenAid KSB5CR Power Cable Replacement, Detaching the White and Black Wires: passo 4, imagem 1 %32 KitchenAid KSB5CR Power Cable Replacement, Detaching the White and Black Wires: passo 4, imagem 2 %32
      • Be gentle with the knife or you will break the circuit board.

      • Slide the knife into the metal loop holding the insulation before the white copper wire, and wiggle it back and forth until it loosens.

      • Pull the wire out from the metal loop that you loosened.

      • Repeat this process with the black copper wire.

      Pergunte ao FixBot

      Comentar

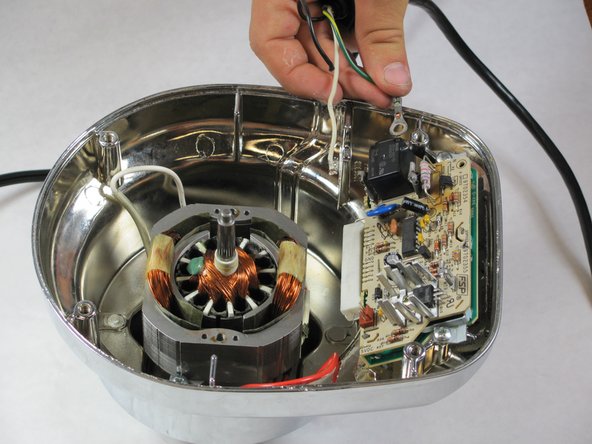
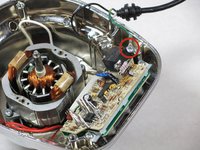
    3. KitchenAid KSB5CR Power Cable Replacement, Detatching the Green Wire: passo 5, imagem 1 %32 KitchenAid KSB5CR Power Cable Replacement, Detatching the Green Wire: passo 5, imagem 2 %32
      • Using the Phillips #2 screwdriver, remove the #8 Phillips 6mm screw to which the green wire is attached.

      Pergunte ao FixBot

      Comentar

Conclusão

To reassemble your device, follow these instructions in reverse order.

Cancelar: não concluí este guia.

Equipe

Cal Poly, Team 12-5, Forte Fall 2014 Membro de Cal Poly, Team 12-5, Forte Fall 2014

CPSU-FORTE-F14S12G5

5 Membros

Autoria de 12 guias

0Comentários do guia

Comentar

Visualizações:

Últimas 24 horas: 2

Últimos 7 dias: 5

Últimos 30 dias: 18

Ao todo: 953