Introdução
Vibration is a useful tool to ensure the user that a device is responding to the press of a button. This guide shows how to replace the vibrator in a Kindle Voyage should the device fail to vibrate properly.
O que você precisa
-
-
Insert a plastic opening tool between the plastic panel shown on the device.
-
Use the tool to pry the plastic away from the device.
 Pergunte ao FixBot
-
-
-
Use an aluminum driver attached with a Phillips head size #00 to remove the four 3mm screws shown in the picture. For reassembly, note that the top two and bottom two screws are different sizes.
-
-
-
-
Once the screws are removed, the back panel can slide off the device.
-
-
-
Remove the magnetic component with the magnetic head of the aluminum driver.
-
-
Ferramenta utilizada neste passo:Tweezers$4.99
-
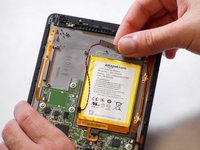
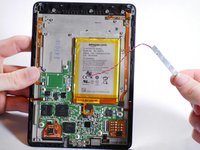
Use tweezers to pinch in the sides of the vibrator cable and slide it out of its housing.
-


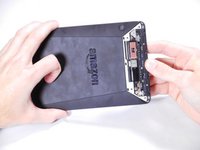
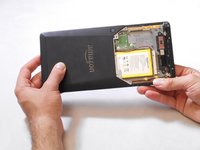
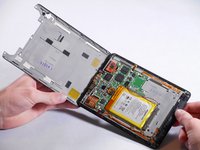


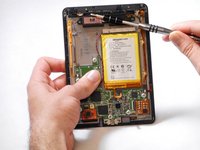
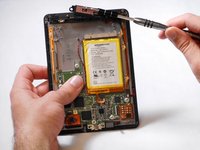


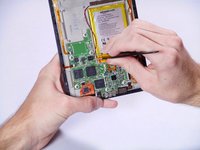
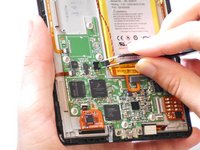


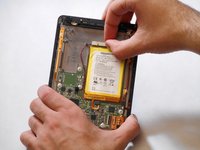
To reassemble your device, follow these instructions in reverse order.

Equipe

Cal Poly, Team 19-12, Maness Winter 2015 Membro de Cal Poly, Team 19-12, Maness Winter 2015
CPSU-MANESS-W15S19G12
5 Membros
Autoria de 13 guias
1Comentário do guia
OK, the procedure seems straightforward enough, but you say “no parts required” when you actually *do* need to buy the replacement parts for the pieces that are no longer functioning. Where can you buy these parts?
