Esta versão pode conter edições incorretas. Mude para o último instantâneo verificado.
O que você precisa
-
Este passo não foi traduzido. Ajude a traduzi-lo
-
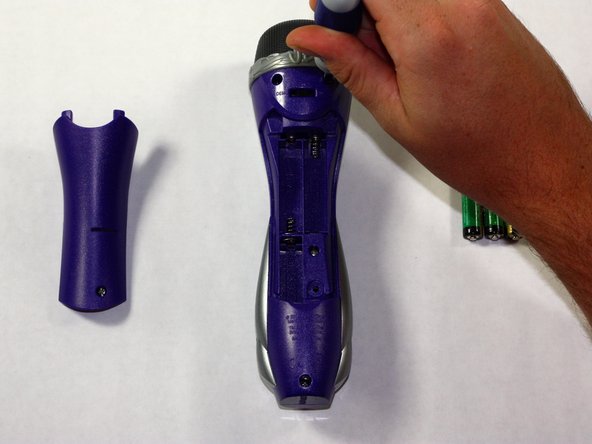
Remove the back panel of the device by unscrewing the single #8 11.6 mm Flathead screw on the back of the device.
-
-
Este passo não foi traduzido. Ajude a traduzi-lo
-
Unscrew the other 4, #8 11.6 mm Phillips Head screws to remove the entire back half of the device.
-
Pull apart the device once screws are loose, splitting the device in half.
-
-
-
Este passo não foi traduzido. Ajude a traduzi-lo
-
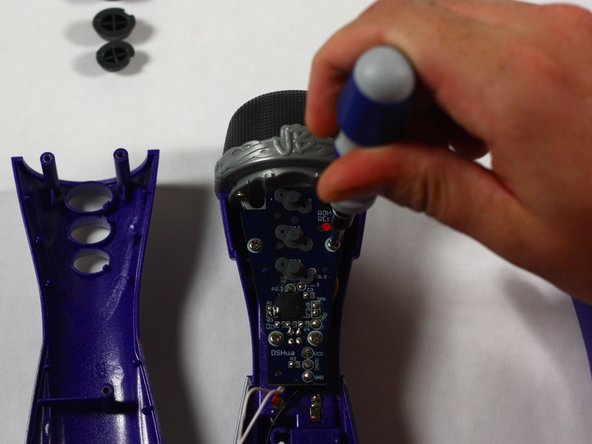
Keeping all wires connected to their attachments, place the front half of the device face down.
-
-
Este passo não foi traduzido. Ajude a traduzi-lo
-
Inspect the printed circuit board for any breaks or cracks.
-
-
Este passo não foi traduzido. Ajude a traduzi-lo
-
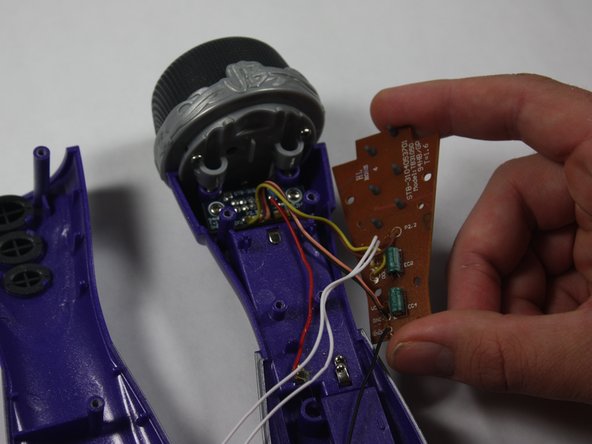
Remove the 2, #8 11.7 mm Phillips Head screws as well as the 2, #8 7.5 mm screws on the printed circuit board.
-
-
Este passo não foi traduzido. Ajude a traduzi-lo
-
Disconnect all wires from the PCB
-
Remove the damaged PCB from the microphone
-
Place new PCB in the Justin Bieber Concert Microphone.
-
Connect all the wires to the new PCB using this soldering guide.
-


Equipe

Baylor, Team 4-1, Williams Fall 2014 Membro de Baylor, Team 4-1, Williams Fall 2014
BU-WILLIAMS-F14S4G1
Membros da 3
Autoria de 4 guias