Introdução
This guide will aid the user in the installation of a new case for this device. The new case will include the front case, the back case, and the battery cover flap. This guide will require the user to remove all of the internal parts of the device. This guide should be used if the case gets cracked, scratched, or otherwise damaged in some way.
O que você precisa
-
-
-
Flip the device so that the bottom is facing upwards. Using thumb, push the tab on the bottom in the direction indicated by the arrow and then lift the unhinged part of the tab.
 Pergunte ao FixBot
-
-
-
-
-
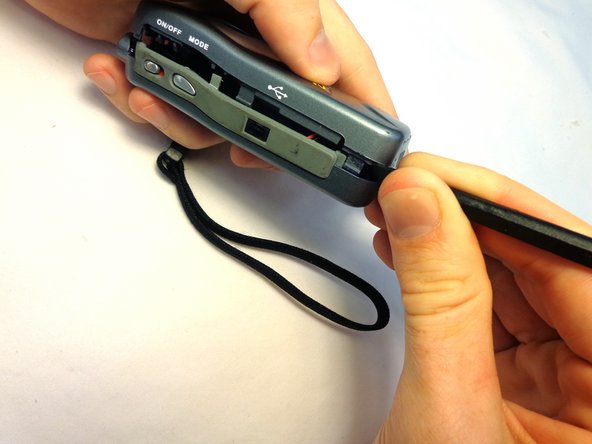
Carefully insert the flat end of the spudger into the seam on the top side of the device. Carefully twist the spudger to open the device. Repeat this step at incremental locations around the seam of the device until the two case halves separate.
-
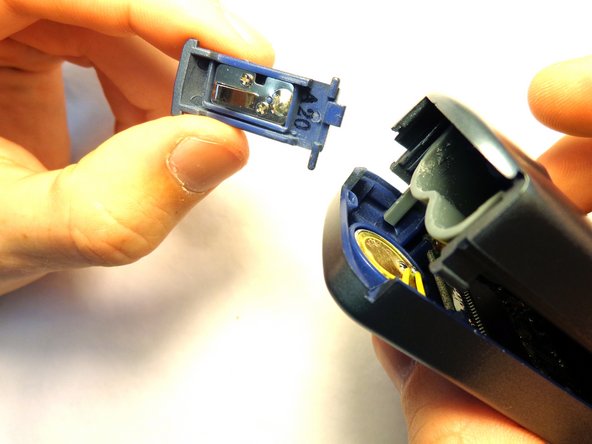
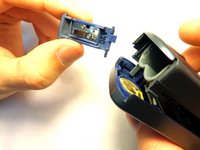
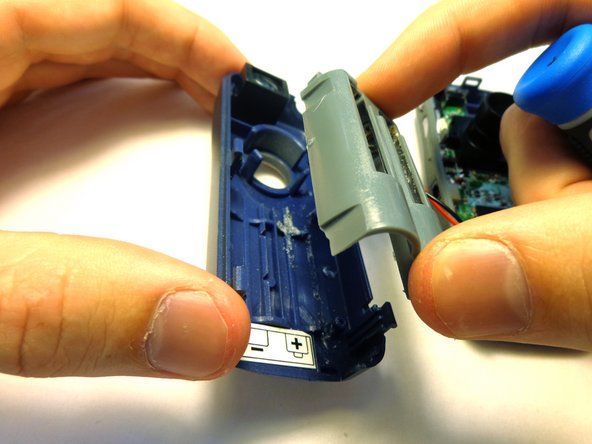
Before completely separating the two halves, separate the case from the battery compartment cover, pulling the case apart. Take care not to break the plastic hinge as the battery compartment cover is removed.
-
-
Ferramenta utilizada neste passo:Tweezers$4.99
-
Gently seperate the two halves of the device.
-
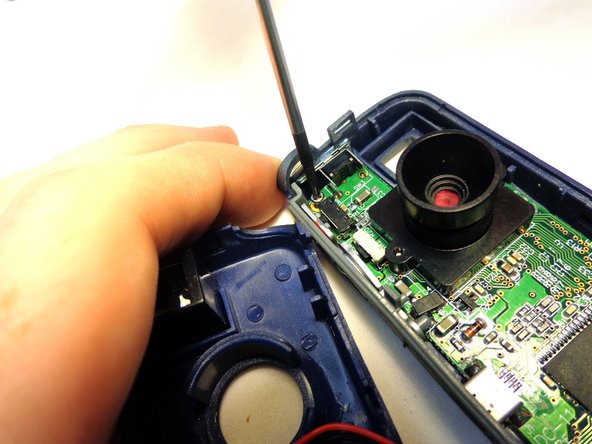
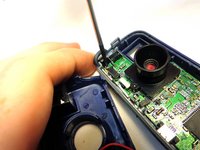
To remove the circuit board from the right section of the device, unscrew the two 5.6 mm Phillips #00 screws.
-
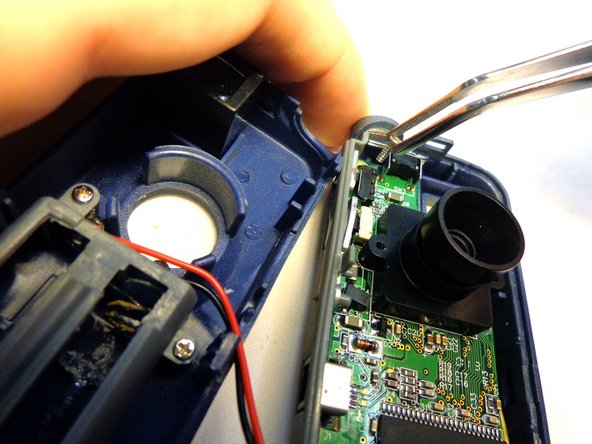
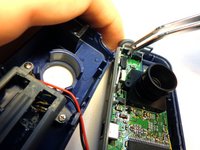
When the screws have been fully unscrewed, use the tweezers to remove them from the device.
-
-
-
-
Carefully separate the grey side bar from the case and set it aside.
-
-
-
Use the tweezers to grasp the bottom of the capture button. Pull the capture button away from the case and set it aside.
-
-
-
-
-
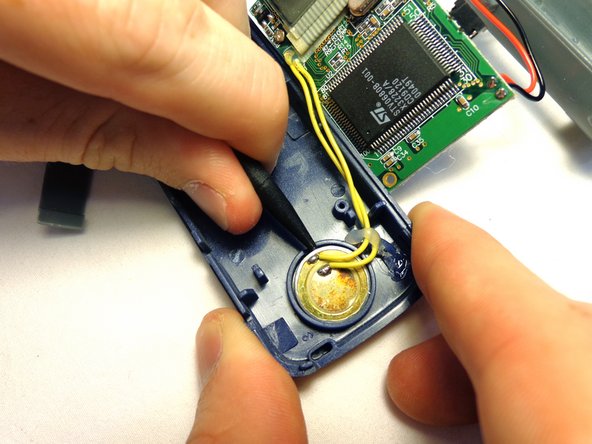
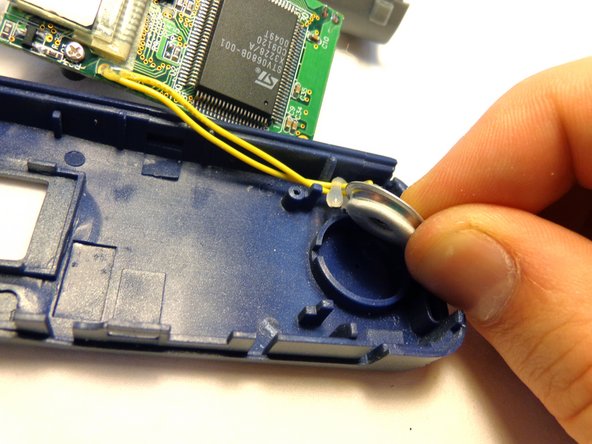
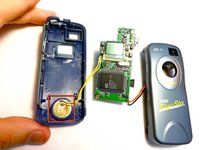
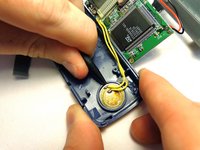
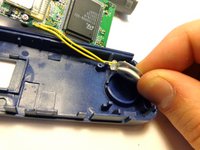
To remove the microphone from the case, insert the tip of the spudger under the microphone's edge and pry it away from the case.
-
-
-
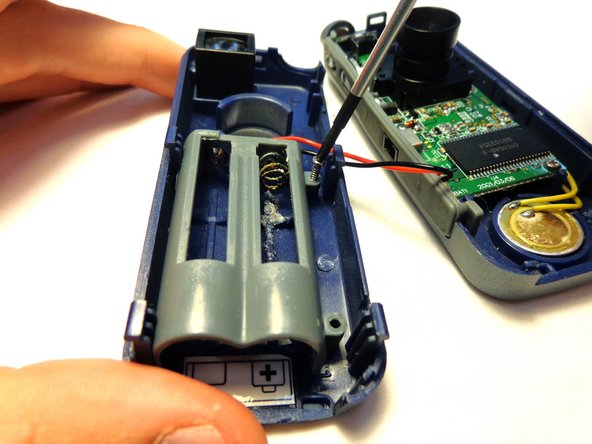
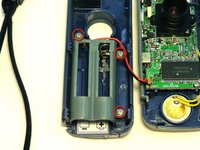
Unscrew the three 5.6 mm Phillips #00 screws that connect the battery compartment to the case.
-
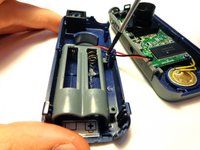
Remove the battery compartment from the case of the device.
-
-
-
-
-
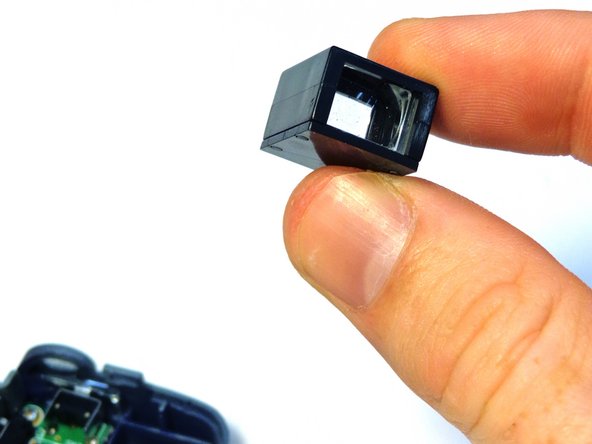
Remove viewer from the top-left corner of the case by gently pulling it away.
-
-
-
If the replacement case does not have a wrist strap, remove your device's wrist strap by feeding the plastic tab through the loop cord, and then pulling it all the way through.
-
-




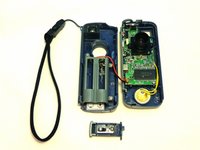





To reassemble your device, follow these instructions in reverse order.

Equipe

Clemson, Team 12-3, Benson Spring 2013 Membro de Clemson, Team 12-3, Benson Spring 2013
CLEM-BENSON-S13S12G3
3 Membros
Autoria de 7 guias
