Introdução
The Clip 3 is IPX7 waterproof and offers up to 10 hours of playtime, powered by a 1000mAh rechargeable Li-ion battery. If the battery is not charging or holding adequate charge, the battery may require replacement.
This guide will show you the step by step process of replacing a speaker battery for a JBL Clip 3. The process won’t be too difficult, requiring no special skills. Make sure to be careful when removing parts on this device, because they can be fragile.
O que você precisa
-
-
Insert the iFixit opening tool between the speaker grill and speaker housing and pry around the entire perimeter of the device until the grill releases.
 Pergunte ao FixBot
-
-
-
Use a Phillips #1 screwdriver to remove the five 6.3 mm screws around the perimeter.
-
-
-
Ferramenta utilizada neste passo:Tweezers$4.99
-
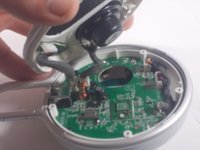
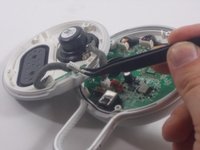
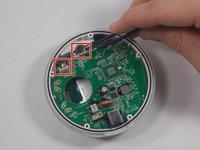
Use tweezers to remove the 2 pin and 4 pin connectors from the motherboard.
-
-
-
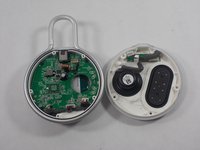
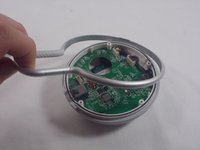
Lift the metal carabiner clip from the speaker housing.
-
-
Ferramenta utilizada neste passo:Tweezers$4.99
-
Use a pair of tweezers to lift the two cable connectors from their motherboard sockets.
-
-
-
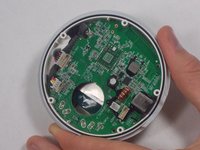
Use a Phillips #1 screwdriver to remove the four screws that secure the motherboard.
-
-
-
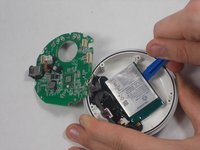
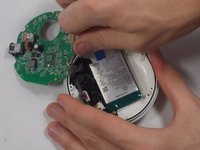
Use an opening tool to carefully pry your way around the battery, slowly lifting it off of the epoxy until it fully releases.
-








To reassemble your device, follow these instructions in reverse order.
Cancelar: não concluí este guia.
6 outras pessoas executaram este guia.

Equipe

UMass Dartmouth, Team 1-5, Petersen Spring 2022 Membro de UMass Dartmouth, Team 1-5, Petersen Spring 2022
UMASSD-PETERSEN-S22S1G5
3 Membros
Autoria de 10 guias
3Comentários do guia
Thanks, but unless I missed something I don't see the recommended battery to replace with (only that it's a 1000mAh). Under "what you need" there's no mention of battery.
Amazon and others sell them. Just Google "JBL Clip 3 battery for sale". Price varies widely.
Thank you - very helpful guide! Was able to replace my battery with no issues.
