Essa tradução foi gerada por um programa e ainda não foi revisada por uma pessoa. Falas essa língua? Dá uma olhada.

Substituição do alto-falante do JBL Charge

Alexander Castanares e 6 outros colaboradores
Última atualização em 21 de jul de 2026
Visualizações: 85 mil
Visualizar Estatísticas:
- Últimas 24 horas:
- 2
- Últimos 7 dias:
- 40
- Últimos 30 dias:
- 168
- Ao todo:
- 85.499
Comentários: 21
9 comments on steps, 12 guide comments.
Go to guide commentsConcluído: 14 15
14 pessoas marcaram este guia como "concluído". Será você o próximo?
15· pessoas marcaram este guia como "concluído". Incluindo você — ótimo trabalho!
Favorites: 3 4
3 pessoas favoritaram (e se inscreveram) neste guia. Você será o próximo?
4 pessoas marcaram como favorito (e assinaram) este guia - incluindo você!
Ferramentas incorretas
Ajude a fazer melhor este guia usando as ferramentas corretas em imagens e/ou texto.
Introdução
Ir para o passo 1 ↓Os alto-falantes estão localizados atrás da placa-mãe. Siga este guia para substituir um ou ambos os alto-falantes danificados.
O que você precisa
Ferramentas
-
-
-
Spudger4.9


-
-
-
Certifique-se de que o dispositivo esteja desligado antes de começar a desmontar o alto-falante.
-
Remova o acabamento do alto-falante usando uma ferramenta de abertura (jimmy) ou uma espátula de metal.
 Pergunte ao FixBot
-
-
-
Use a chave (de fenda) PH1 para remover todos os cinco parafusos de 6 mm da tampa da bateria.
-
Remova a tampa da bateria e coloque-a de lado.
-
-
-
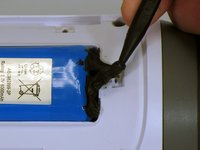
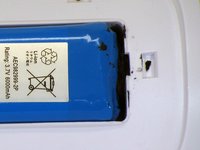
Use uma espátula para remover cuidadosamente a fita isolante líquida que prende a bateria dentro do compartimento da bateria.
-
-
-
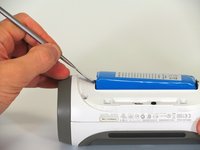
Use uma espátula para levantar a bateria para fora do dispositivo.
-
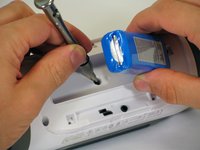
Levante a extremidade da bateria que não possui a conexão da fiação e remova o parafuso PH2 de 16 mm que se encontra abaixo da bateria.
-
-
-
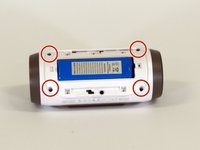
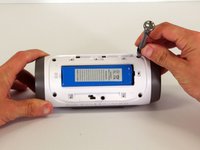
Remova os quatro parafusos de 16 mm da carcaça de plástico branca usando a chave (de fenda) PH2.
-
-
-
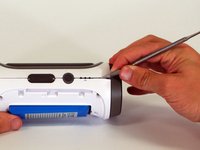
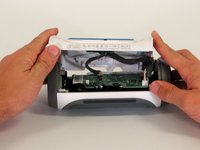
Começando em um canto do dispositivo onde a carcaça e a lateral se encontram, use uma espátula de metal pontiaguda para soltar a carcaça traseira do alto-falante e a cola que mantém a junção unida.
-
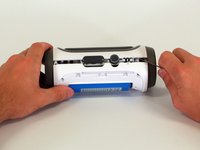
Deslize a espátula de metal ao longo da junção para separar a carcaça traseira do restante do alto-falante.
-
-
-
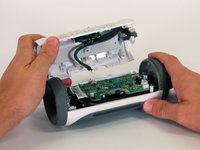
Com a carcaça traseira aberta, desconecte os três conectores brancos da placa-mãe.
-
Remova a carcaça superior.
-
-
-
-
-
Remova o parafuso Phillips de 9 mm no canto da placa-mãe.
-
-
-
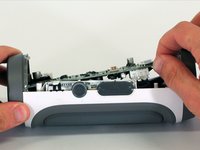
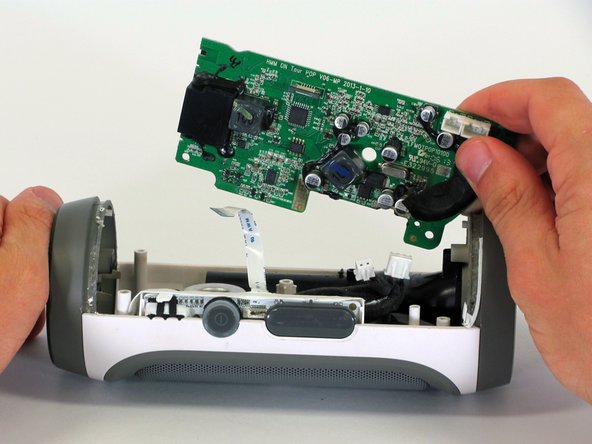
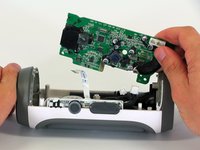
Remova a placa-mãe da carcaça levantando o canto da placa para fora do dispositivo.
-
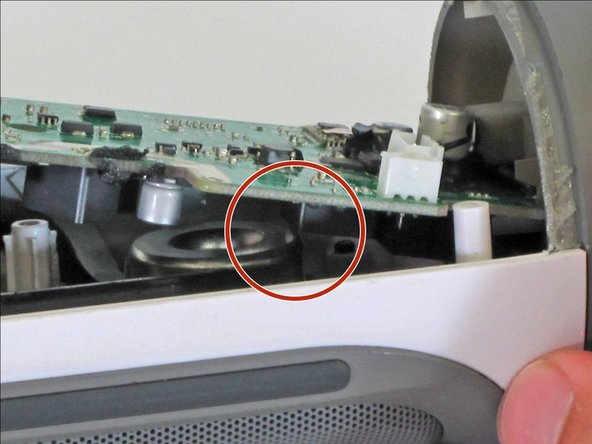
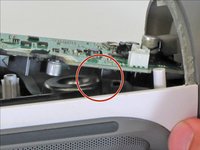
Se a placa-mãe não se mover, certifique-se de que o componente quadrado na parte inferior da placa-mãe passe pela borda do alto-falante.
-
-
-
Desconecte os dois conectores brancos da parte inferior da placa-mãe.
-
-
-
-
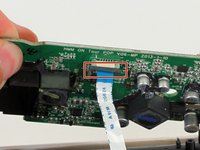
Puxe para baixo o clipe preto que prende o cabo plano no lugar.
-
Puxe o cabo plano do conector usando a aba azul.
-
Remova a placa-mãe do dispositivo.
-
-
-
-
-
Usando a chave Phillips, remova o parafuso Phillips de 9 mm que conecta o tubo preto ao interior do dispositivo.
-
-
-
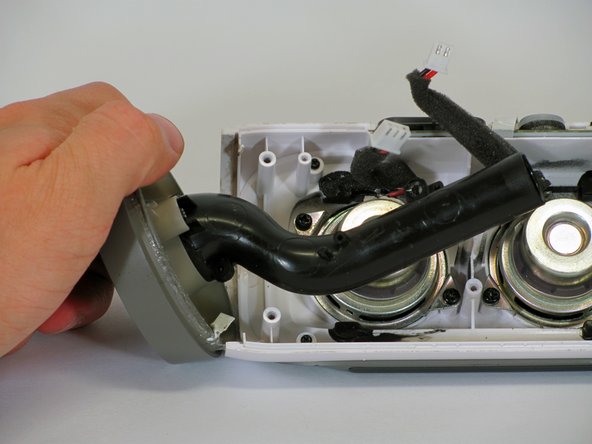
Puxe a tampa cinza para fora do dispositivo de forma lenta e firme. Isso dará acesso total aos alto-falantes.
-
-
-
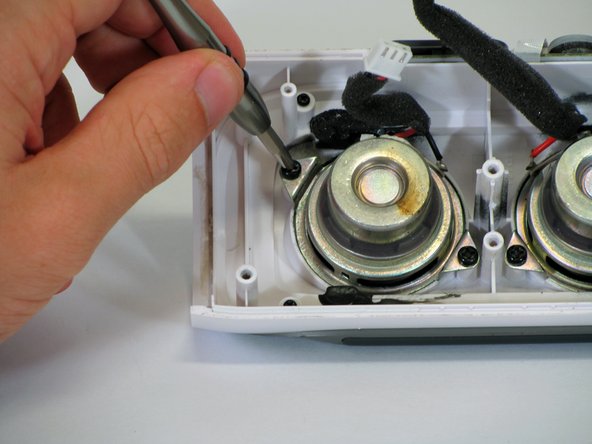
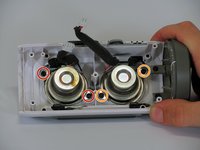
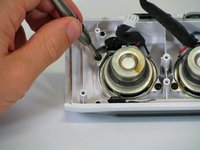
Cada alto-falante é fixado com dois parafusos Phillips de 9 mm. Remova os parafusos usando uma chave Phillips PH1.
-
Se você estiver trocando o alto-falante esquerdo, remova os parafusos e o alto-falante do lado direito.
-
Se você estiver trocando o alto-falante direito, remova os parafusos e o alto-falante do lado esquerdo.
-
-


















Para a remontagem de seu dispositivo, siga estas instruções na ordem inversa.
Cancelar: não concluí este guia.
14 outras pessoas executaram este guia.

Equipe

Cal Poly, Team 12-4, Lancaster Spring 2015 Membro de Cal Poly, Team 12-4, Lancaster Spring 2015
CPSU-LANCASTER-S15S12G4
2 Membros
Autoria de 48 guias
12Comentários do guia
Donde encuentro las bocinas no sirven la que tiene
Donde puedo conseguir las bocinas?
Where can I get gthe replacement speaker?
where can i get replaicment speaker?
Where do I get the replacement speakers
