Ir para o conteúdo principal

Installing a Plastic Snap Using a Hand Press

Guia arquivado
Este guia é mantido exclusivamente para fins históricos. Use a versão atualizada do guia para executar o reparo.

O que você precisa

  1. Installing a Plastic Snap Using a Hand Press, Plastic Snap: passo 1, imagem 1 %32 Installing a Plastic Snap Using a Hand Press, Plastic Snap: passo 1, imagem 2 %32
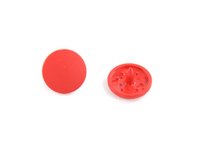
    • Get a new cap.

    • Get a new stud.

  2. Installing a Plastic Snap Using a Hand Press: passo 2, imagem 1 %32
    • Measure the diameter of the cap and socket to make sure they are the correct size.

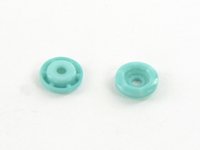
    • There are two common sizes of snap, as pictured here. Be sure that you have the correct one.

  3. Installing a Plastic Snap Using a Hand Press: passo 3, imagem 1 %32 Installing a Plastic Snap Using a Hand Press: passo 3, imagem 2 %32 Installing a Plastic Snap Using a Hand Press: passo 3, imagem 3 %32
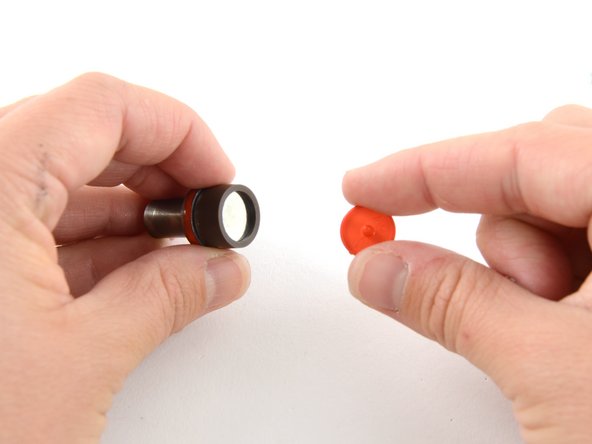
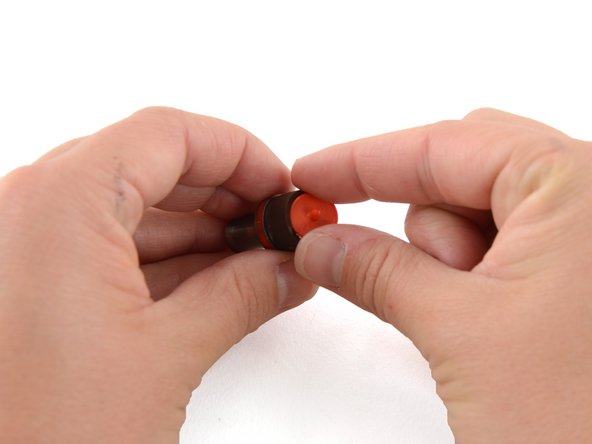
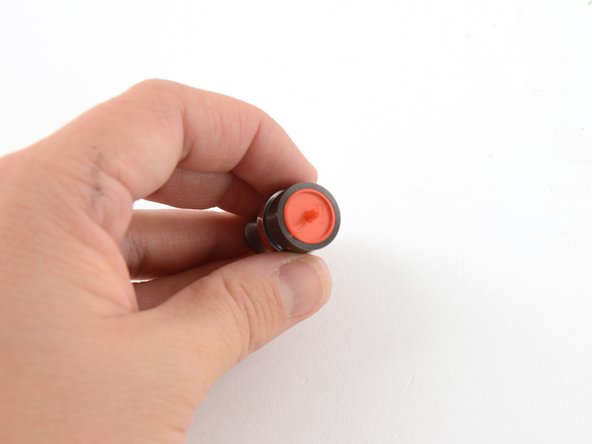
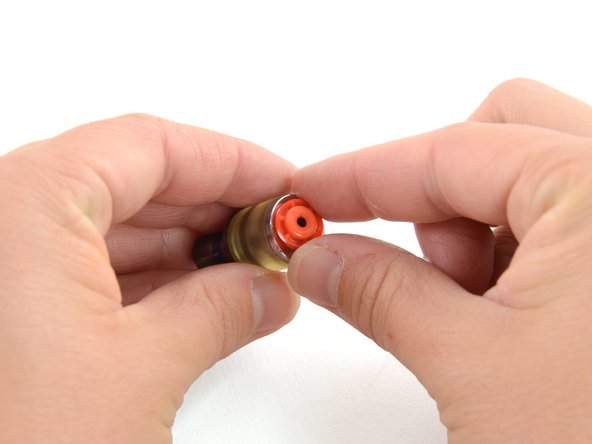
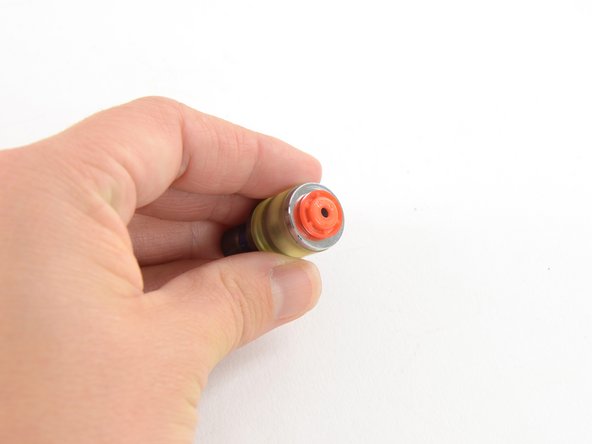
    • Insert the cap, rounded side down, into the cap fitting for the hand press. The shaft of the cap should face out.

    • The cap fitting is marked orange.

  4. Installing a Plastic Snap Using a Hand Press: passo 4, imagem 1 %32 Installing a Plastic Snap Using a Hand Press: passo 4, imagem 2 %32 Installing a Plastic Snap Using a Hand Press: passo 4, imagem 3 %32
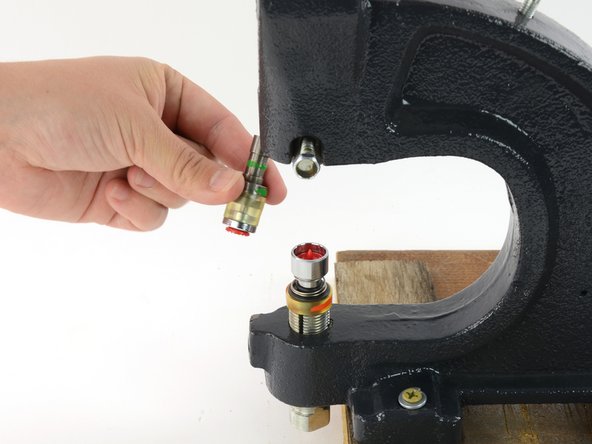
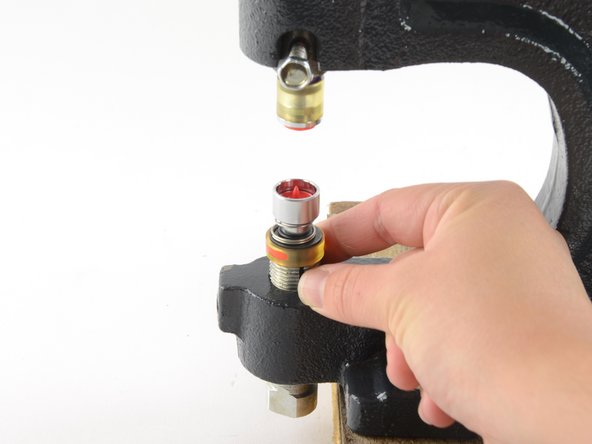
    • Insert the stud into the stud fitting for the hand press. The widest part of the stud should be facing out. When seated correctly, the stud should snap into place and sit in the fitting without being held.

    • The stud fitting is marked green.

  5. Installing a Plastic Snap Using a Hand Press: passo 5, imagem 1 %32 Installing a Plastic Snap Using a Hand Press: passo 5, imagem 2 %32 Installing a Plastic Snap Using a Hand Press: passo 5, imagem 3 %32
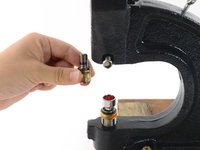
    • Insert the cap fitting onto the fitting base of the hand press.

    • The cap fitting is marked orange.

  6. Installing a Plastic Snap Using a Hand Press: passo 6, imagem 1 %32 Installing a Plastic Snap Using a Hand Press: passo 6, imagem 2 %32 Installing a Plastic Snap Using a Hand Press: passo 6, imagem 3 %32
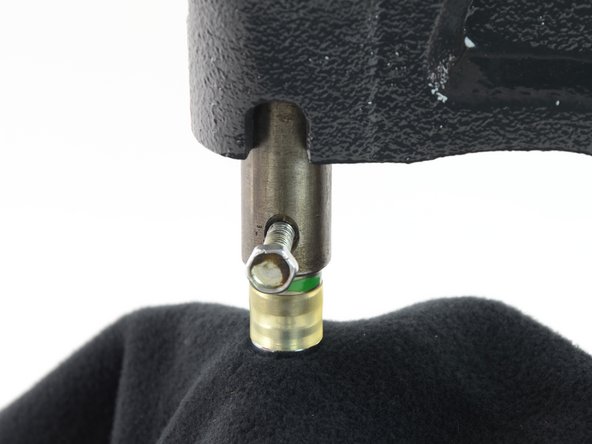
    • Insert the stud fitting into the upper fitting holder of the hand press.

    • The stud fitting is marked green.

    • Insert the fitting as far as it will go, so that the only visible part is the wider encasement portion of the fitting.

    • Tighten the screw on the side of the upper fitting holder to secure the stud fitting. Tighten the screw about a 1/4 turn past finger-tight.

  7. Installing a Plastic Snap Using a Hand Press: passo 7, imagem 1 %32 Installing a Plastic Snap Using a Hand Press: passo 7, imagem 2 %32
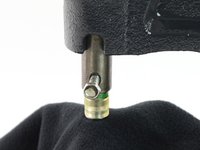
    • Slowly pull the handle on the hand press to test the range of the fittings.

    • The fittings should just touch when the handle is pulled to its maximum.

    • If there is a gap in the fittings, adjust the height of the fitting base on the hand press by turning it until the fittings touch.

  8. Installing a Plastic Snap Using a Hand Press: passo 8, imagem 1 %32 Installing a Plastic Snap Using a Hand Press: passo 8, imagem 2 %32
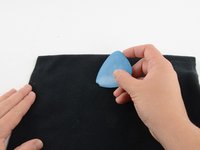
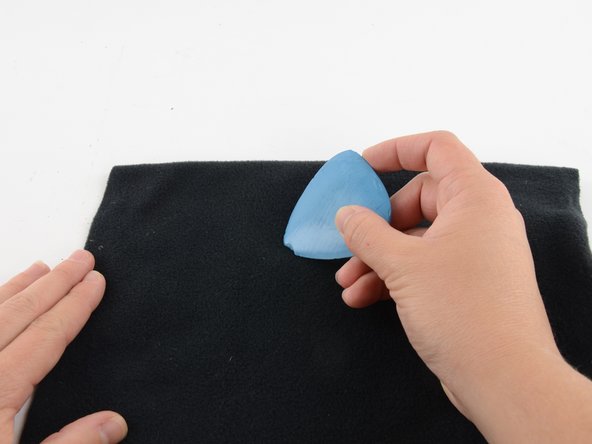
    • Mark the fabric where you will be inserting the snap.

    • Align the fabric in the hand press so that the mark rests directly above the shaft of the cap.

    • If the fabric is not laying flat, have a friend pull the fabric taut to help keep it flat as you insert the snap.

    • The cap is on the bottom of the press. Be sure that you place your fabric face down, so that the cap is on the correct side.

  9. Installing a Plastic Snap Using a Hand Press: passo 9, imagem 1 %32 Installing a Plastic Snap Using a Hand Press: passo 9, imagem 2 %32 Installing a Plastic Snap Using a Hand Press: passo 9, imagem 3 %32
    • With the fabric aligned, pull the handle of the hand press down in one continuous motion.

    • Setting a plastic snap requires little force. You will need to pull hard enough to get the press to its maximum range, but not beyond that.

  10. Installing a Plastic Snap Using a Hand Press: passo 10, imagem 1 %32 Installing a Plastic Snap Using a Hand Press: passo 10, imagem 2 %32
    • Release the handle of the hand press, and remove the fabric.

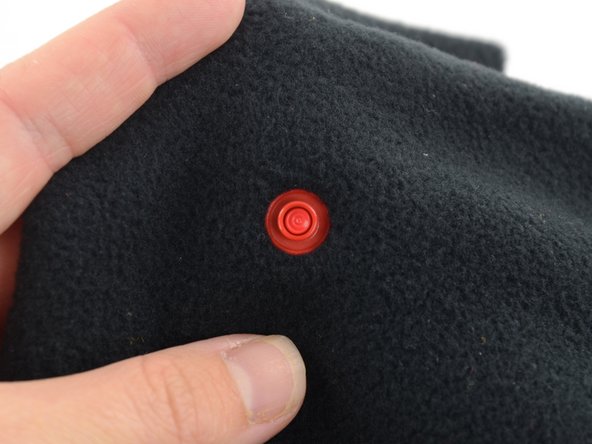
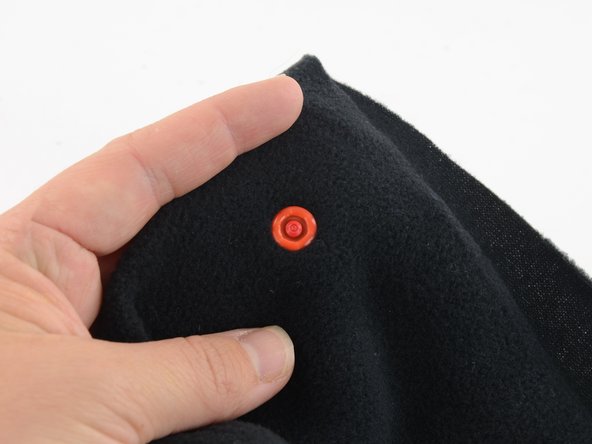
    • Inspect both sides of your snap to make sure that it is laying flat and tight up against the fabric. When you inspect the stud side you should see that the nose of the cap has been pressed into a ring; this is what holds the snap parts together.

    • If the snap is not set all the way, reinsert it into the hand press, aligning it as it was before, and repeat step 9 of this guide.

  11. Installing a Plastic Snap Using a Hand Press: passo 11, imagem 1 %32 Installing a Plastic Snap Using a Hand Press: passo 11, imagem 2 %32
    • Get a new cap.

    • Get a new socket.

    • You will want the color to match on your components—we are using different colors to illustrate that this is a different component than before. If the snap you are replacing has colors on the front and back that differ from each other, then try to match those colors.

  12. Installing a Plastic Snap Using a Hand Press: passo 12, imagem 1 %32 Installing a Plastic Snap Using a Hand Press: passo 12, imagem 2 %32 Installing a Plastic Snap Using a Hand Press: passo 12, imagem 3 %32
    • Insert the cap, rounded side down, into the cap fitting for the hand press. The shaft of the cap should face out.

    • The cap fitting is marked orange.

  13. Installing a Plastic Snap Using a Hand Press: passo 13, imagem 1 %32 Installing a Plastic Snap Using a Hand Press: passo 13, imagem 2 %32 Installing a Plastic Snap Using a Hand Press: passo 13, imagem 3 %32
    • Insert the socket into the socket fitting for the hand press. The widest part of the socket should be facing towards the fitting. When seated correctly, the socket should snap into place and sit in the fitting without being held.

    • The socket fitting is marked purple.

  14. Installing a Plastic Snap Using a Hand Press: passo 14, imagem 1 %32 Installing a Plastic Snap Using a Hand Press: passo 14, imagem 2 %32
    • Insert the cap fitting onto the fitting base of the hand press.

    • The cap fitting is marked orange.

  15. Installing a Plastic Snap Using a Hand Press: passo 15, imagem 1 %32 Installing a Plastic Snap Using a Hand Press: passo 15, imagem 2 %32 Installing a Plastic Snap Using a Hand Press: passo 15, imagem 3 %32
    • Insert the socket fitting into the upper fitting holder on the hand press.

    • The socket fitting is marked purple.

    • Insert the fitting as far as it will go, so that the only visible part is the wider encasement portion of the fitting.

    • Tighten the screw on the side of the upper fitting holder to secure the socket fitting. Tighten the screw about a 1/4 turn past finger-tight.

  16. Installing a Plastic Snap Using a Hand Press: passo 16, imagem 1 %32 Installing a Plastic Snap Using a Hand Press: passo 16, imagem 2 %32 Installing a Plastic Snap Using a Hand Press: passo 16, imagem 3 %32
    • Slowly pull the handle on the hand press to test the range of the fittings.

    • The fittings should just touch when the handle is pulled to its maximum.

    • If there is a gap in the fittings, adjust the height of the fitting base on the hand press by turning it until the fittings touch.

  17. Installing a Plastic Snap Using a Hand Press: passo 17, imagem 1 %32 Installing a Plastic Snap Using a Hand Press: passo 17, imagem 2 %32
    • Mark the fabric where you will be inserting the snap.

    • Align the fabric in the hand press so that the mark rests directly above the shaft of the cap.

    • If the fabric is not laying flat, have a friend pull the fabric taut to help keep it flat as you insert the snap.

  18. Installing a Plastic Snap Using a Hand Press: passo 18, imagem 1 %32 Installing a Plastic Snap Using a Hand Press: passo 18, imagem 2 %32 Installing a Plastic Snap Using a Hand Press: passo 18, imagem 3 %32
    • With the fabric aligned, pull the handle of the hand press down in one continuous motion.

    • Setting a plastic snap requires little force. You will need to pull hard enough to get the press to its maximum range, but not beyond that.

  19. Installing a Plastic Snap Using a Hand Press: passo 19, imagem 1 %32 Installing a Plastic Snap Using a Hand Press: passo 19, imagem 2 %32
    • Release the handle of the hand press, and remove the fabric.

    • Inspect both sides of your snap to make sure that it is laying flat and tight up against the fabric. When you inspect the socket side you should see that the nose of the cap has been pressed into a ring; this is what holds the snap parts together.

    • If the snap is not set all the way, reinsert the snap into the hand press, aligning it as it was before, and repeat step 18 of this guide.

Conclusão

Admire your handiwork!

Brittany McCrigler

Membro desde: 03/05/12

89.865 Reputação

Autoria de 142 guias

Equipe

iFixit Membro de iFixit

Staff

118 Membros

Autoria de 19.628 guias

0Comentários do guia

Comentar

Visualizações:

Últimas 24 horas: 0

Últimos 7 dias: 4

Últimos 30 dias: 11

Ao todo: 43