Ir para o conteúdo principal
Participe da comunidade de reparos - Criar conta

IBM ThinkPad T43 WiFi Card Replacement

O que você precisa

  1. IBM ThinkPad T43 WiFi Card Replacement, Removing Screws: passo 1, imagem 1 %32 IBM ThinkPad T43 WiFi Card Replacement, Removing Screws: passo 1, imagem 2 %32
    • Set the laptop top-down onto the workstation.

    • Remove all screws circled in red.

    • When removing screws, group them by size. The bottom case of the laptop includes a sticker that shows the size of the screws.

    • When reassembling the device, note the numbers by the screw holes and use them to know what size screw correlates to what hole.

    Pergunte ao FixBot

    Comentar

  2. IBM ThinkPad T43 WiFi Card Replacement: passo 2, imagem 1 %32 IBM ThinkPad T43 WiFi Card Replacement: passo 2, imagem 2 %32
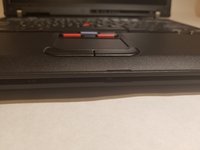
    • Flip the laptop so that the IBM ThinkPad logo is facing up.

    • Slide the unlocking switch to open the device, and lift the display (not the palmrest assembly).

    • Make sure to unlock the laptop before opening, as the palmrest assembly is not screwed in to the bottom case.

    Pergunte ao FixBot

    Comentar

  3. IBM ThinkPad T43 WiFi Card Replacement: passo 3, imagem 1 %32 IBM ThinkPad T43 WiFi Card Replacement: passo 3, imagem 2 %32
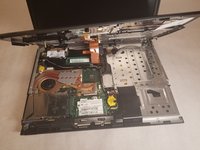
    • With the laptop open, hold the bottom edges of the top case and slowly lift.

    • Be sure to not lift the palmrest completely, since there is a ribbon cable still attached to the bottom case.

    Pergunte ao FixBot

    Comentar

  4. IBM ThinkPad T43 WiFi Card Replacement: passo 4, imagem 1 %32 IBM ThinkPad T43 WiFi Card Replacement: passo 4, imagem 2 %32
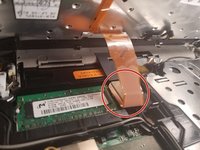
    • Disconnect the ribbon cable by lifting on the plastic backing square.

    • Do not lift by the ribbon cable itself, as this can cause it to tear.

    Pergunte ao FixBot

    Comentar

  5. IBM ThinkPad T43 WiFi Card Replacement: passo 5, imagem 1 %32
    • The Wi-Fi Card is located towards the middle bottom of the laptop

    Pergunte ao FixBot

    Comentar

  6. IBM ThinkPad T43 WiFi Card Replacement: passo 6, imagem 1 %32 IBM ThinkPad T43 WiFi Card Replacement: passo 6, imagem 2 %32
    Ferramenta utilizada neste passo:
    Tweezers
    $4.99
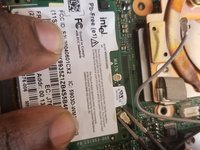
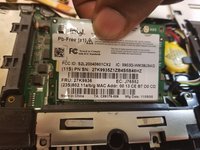
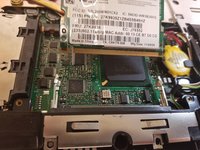
    • Locate the two wires connected at the top of the Wi-Fi card.

    • Hold the card down and use the tweezers to pinch the plug and pull up.

    Pergunte ao FixBot

    Comentar

  7. IBM ThinkPad T43 WiFi Card Replacement: passo 7, imagem 1 %32 IBM ThinkPad T43 WiFi Card Replacement: passo 7, imagem 2 %32 IBM ThinkPad T43 WiFi Card Replacement: passo 7, imagem 3 %32
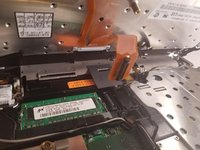
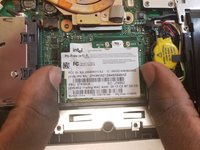
    • Place fingers on the two clips holding the card in place

    • Pull the clips outwards until the the card pops up

    • Pull the card out by pulling out away from your body

    • To replace, follow these steps in reverse order

    • Make sure that the side with the short end is on the left when you put it back in.

    Pergunte ao FixBot

    Comentar

Conclusão

To reassemble your device, follow these instructions in reverse order.

Cancelar: não concluí este guia.

2 outras pessoas executaram este guia.

aLiX pIeRRe

Membro desde: 03/19/18

884 Reputação

Autoria de 5 guias

Equipe

2Comentários do guia

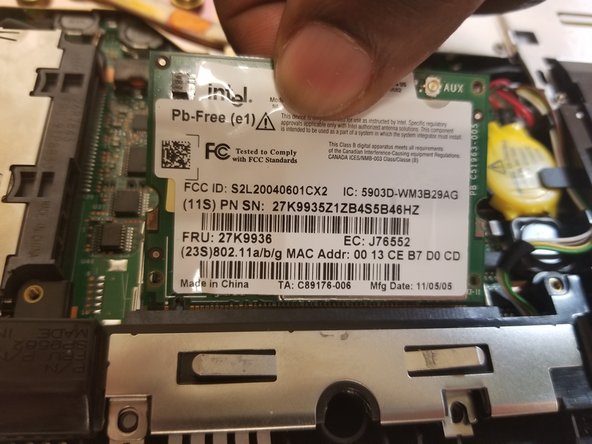
I need to know what's role of the cables AUX and MAIN because i cut one

M a n i _001 - Responder Compartilhar

AUX and MAIN cables are antenna cables. In this laptop there are two antennas, MAIN and AUX.

If you have a soldering iron, simply solder the two parts of the cable you cut and everything is gonna be fine.

I also recommend using shrink tubing to isolate the soldered part.

Note : laptop can work without this câble, but WiFi speed and stability will suffer.

If you can't solder the câble or can't by a new one, you can try to use only main by pluggin the only remaining antena câble to MAIN and leaving AUX unlpuged.

Brendan - Responder Compartilhar

Comentar

Visualizações:

Últimas 24 horas: 4

Últimos 7 dias: 21

Últimos 30 dias: 90

Ao todo: 12,191