Introdução
This guide will show how to replace the camera on a Huawei M750 smartphone.
O que você precisa
-
-
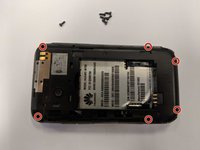
Depress the top of the battery cover, and pull downwards towards the base of the phone.
 Pergunte ao FixBot
-
-
-
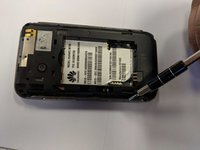
Remove the battery by levering the battery out, using the cut just below the camera.
-
-
-
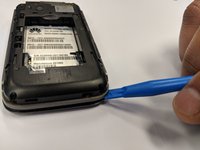
Use the opening tool to start prying the camera and speaker cover, starting from the battery side.
-
Work the opening tool around the border of the camera and speaker cover, until it comes loose.
-
-
-
-
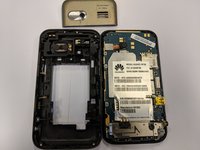
Using the opening tool, pry the back panel from the front panel.
-
Work your way around the phone until the panels separate evenly.
-
-
Ferramenta utilizada neste passo:Tweezers$4.99
-
The camera's connection to the motherboard is shown here.
-
Using the tweezers, disconnect the port, shown here in the picture.
-


To reassemble your device, follow these instructions in reverse order.

Equipe

University of North Texas, Team S1-G6, Thompson Spring 2018 Membro de University of North Texas, Team S1-G6, Thompson Spring 2018
UNT-THOMPSON-S18S1G6
3 Membros
Autoria de 20 guias