Introdução
Thrustmaster sells spare part through their online Eshop.
You can also contact Thrustmaster technical support to get spare part if not available in your region.
O que você precisa
-
-
-
Unscrew the four screws of the metal plate underneath the Warthog.
 Pergunte ao FixBot
-
-
-
Carefully remove the four screws displayed on the picture.
-
Disconnect the two cables displayed on the picture by making sure to not damage them. A pair of flat pliers might be recommended.
-
-
-
Using a soldering iron, remove the previous PCB and replace it with the new one.
-
Once that is done, reassemble the product.
-
-
-
-
You will then need to update the firmware of the new PCB. To do that, connect the Magnetic Base (with a joystick on it) to your computer.
-
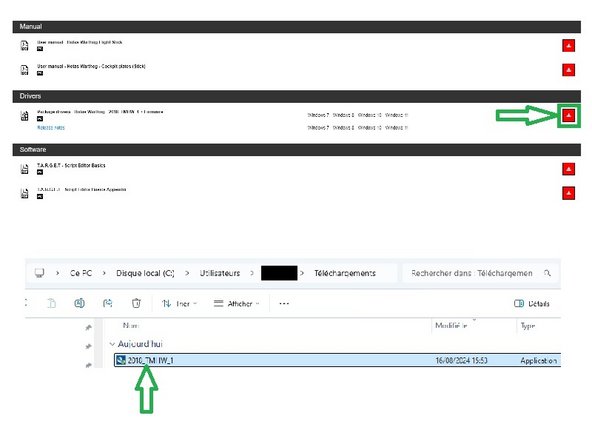
(First picture) If you have not already, download and install the driver of the product available on Thrustmaster support : https://support.thrustmaster.com/en/prod...
-
(Second picture) Open the "Firmware Updater". To do that, write "Firmware Updater" in the Windows search bar, the open the software.
-
-
-
(First picture) Your device appears in the firmware updater. Apply the update by clicking on "OK".
-
(Second picture) The update is in progress.
-
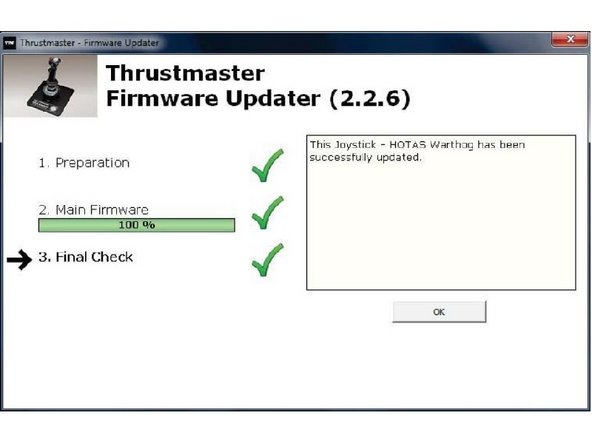
(Third picture) The update is done ! You can close the firmware updater by clicking on the arrow at the top right corner.
-
-
-
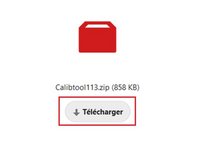
(Picture 1) Finally, you need to recalibrate the device. Thrustmaster has made this tool available here: https://nextcloud.guillemot.fr/index.php...
-
(Picture 2) Extract the archived file on your computer.
-
(Picture 3) Launch the calibration software.
-
-
-
The calibration software will detail all the steps to follow. Make sure your Warthog Stick is connected to your computer, with a compatible joystick mounted on it.
-
Once you have fully followed all the steps of the calibration tool, you are done !
-
-








To reassemble your device, follow these instructions in reverse order.

