Introdução
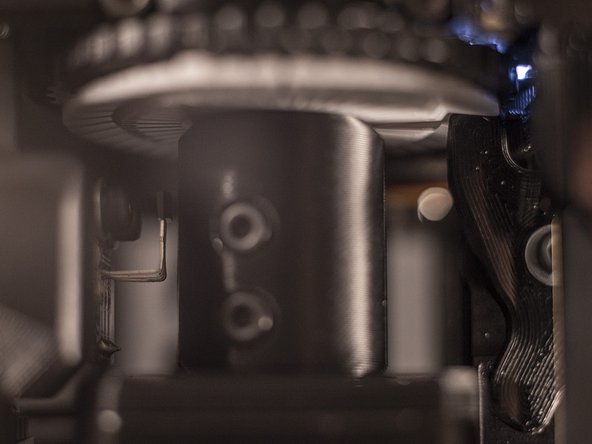
The E-TKT printer uses a daisy wheel mechanism to print labels, and if this wheel is misaligned, it can cause a range of printing problems. The printer finds its homing position through a Hall effect sensor, which can sometimes get bent out of position if the printer is handled roughly. Additionally, the sensor may not be in the correct position from the start if the printer was not properly calibrated after assembly. Fortunately, fixing the alignment of the daisy wheel is a straightforward process that can be done mostly be done without tools.
O que você precisa
-
-
Reboot the device.
-
Check the letter
Jposition in the top window: If the letter is visually centered (second image), then you can skip ahead to to Step 3.
-
-
-
Ferramenta utilizada neste passo:Tweezers$4.99
-
Use blunt tweezers to finely adjust the hall sensor position along the tangential (cyan) axis as shown in the image:
-
If
Jis too much to the right, push the hall sensor toward the centre of the device (yellow arrow). -
If
Jis too much to the left, pull the hall sensor towards yourself (magenta arrow).
-
-
-
Enter the web interface and click on
SETUP. -
Now press the
TEST-button to the right side ofALIGN. -
Adjust the
ALIGN-value until the press is fully centered on the character being pressed.
-


Happy printing!
