Introdução
This guide will only work for earbud-style headphones - refer here.
This guide will require some basic soldering knowledge - refer to this guide, though it is not necessary.
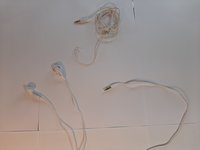
Many headphones and earphones break because of a damaged cable. Cables, especially for earbuds, are extremely easy to replace as long as you’re willing to do some elementary soldering. This guide will teach you how to do it.
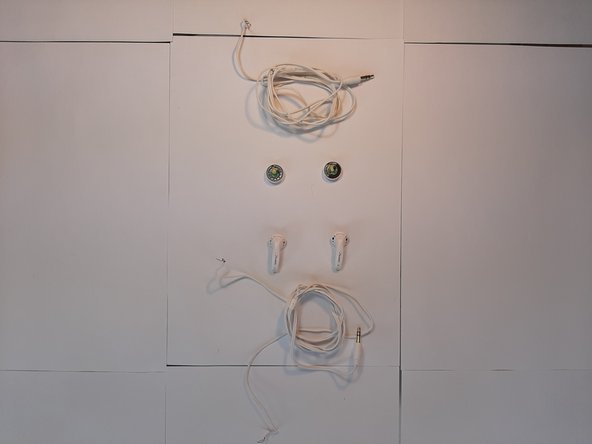
O que você precisa
-
-
Plug in and turn on your soldering iron.
-
Set it to the lowest temperature possible (if applicable).
-
-
-
-
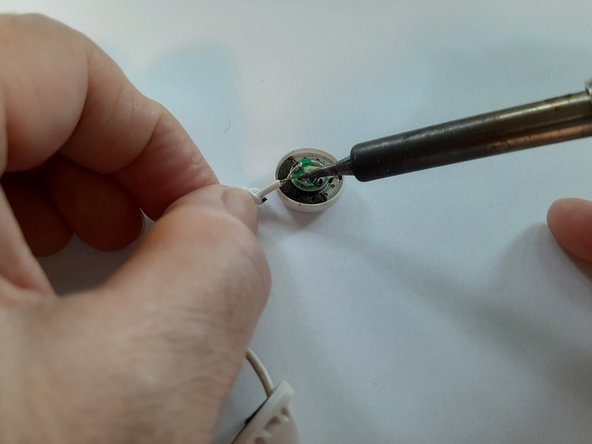
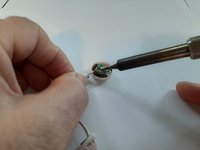
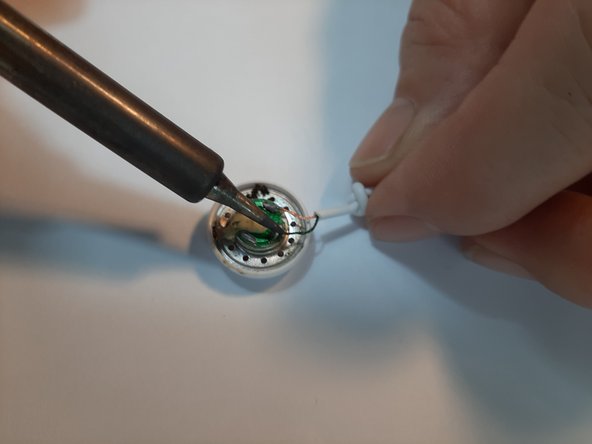
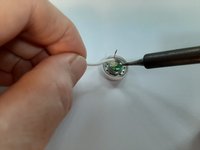
Use your soldering iron to gently touch the solder on the circuit board that is attached to one of the wires. Once the solder melts, twist the cable so that the wire is released from the circuit board. Repeat with the other remaining wire still attached to the circuit board.
-
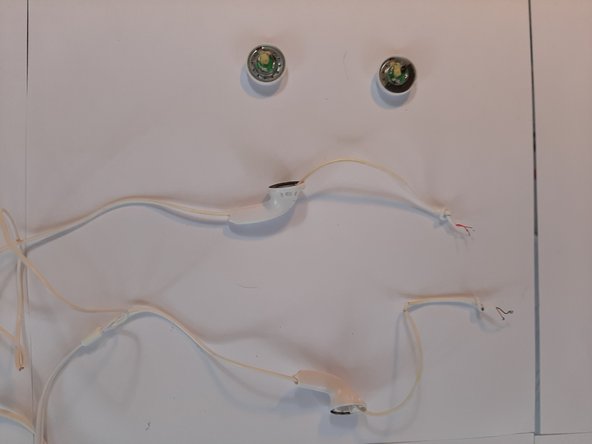
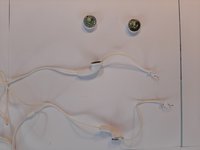
Repeat the above step with the other sound driver.
-
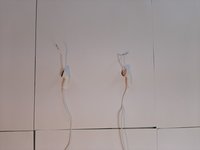
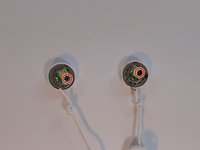
Place your sound driver aside and away from any strong magnets.
-
-
-
Choose a sound driver and put it in front of you on your work surface.
-
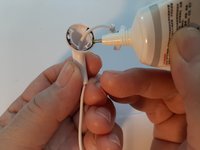
Hold onto your soldering iron with one hand and the wire with the other. Bring the soldering iron tip to touch the solder point that is marked with a Sharpie or paint.
-
Once the solder point liquefies, bring the left cable so that the copper colored wire touches the liquid solder. The copper colored wire will sink into the solder point and some solder will envelop the tip of the wire. Put down your soldering iron and let the solder point cool down to solidify.
-
Repeat the above step but with the green wire and on the other remaining solder point.
-
For the right side, repeat the above two steps. The copper colored wire goes to the side marked with sharpie/paint, and the red wire goes to the other solder point.
-
-
-
This step is optional. Apply a thin layer of adhesive on the outer edge of the left earbud housing. Depending on the type of adhesive, you may have to work quickly.
-
Slide the housing onto the driver, then pinch the housing and sound driver together to attach them. Wipe off any excess adhesive, if using.
-
Repeat with right side of the earbuds.
-


Plug in your headphones into a device and play some music! If any problem persists, start back from Step 2 and check the integrity of your soldered connections.
Cancelar: não concluí este guia.
2 outras pessoas executaram este guia.
Equipe

York University, Team S1-G17, Allen Summer 2020 Membro de York University, Team S1-G17, Allen Summer 2020
YORK-ALLEN-SU20S1G17
1 Membro
Autoria de 3 guias