Introdução
Sometimes you need to change the buckle of your favourite backpack. It can be due to it being broken or simply not closing like it used to. We will show this quick fix that can be done in just couple of minutes of your time!
This guide provides a solution without actually sewing the buckle. If you need a repair guide with the sewing part, check out this guide.
-
-
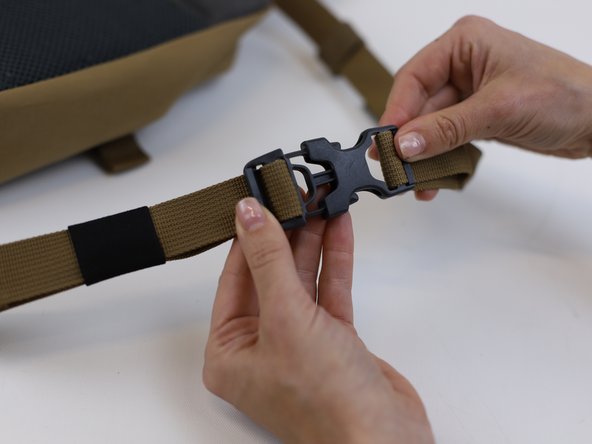
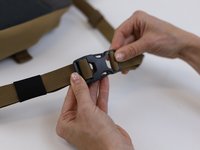
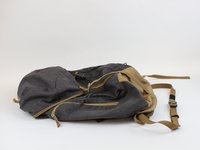
Locate the buckle that needs to be replaced.
-
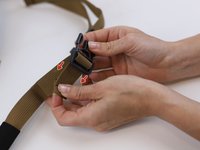
Note: For this simple solution we are using strap with a single fold and stitch (red circle). For straps with double stitching, additional steps would be needed to unstitch the buckle and then restitch it once it is finished.
-
-
-
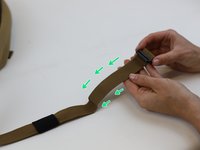
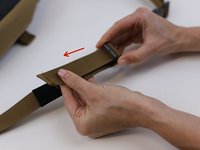
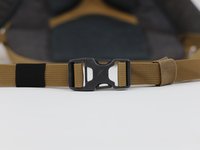
Following the yellow arrows, push the strap out of the buckle.
-
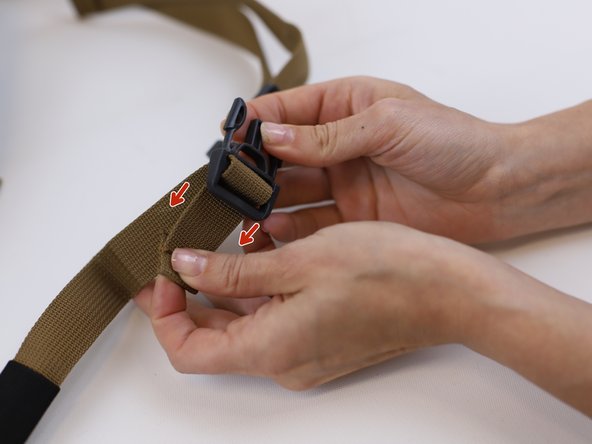
Keep pushing the strap and gently slide the last bit following the direction of the red arrows.
-
Keep going forward in the direction of the green arrow until the buckle is out of the strap.
-
-
-
-
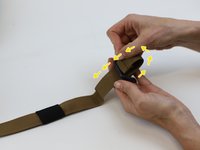
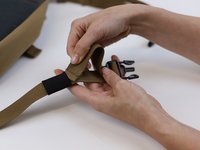
Repeat the previous step in reverse. Start by introducing the buckle into the strap and following the direction of the green arrows.
-
Keep introducing the buckle following the direction of the yellow arrows.
-
When the strap has passed on both parts of the buckle, pull the tip of the strap in the direction of the red arrows.
-
-
-
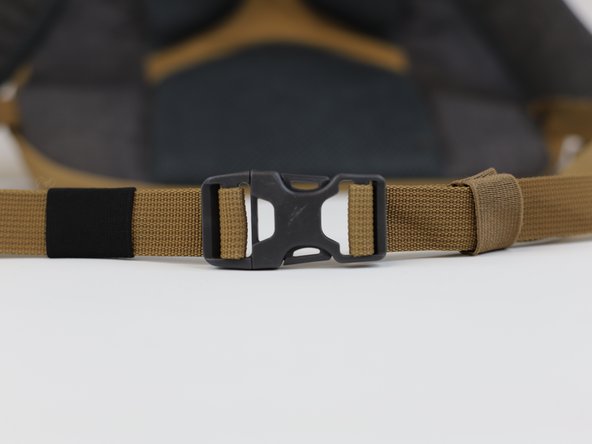
Pull the strap in the direction of the red arrow to tighten it up.
-
Introduce the strap inside the "strap keeper" and then verify that the new buckle fits its counterpart. If it doesn't, you will need to repeat the previous steps to replace it as well.
-
Tip: if you need help replacing the "strap keeper", check this guide.
-
-
-
🛠️🏆👏 Congratulations! The repair is complete, and you're ready to go!
-


In need of another repair? Don't worry! Check out our other guides to find quick solutions for your favourite clothing, footwear and equipment!
In need of another repair? Don't worry! Check out our other guides to find quick solutions for your favourite clothing, footwear and equipment!
Cancelar: não concluí este guia.
Uma outra pessoa concluiu este guia.

Equipe
